Getting Started
Hello and thankyou for purchasing a Kolyoum, WordPress theme for news, newspaper, magazine, publishing or review website. This template was created to help you write articles and blog posts with ease.
Live Demo - Buy Kolyoum
Get ready to build something stylish and sleek! Kolyoum WordPress Theme comes with the most trendy features and options when it comes to the Blog, Magazine, and Newspaper trend. We strongly focused on the content and readability because they’re obviously important for all website owners, and, of course, the theme is very optimized for better SEO results, and high-speed guaranteed.
1. Getting Started
WordPress Upload
To upload through your Dashboard, select “Appearance” and then “Themes”. Next, select the “Install Themes” tab at the top of the page and then select the “Upload” link, right above the search field. Choose your file and select “Install Now”. Once the theme is fully uploaded and installed, click “Activate” to activate the WordPress theme.
The theme files will be stored on your server in the wp-content/themes/ location.
When uploading your theme with the installer, please ensure you are uploading the theme .zip file, not the entire package you downloaded. In this case, you will be uploading kolyoum.zip.
FTP Upload
To manually upload your new WordPress theme, login with your credentials to your website and locate the wp-content folder in your WordPress install files. Upload the un-zipped 'kolyoum' folder into the: wp-content/themes folder.
Once uploaded, activate the theme by heading to the “Themes” menu in the WordPress Dashboard. Locate the Kolyoum theme and hit “Activate”.
Install Recommended Plugins
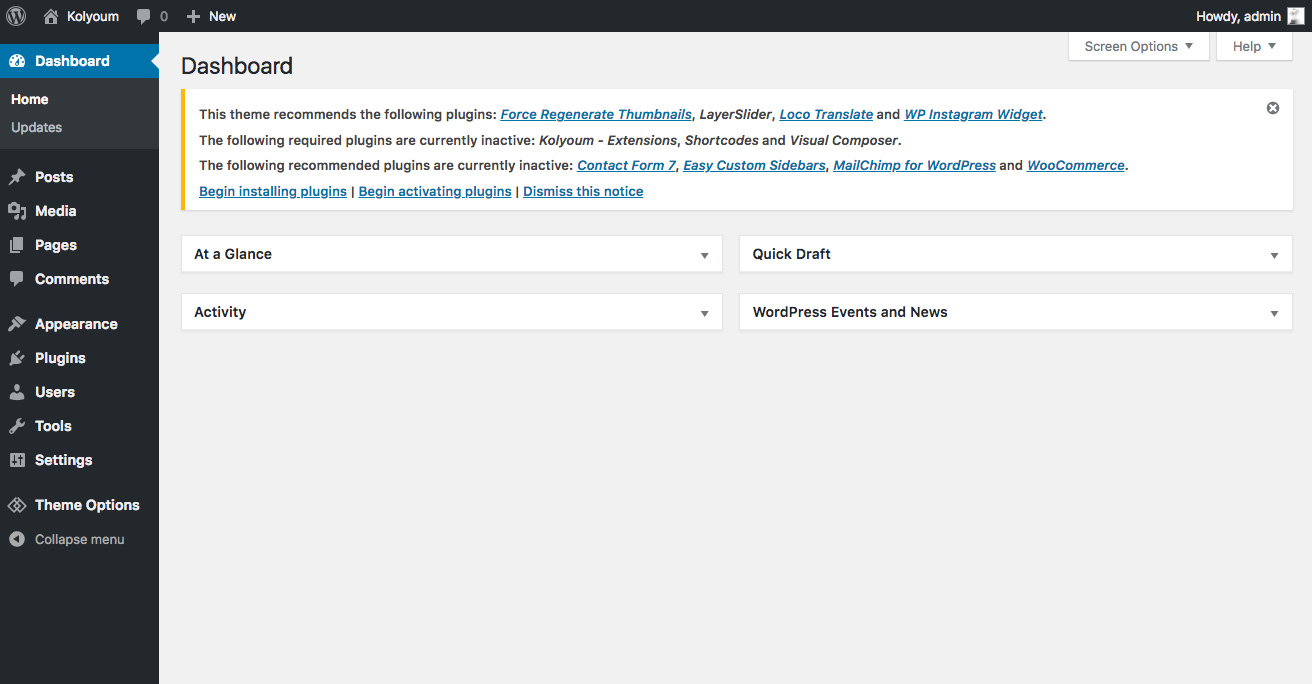
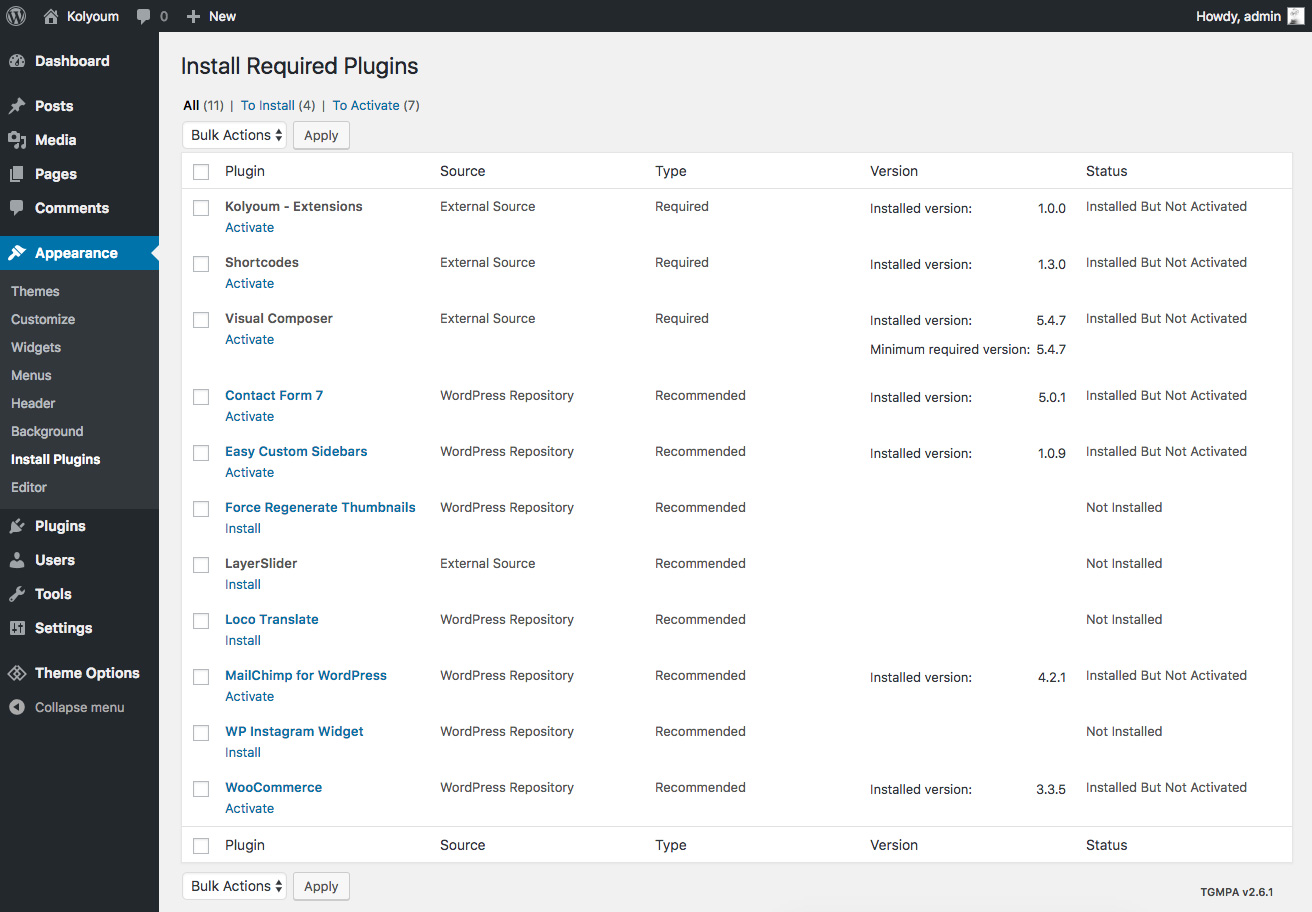
When you first activate the theme, you will be notified of what plugins are recommended to use with Kolyoum. You don't have to install each one, if you're not planning on using a particular feature. Once clicked, you will be taken to the Plugin Installation admin view, where you may install and activate each plugin, as depicted in the second screenshot below.
 Tgmpa
Tgmpa
 Tgmpa install
Please note that many of the designs and templates in the Kolyoum live demo are built using WPBakery Page Builder ( formerly Visual Composer ). WPBakery Page Builder - formerly Visual Composer (Pro) must be activated in order to utilize the built-in modules.
Need Help?
If you have a problem with the theme or found a bug, please get in touch. We take pride in our customer support and we will do what we can to assist you. If you are experiencing a theme issue, please first turn off all third party plugins to see if the problem persists.
1.1 Setting your Homepage
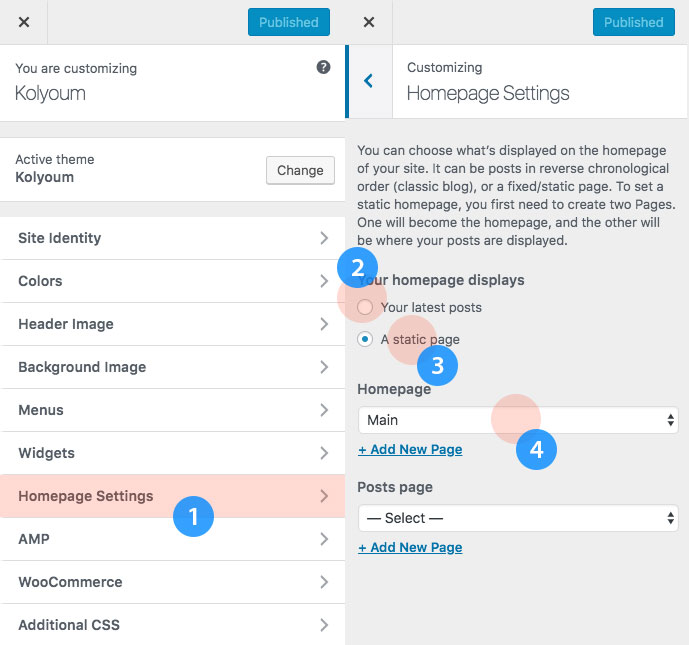
Go to ( WordPress Dashboard > Appearance > Customize ).
- Select Homepage Setting
- "Your latest posts" use this option in case you want to show a list of your recent posts in a blog list view, note that you can choose many
displaying styles of the blog list style under ( WordPress Dashboard > Theme Options > Template Settings > Blog Template ) - "A static page" we recommend
creating a new page called "Home" in WordPress, so you can assign this page as your static front page and you will be able to customize it using Page Builder, or choose any other page as your static front page. - "Front page" when you select "A static page", the below options will appear, choose the page you want to set it as a front page from the dropdown select menu.
 WordPress Dashboard > Appearance > Customize
1.2 Server Requirements for Kolyoum
To use Kolyoum, please make sure you are running WordPress 4.6 or higher, PHP 5.6 or higher, and MySQL 5.6 or higher (for legacy environments also PHP versions 5.3.x will work but it is recommended to be on at least PHP 5.6 and preferably PHP 7.0. WordPress recommends PHP 7). We have tested it with Mac, Windows and Linux. Below is a list of items you should ensure your host can comply with.
Recommended PHP Configuration Limits
Many issues that you may run into such as: white screen, your demo import fails, empty page content with Fusion Builder and other similar issues are all related to low PHP configuration limits. The solution is to increase the PHP limits. You can do this on your own, or contact your web host and ask them to increase those limits to a minimum as follows:
- max_execution_time 180
- memory_limit 128M
- max_input_vars 3000
- post_max_size 32M
- upload_max_filesize 32M
- allow_url_fopen ON
How To Verify Your Current PHP Limits
You can verify your PHP configuration limits check them by installing a simple plugin WordPress phpinfo(). In addition, you can always contact your host and ask them what the current settings are and have them adjust as needed. Please note that many hosts will try to keep the PHP limits low without reason. However you are paying for it and therefore should be getting your money’s worth.
1.3 Increasing the WordPress Memory Limit
Increase the limit via PHP.ini file
You can directly increase the PHP Memory Limit if you’ve access to the php.ini file. Most small Shared hosting servers won’t give you access to the php.ini file. But some servers allow you to create a duplicate php.ini in your respective site Directories whose data/values will override the default php.ini values. To do that you just need to create a file with the name php.ini in the directory where your WordPress site is installed. In that just add the command.
memory_limit = 512M
in it to increase the Memory Limit to 512 MB
Changing the Memory Limit via wp-config.php
The wp-config.php file is located in the wordpress root directory.
If you don’t want to mess with the PHP.ini file, then you can go for this method. In this, you won’t be needing to create any extra file in your Directory.
define('WP_MEMORY_LIMIT', '512M');
By default, WordPress tries to increase the PHP memory if detected less than 64MB. However, this is often not high enough. When using multiple plugins and complex theme elements, you will have to go up to 512MB to avoid exhausting the PHP memory.
Increase Menu Limit in WordPress
If you are trying to add another link or page to your WordPress menu and it simply doesn’t save then it is most likely that you have hit the limit for your WordPress navigation menu. Now this limit is actually due to a setting on your server, not WordPress itself. Follow the instructions below to increase the menu limit on your WordPress menu.
Step 1 : There are two ways to change this. One is via your php.ini file, but that will affect your entire server. So I am going to show you how to do this with your .htaccess file. Please note, if virtual hosts are setup the “allow overide” must be enabled for the .htaccess trick to work. So first open up your .htaccess file. It should be located in the root of your site.
Step 2 : By default your .htaccess will most likely look like this below:
# BEGIN WordPress
<IfModule mod_rewrite.c>
RewriteEngine On
RewriteBase /
RewriteRule ^index.php$ - [L]
RewriteCond %{REQUEST_FILENAME} !-f
RewriteCond %{REQUEST_FILENAME} !-d
RewriteRule . /index.php [L]
</IfModule>
# END WordPress
We are going to add a single line towards the top.
php_value max_input_vars 6000
So afterwards your .htaccess file should look like this.
# BEGIN WordPress
php_value max_input_vars 6000
<IfModule mod_rewrite.c>
RewriteEngine On
RewriteBase /
RewriteRule ^index.php$ - [L]
RewriteCond %{REQUEST_FILENAME} !-f
RewriteCond %{REQUEST_FILENAME} !-d
RewriteRule . /index.php [L]
</IfModule>
# END WordPress
Now save your .htaccess file and re-upload it to your server. You should now be able to add more menu items to your WordPress navigation menu.
As always feel free to leave your comments below!
WP Debug
It is an option intended for development, it controls the reporting of some errors and warnings. It may display unwanted messages so you should disable it on your side. The default value is false
define('WP_DEBUG', false);
2. Page Builder
2.1 WPBakery Page Builder - Formerly Visual Composer
WPBakery Page Builder is quite a powerful page builder. With relative ease you can recreate our live demo templates and build your own to suit your needs. you can check more : WPBakery Page Builder Knowledge Base
 WPBakery Page Builder is quite a powerful page builder. With relative ease you can recreate our live demo templates and build your own to suit your needs.
Watch the video
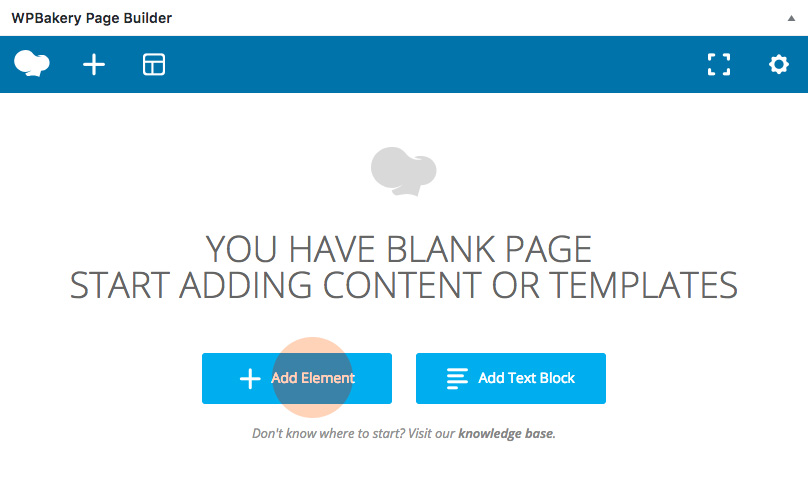
2.2 Build Your First Page
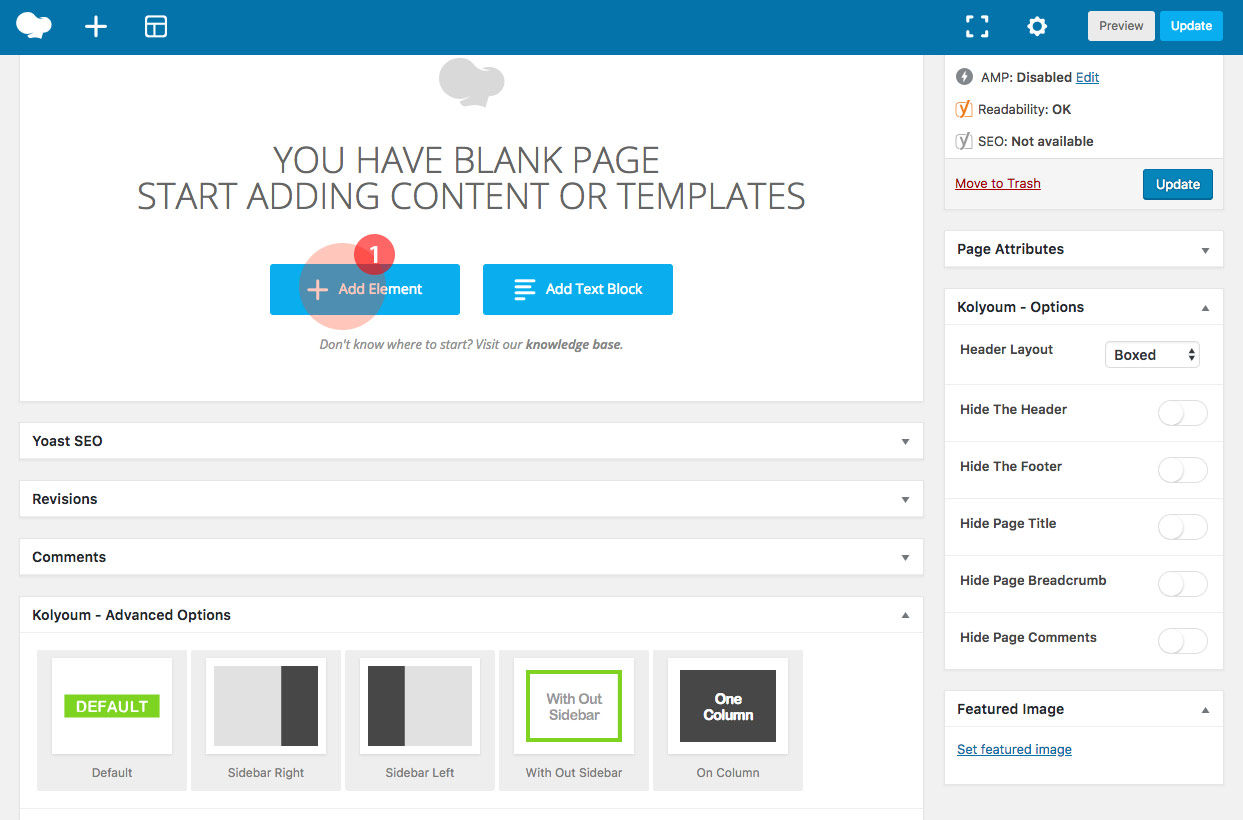
Ready to start building? Simply add a new standard WordPress page and jump into WPBakery Page Builder by clicking the Backend Editor tab shown on the screenshot below.
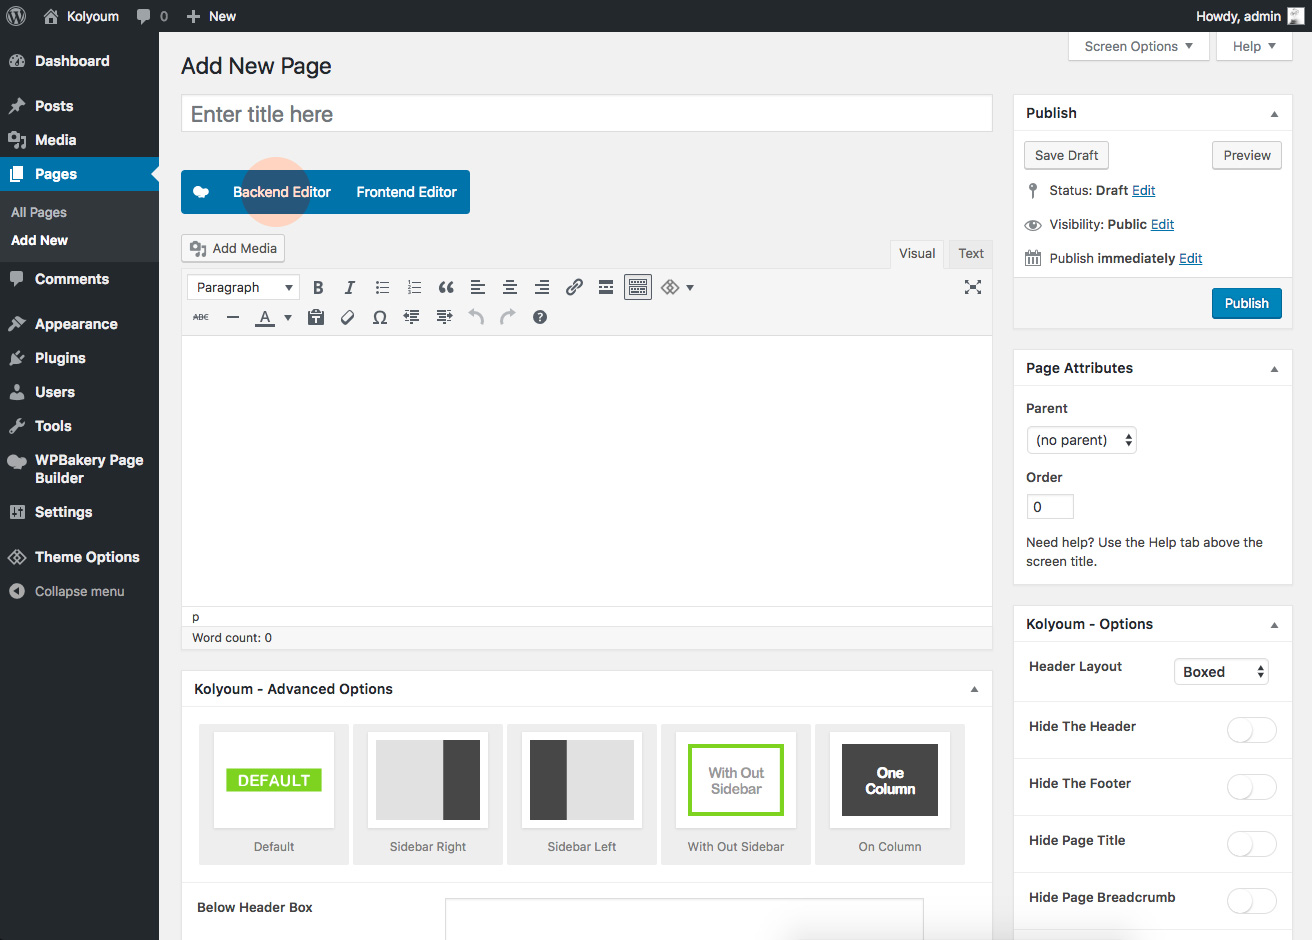 Ready to start building? Simply add a new standard WordPress page and jump into WPBakery Page Builder by clicking the Backend Editor tab shown on the screenshot below.
2.3 Creating Your Own Layout with the Visual Composer
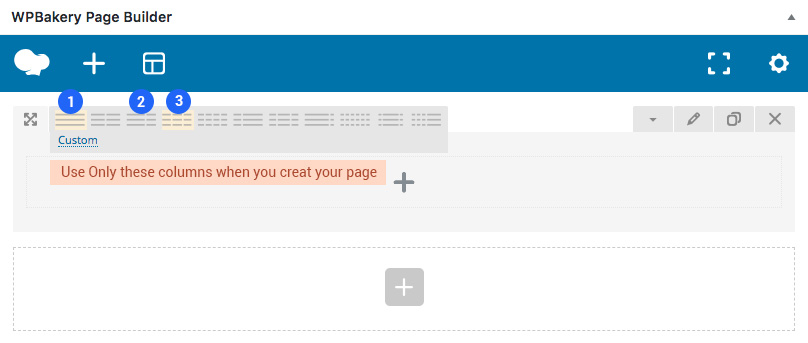
When you are creating a new page or new sections, please use only these 3 blue highlighted columns, to ensure that your blocks will look and work perfectly.
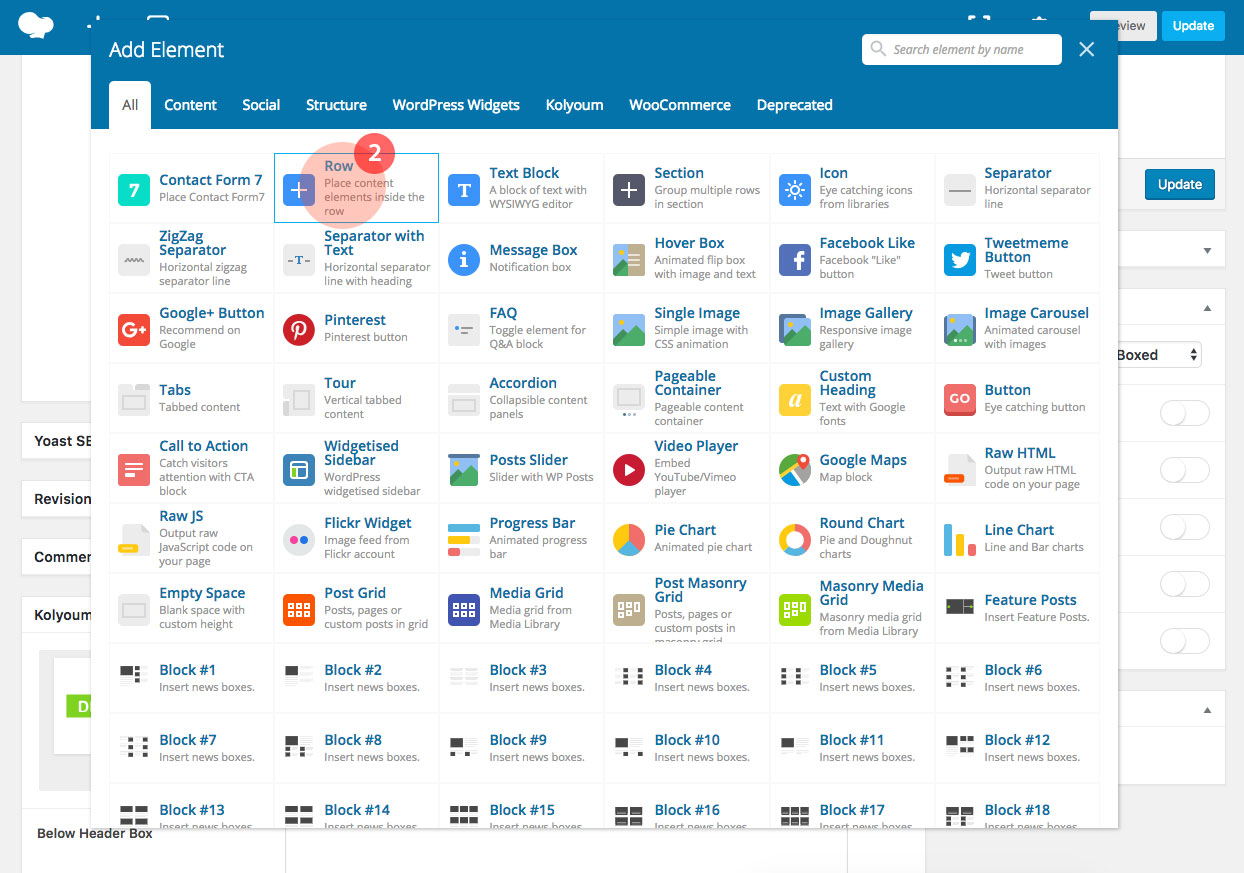
 WPBakery Page Builder - Add element And Select the Row from the pop-up window.
- Full width
- Column with sidebar
- 3 columns
Use Only these columns when you creat your page.
 WPBakery Page Builder - Row
 WPBakery Page Builder - Row Full
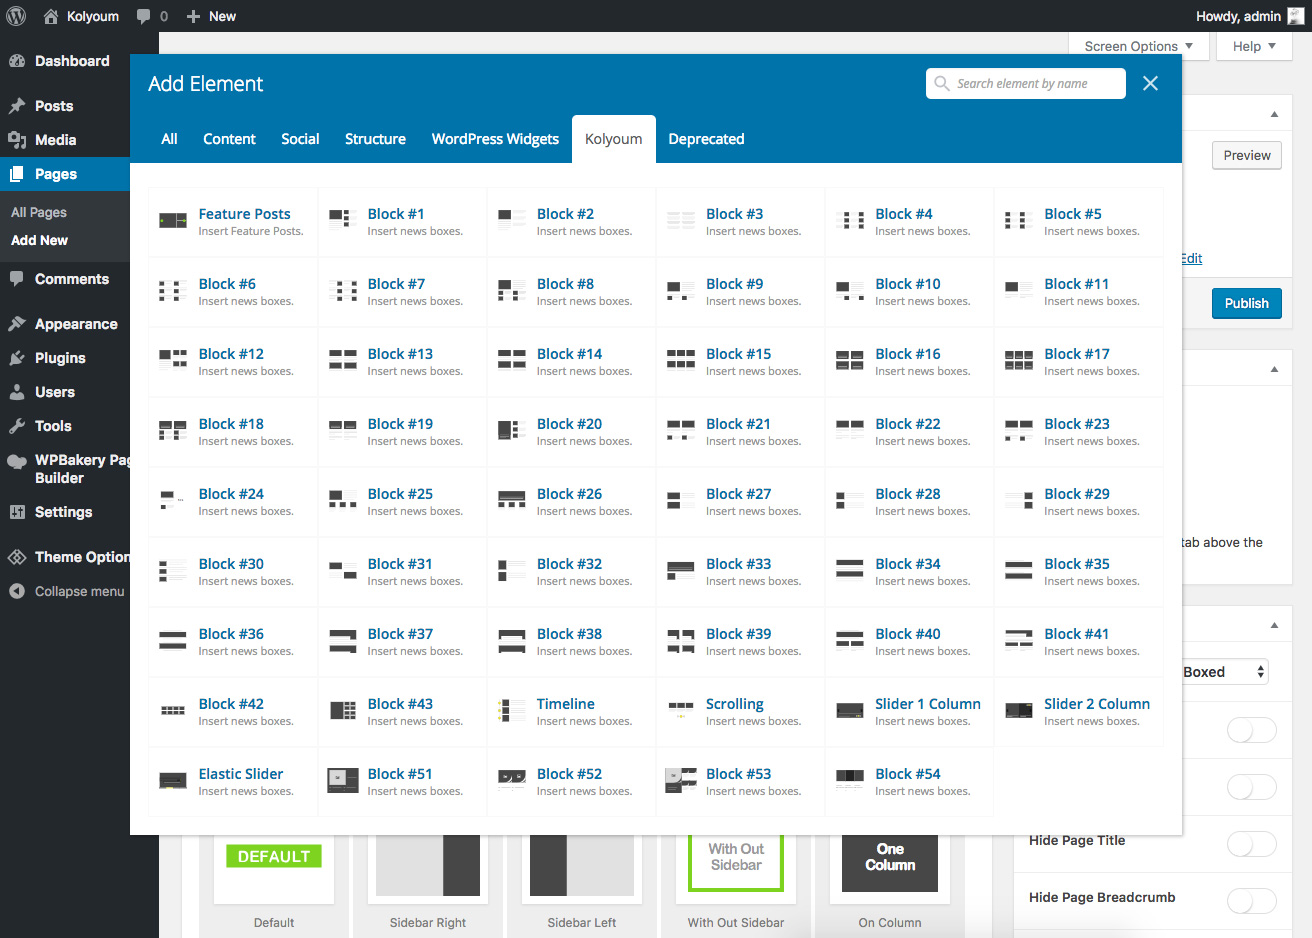
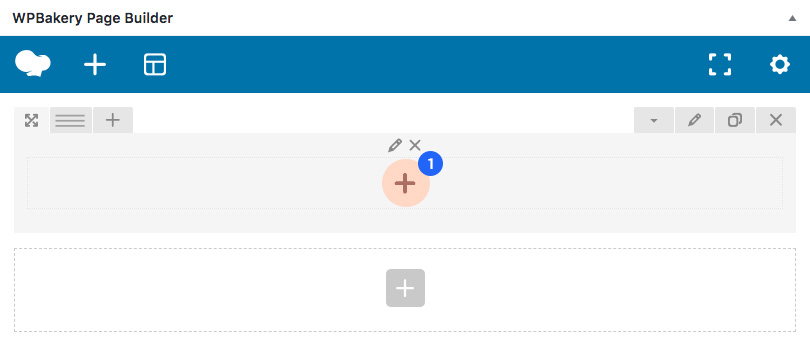
Notice: Use only those 3 blue highlighted columns when you add blocks on the page.To add new blocks:
- Click the plus + sign
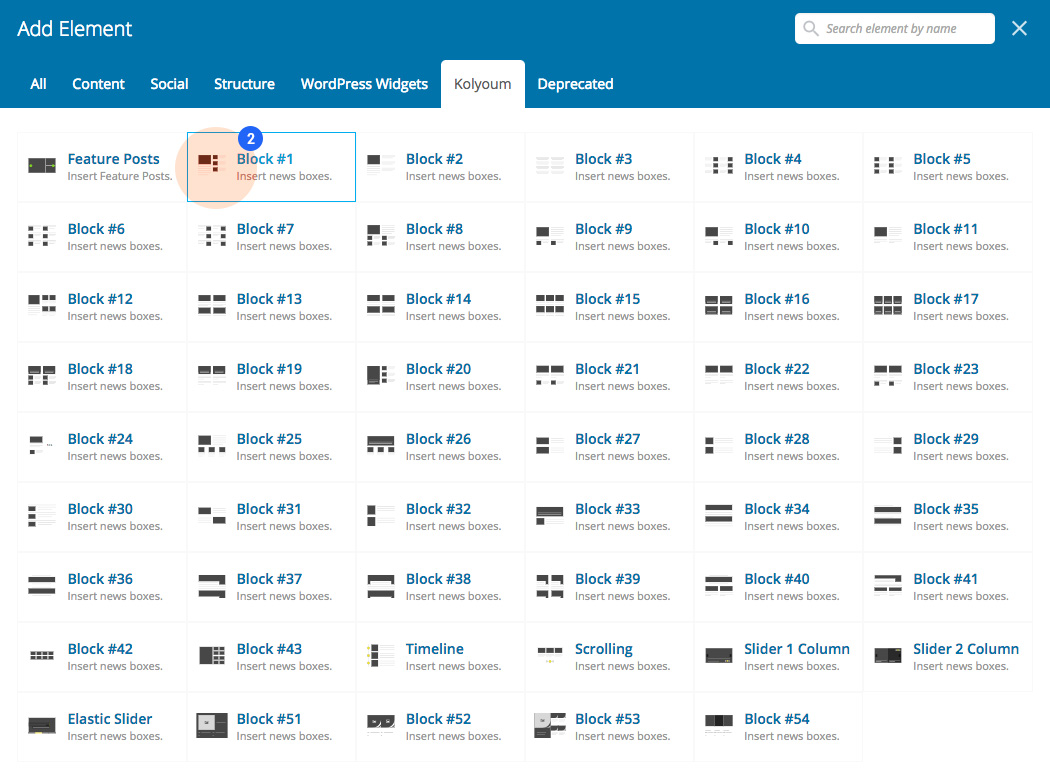
- Select the block that you want to use from the pop-up window.
- News Block - General
- News Block - Filter
- News Block - Ajax
- News Block - Color
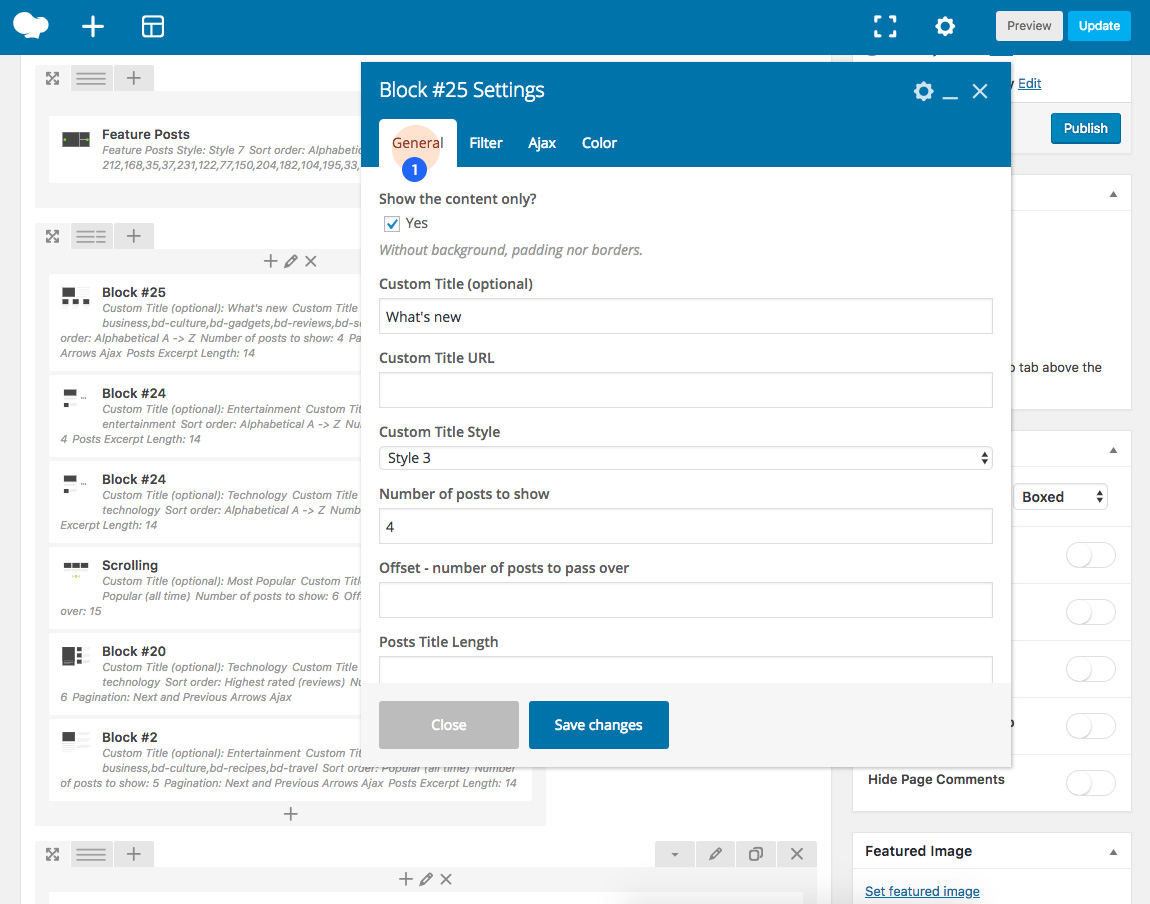 Block Options - Tab General
Block Options - Tab General
- Show the content Only - display the block without border, padding, and background.
- Block Title - the title that will display above of the block, leave it empty to hide it.
- Block URL - if you want a custom URL to the block title.
- Block Title - Style
 Block Title - Style 1
 Block Title - Style 2
 Block Title - Style 3
 Block Title - Style 4
 Block Title - Style 5
 Block Title - Style 6
 Block Title - Style 7
 Block Title - Style 8
 Block Title - Style 9
 Block Title - Style 10
- Number of posts to show
- Offset - Number of posts to pass over, it's very useful if you want to display some of the posts from a specifc category in a specific block, and display the other posts with another block.
- Posts Title Length - the number of words or characters, search Jannah options panel for Trim Text by to choose trim by words or characters.
- Posts Excerpt - show/hide the post excerpt.
- Posts Excerpt Length - the number of words or characters, search Jannah options panel for Trim Text by to choose trim by words or characters.
- Read More Button - show/hide read more button below of the excerpt.
- Post meta - show/hide the post meta data (date, author, the number of views and so on..)
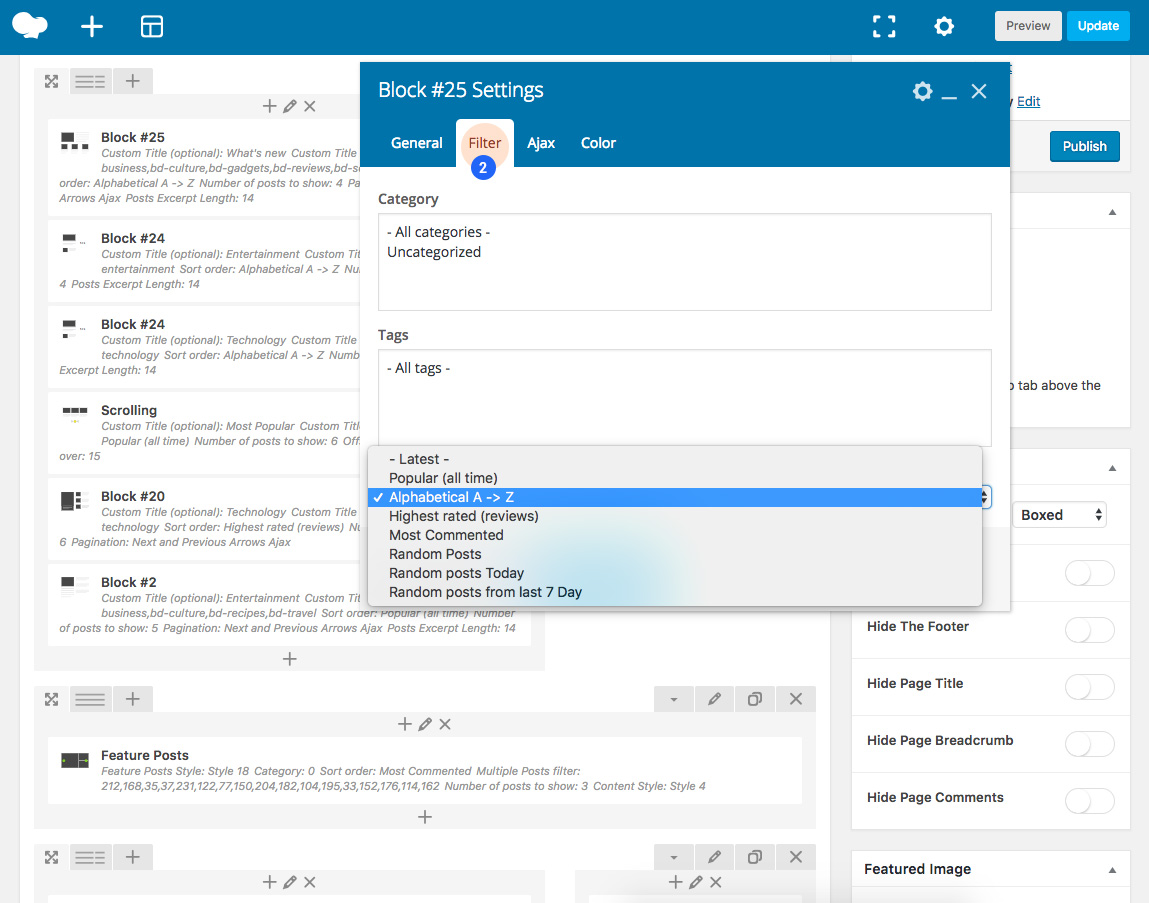 Block Options - Tab Filter
Block Options - Tab Filter
- Categories - Choose the news categories in this block, it's multiple select.
- Tags - display news by tag instead of categories, this option will override the categories options.
- Sort order - sort the news in the block by one of the available eghit values:
- Latest - Recent Posts
- Popular (all time) Popular Posts (all time)
- Alphabetical A -> Z
- Highest rated (reviews)
- Most Commented
- Random Posts
- Random posts Today
- Random posts from last 7 Day
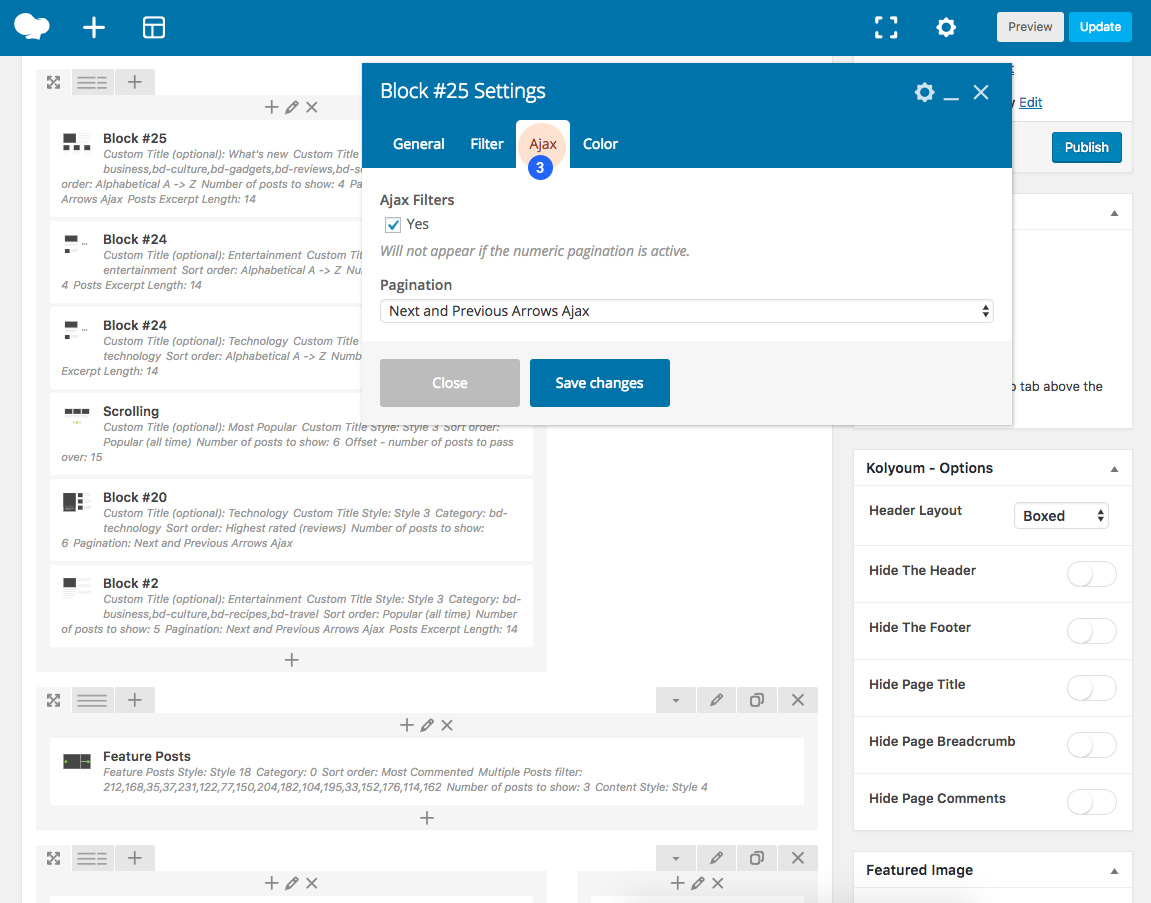 Block Options - Tab Ajax
Block Options - Tab Ajax
- Ajax Filters - display categories/tags filters beside the block title.
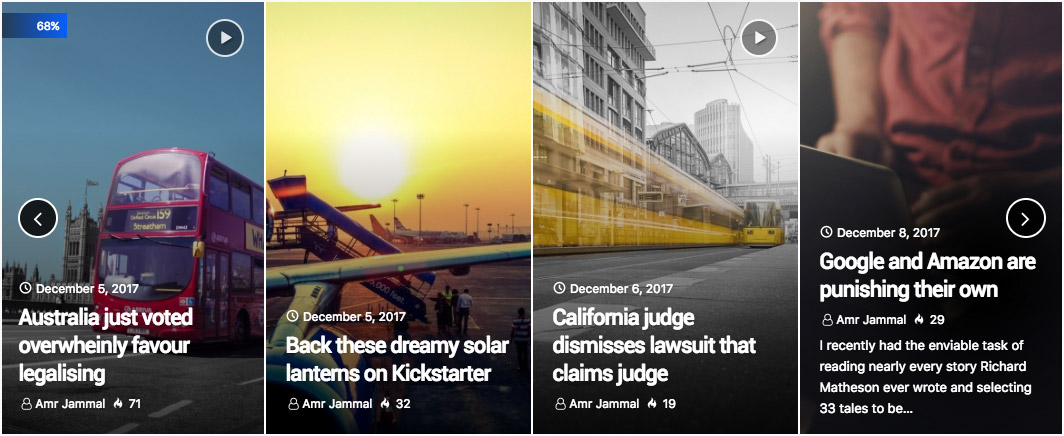
- Pagination - choose one of the available four paginations:
- Numeric
- Load More button
- Show More button
- Next and Previous Arrows Ajax
 Pagination - Numeric
 Pagination - Load More button
 Pagination - Show More button
 Pagination - Next and Previous Arrows Ajax
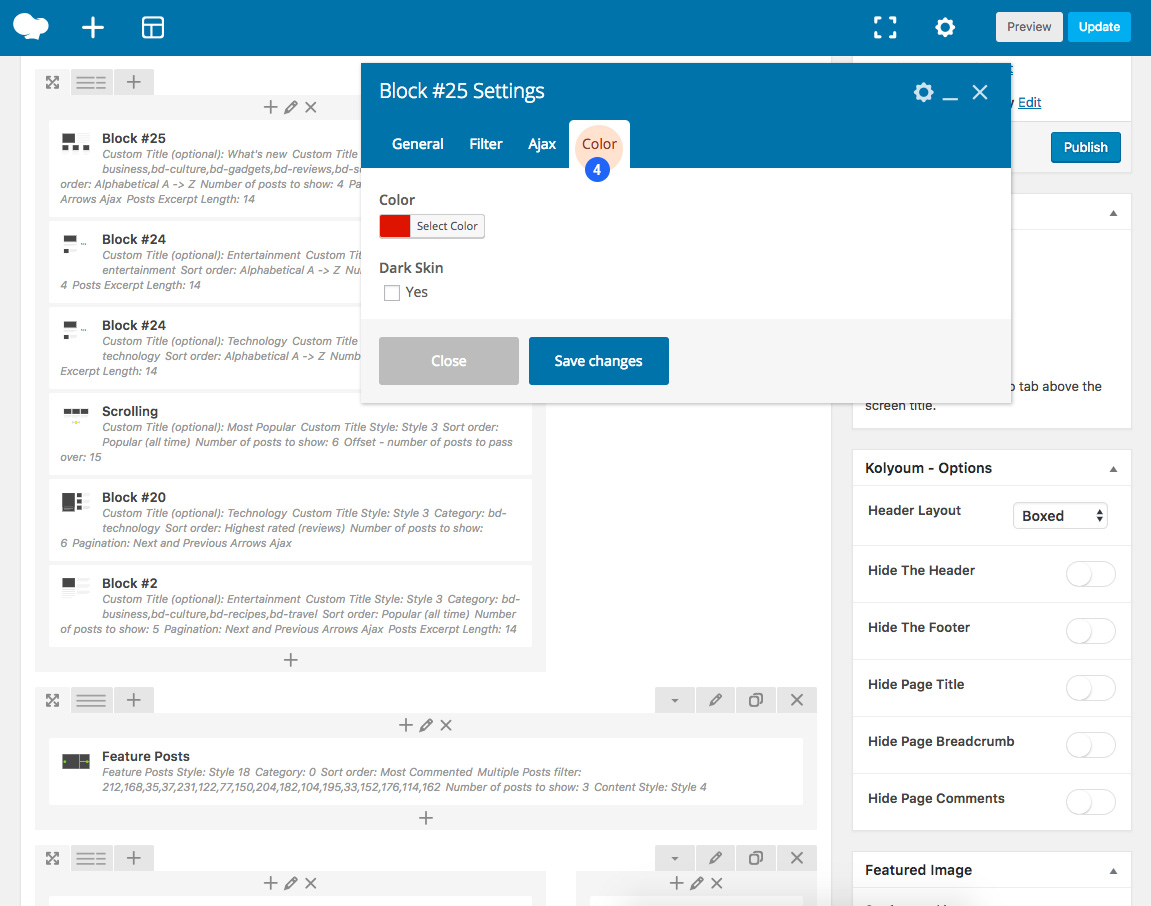 Block Options - Tab Color
Block Options - Tab Color
- Color - block main color, title, links on hover, more buttons, loading icons and so on.
- Dark Skin - display block dark .
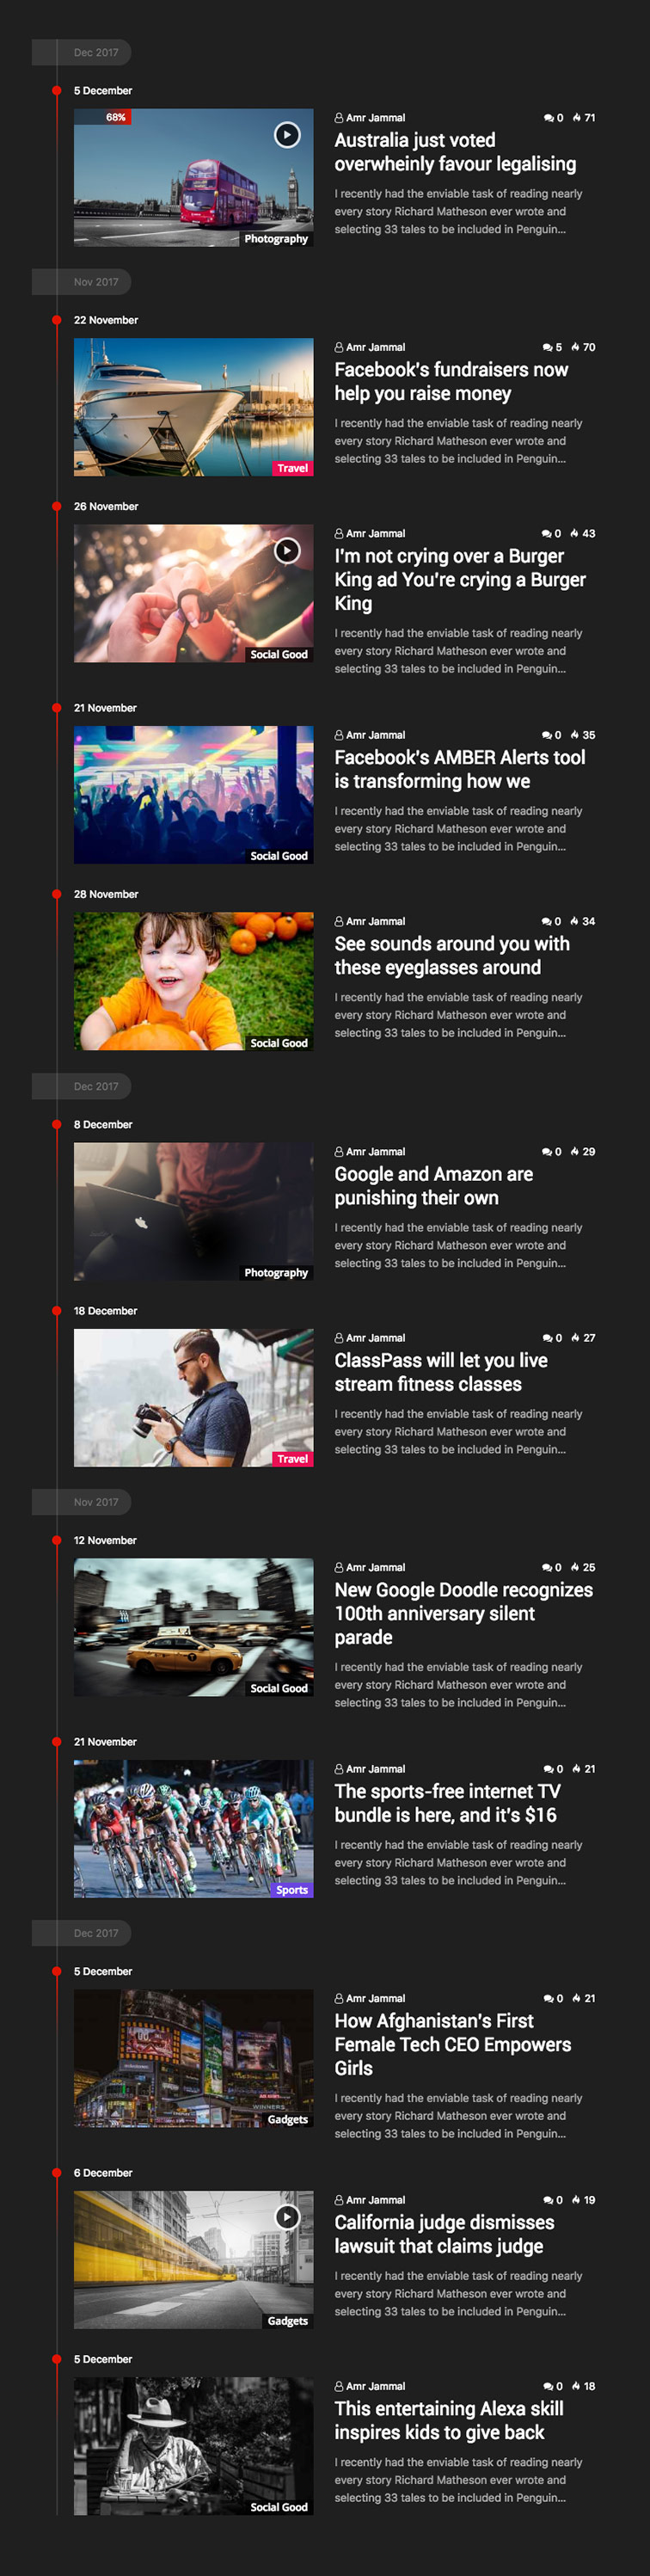
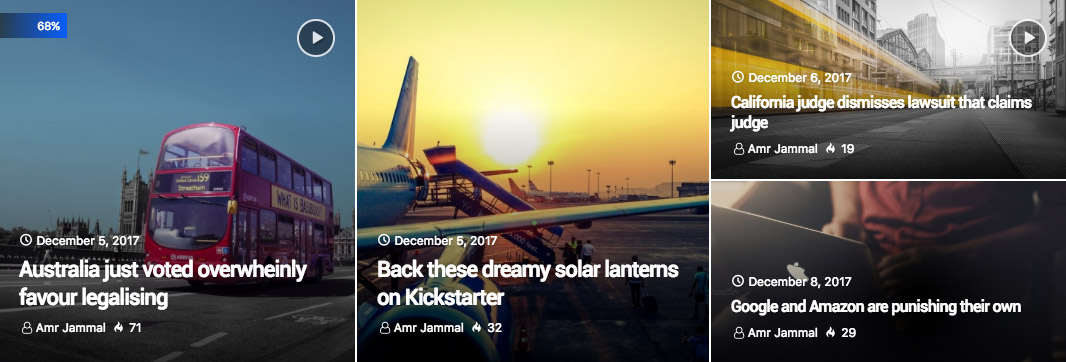
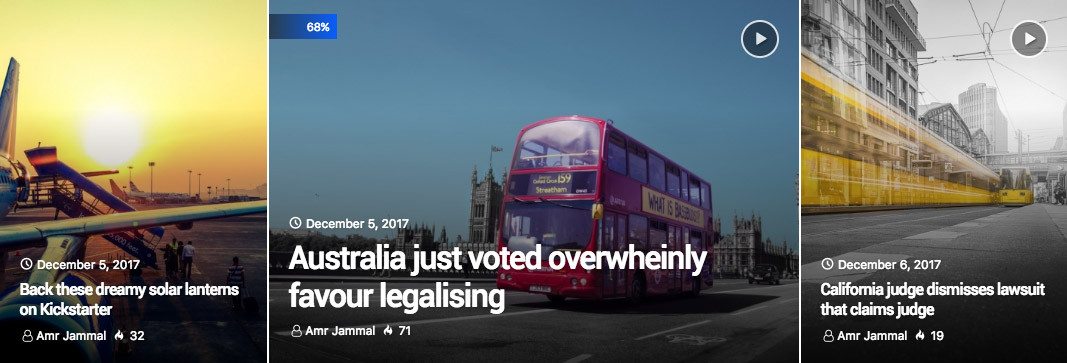
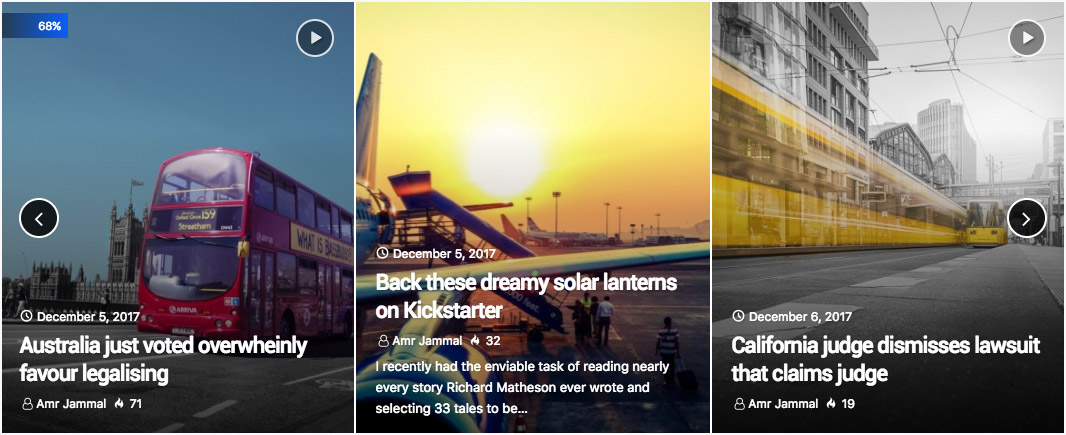
2.9 News Blocks
You can add unlimited sections and unlimited blocks inside it, also, you can add widgets to sections sidebars by clicking on the widget area in any section with two column layout (Left/Right sidebar).
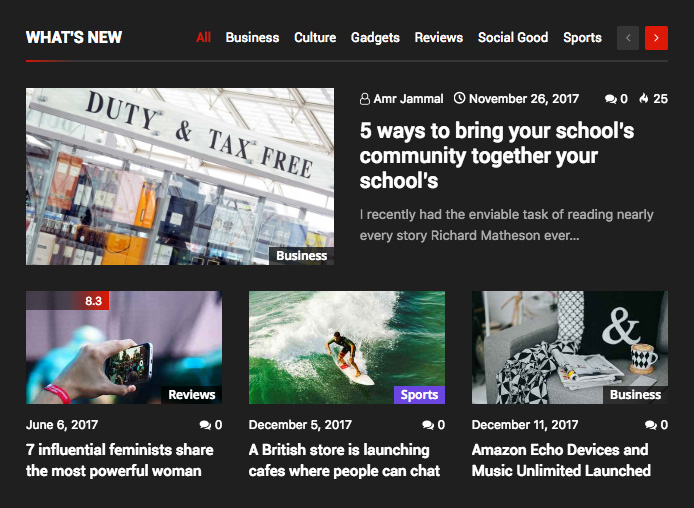
You can add Ajax filters for each block, filters will be categories or tags, the filters menu is a flex-menu, that lets you create responsive menus that automatically collapse into a "more" drop-down when they run out of space.
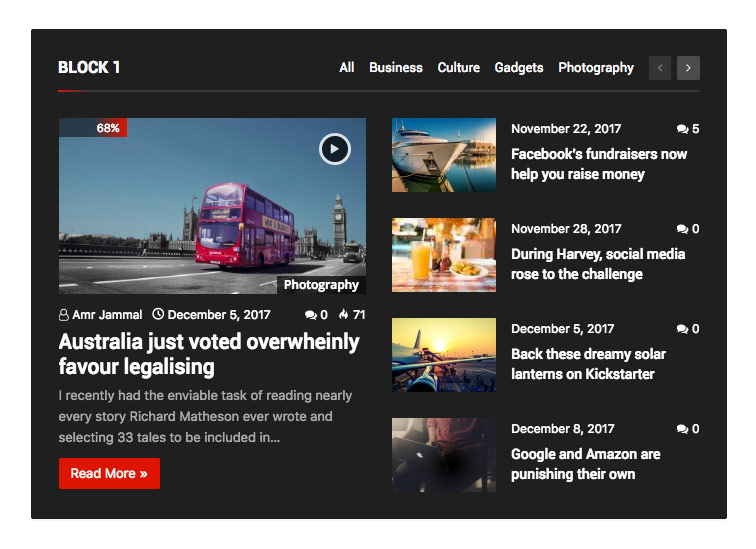
Block #1 Live Preview

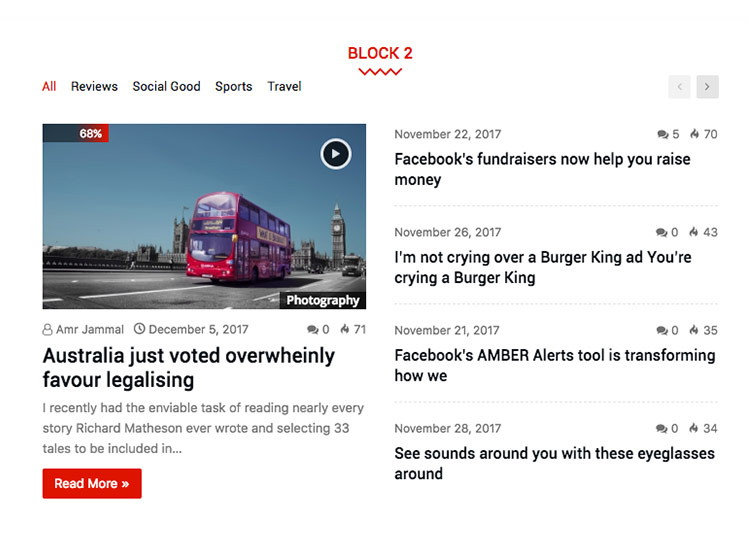
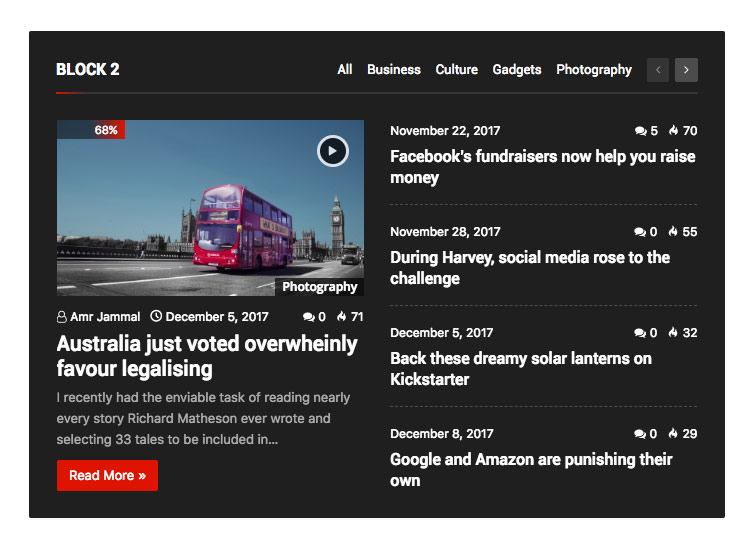
Block #2 Live Preview
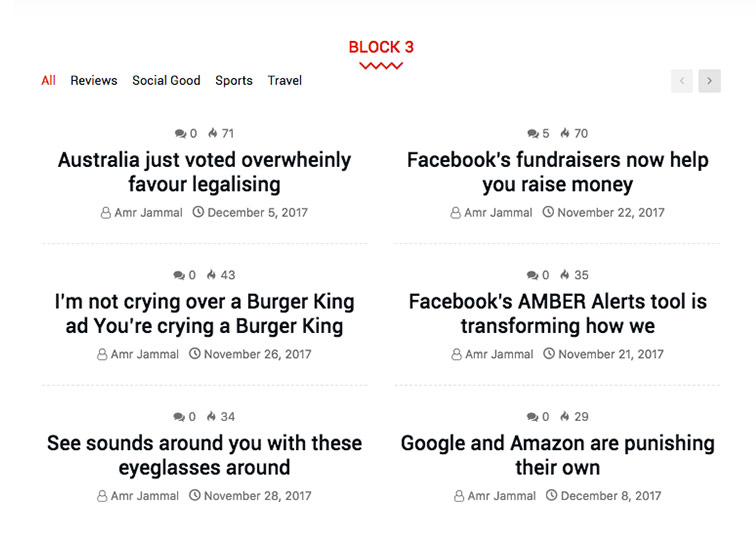
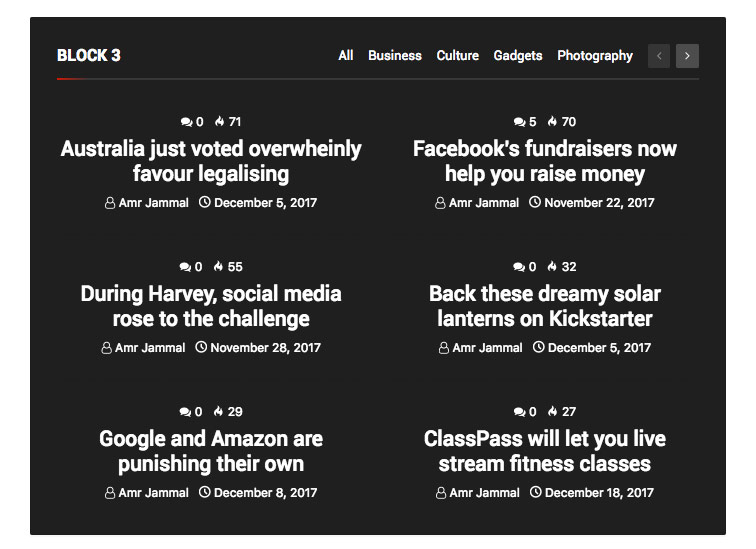
Block #3 Live Preview
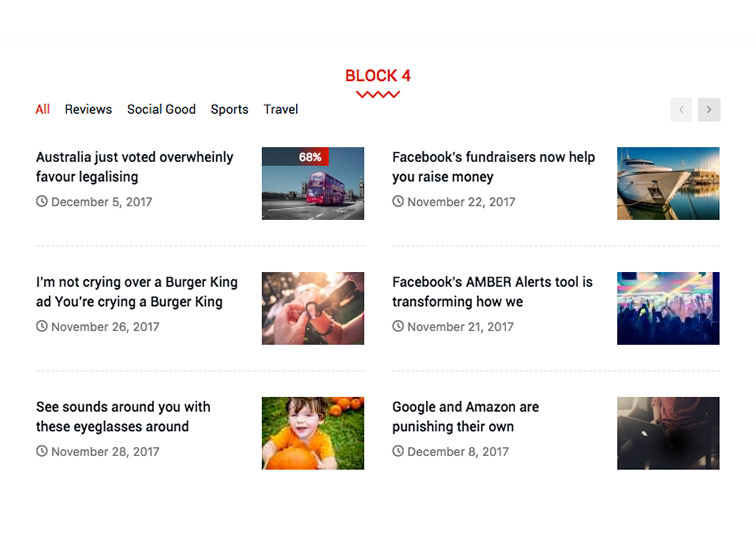
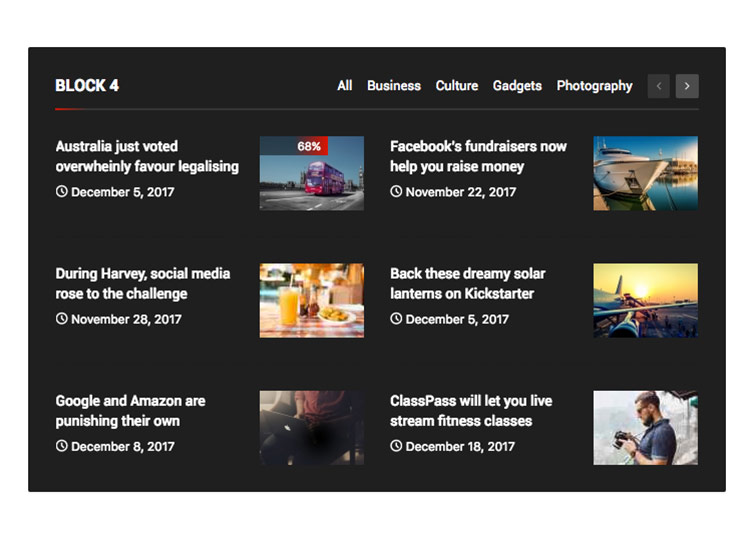
Block #4 Live Preview
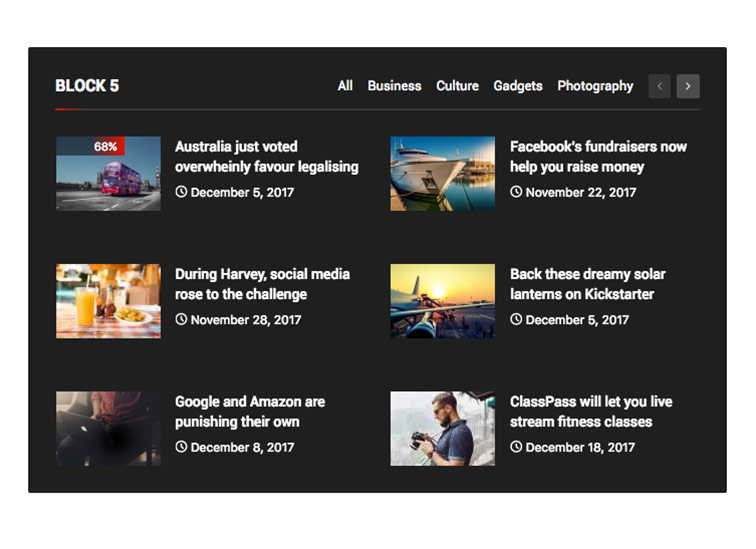
Block #5 Live Preview

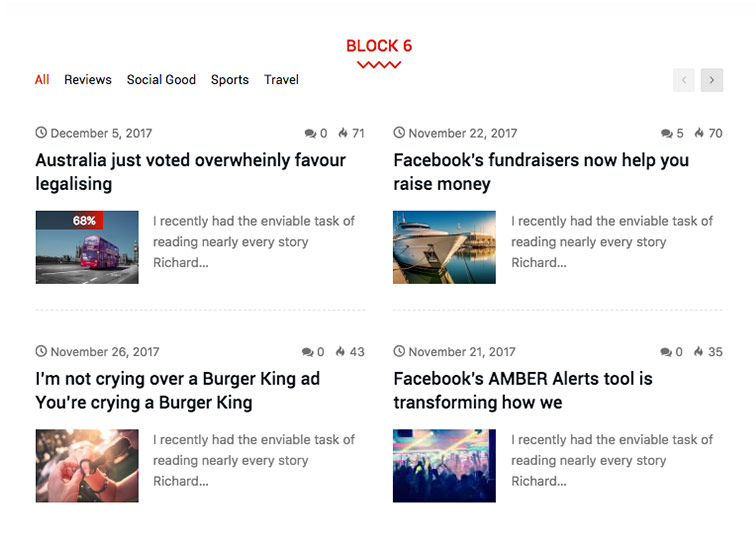
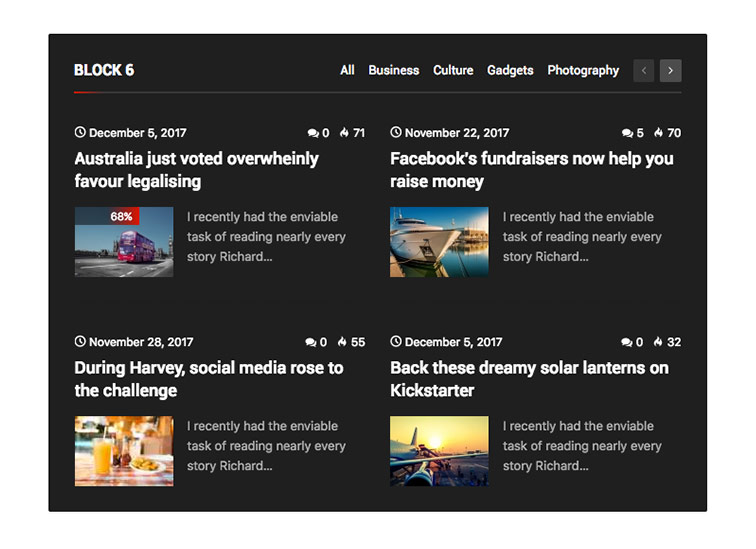
Block #6 Live Preview
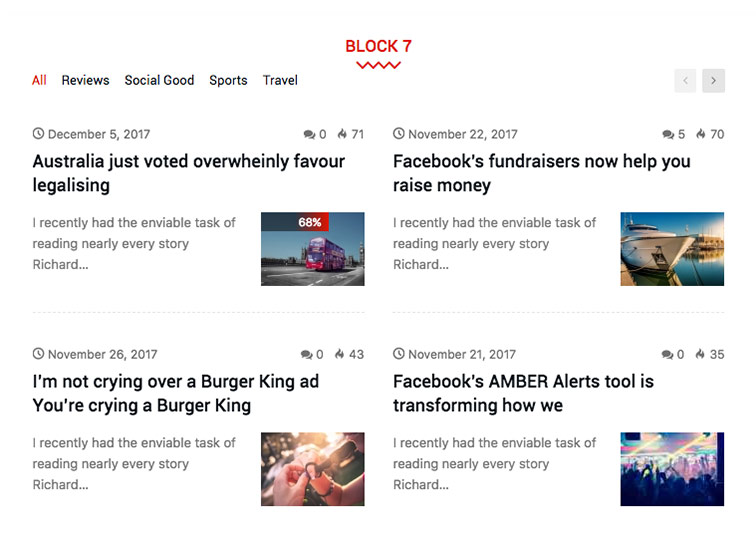
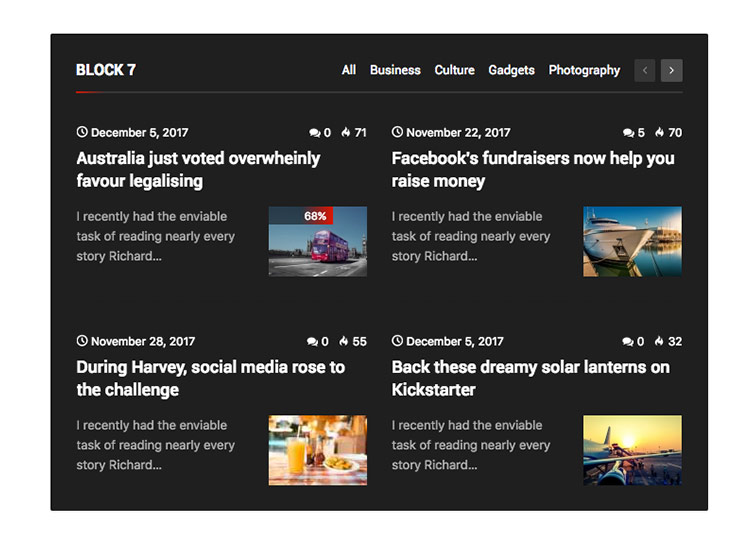
Block #7 Live Preview
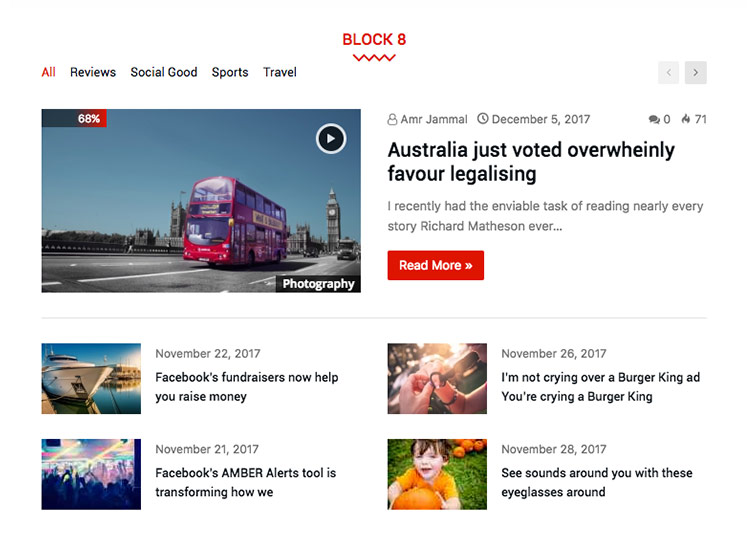
Block #8 Live Preview

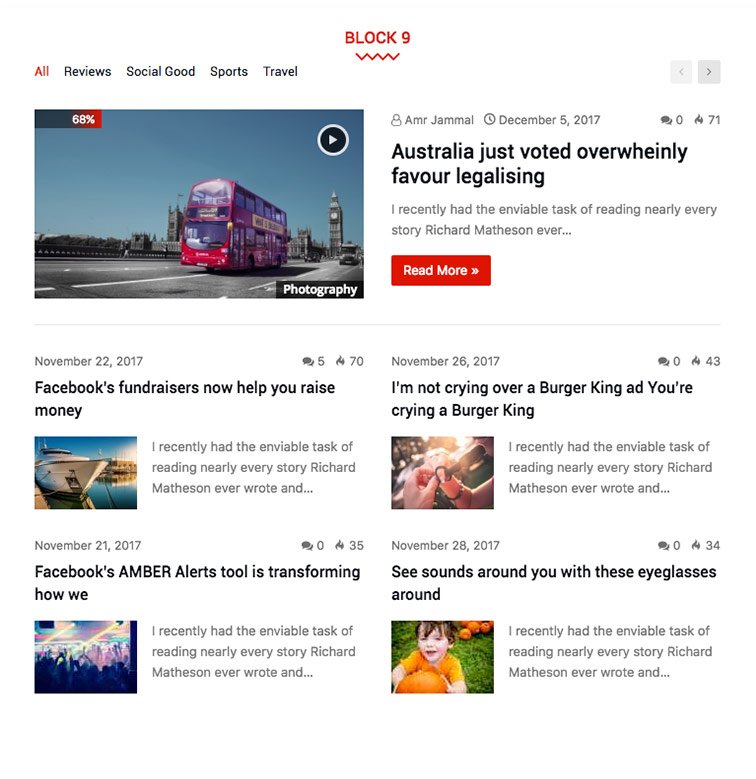
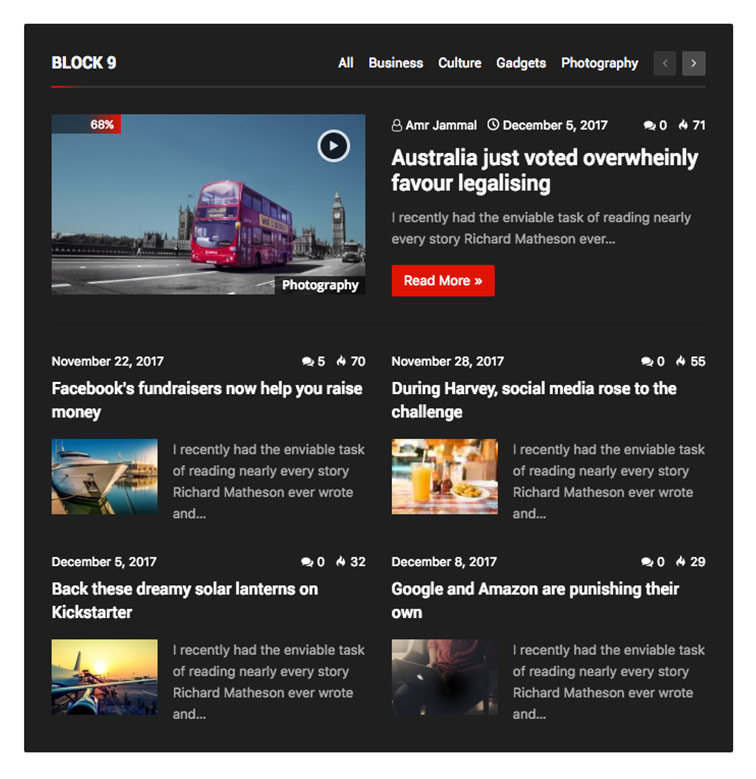
Block #9 Live Preview
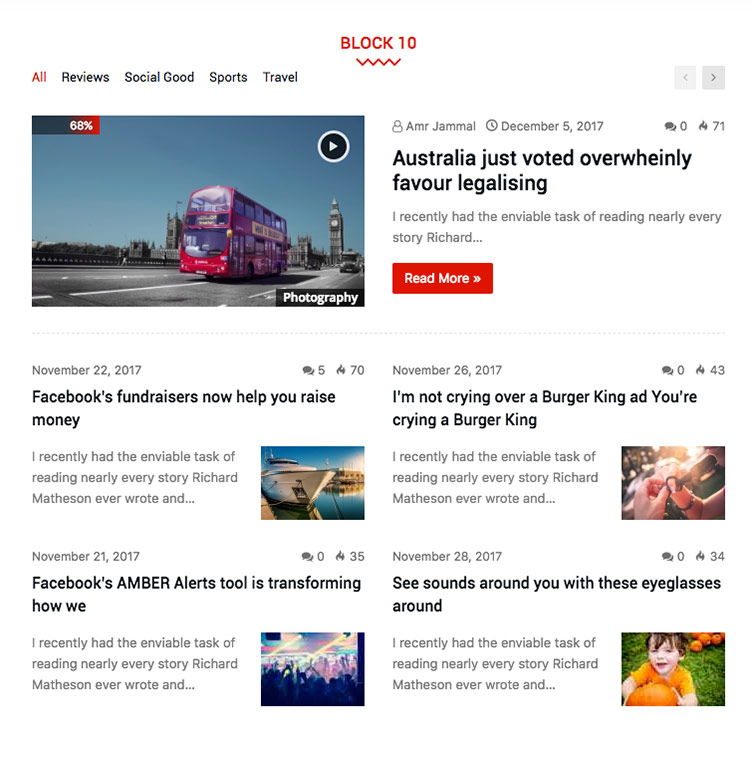
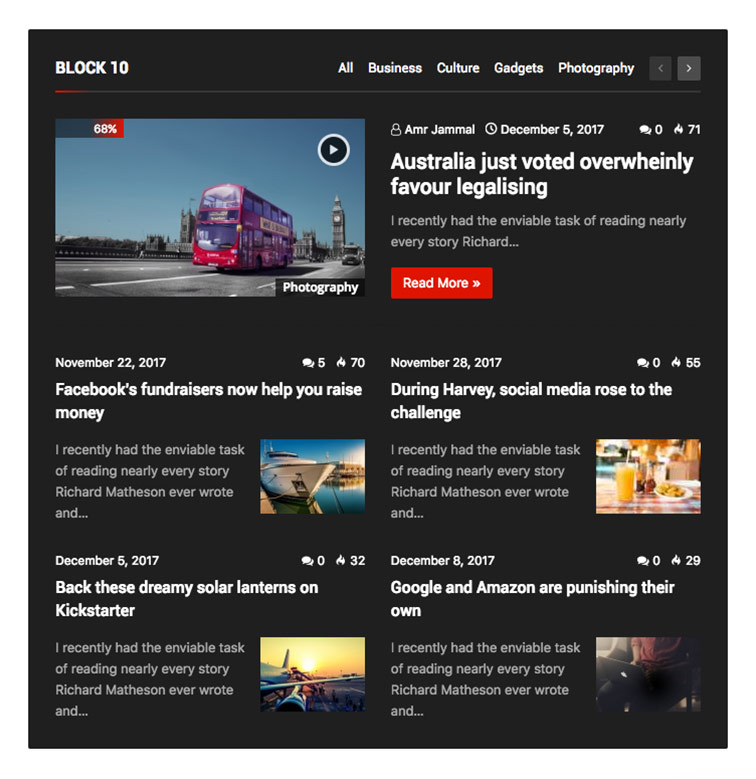
Block #10 Live Preview
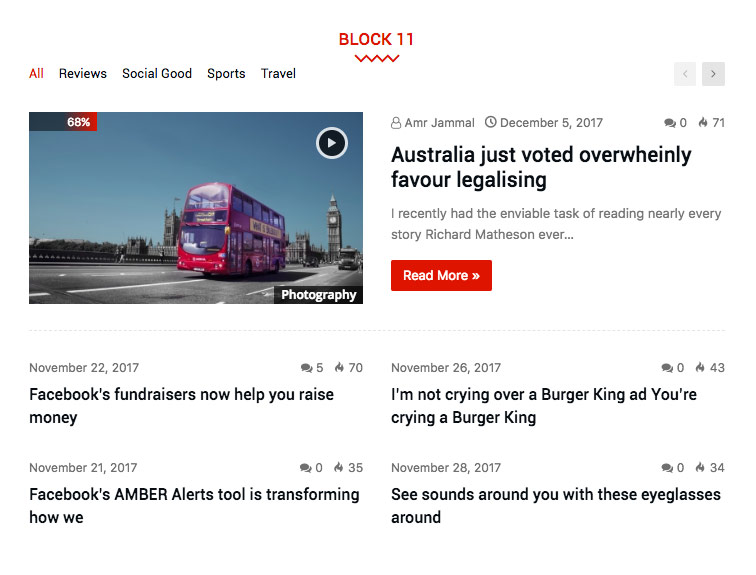
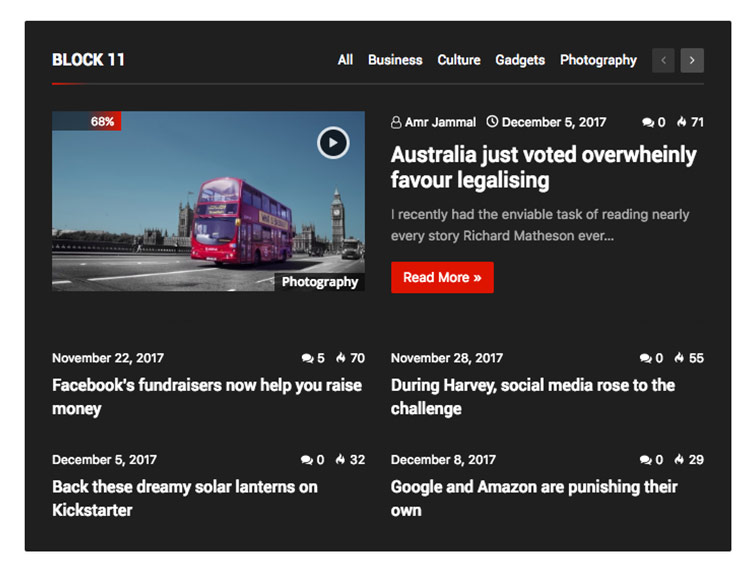
Block #11 Live Preview
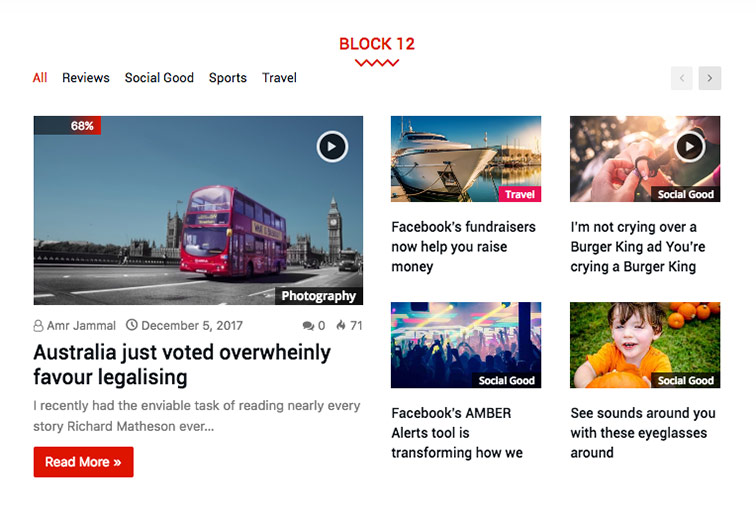
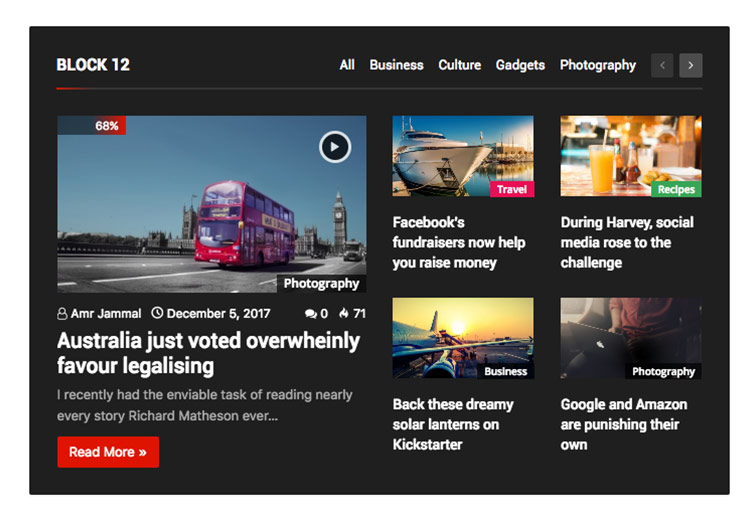
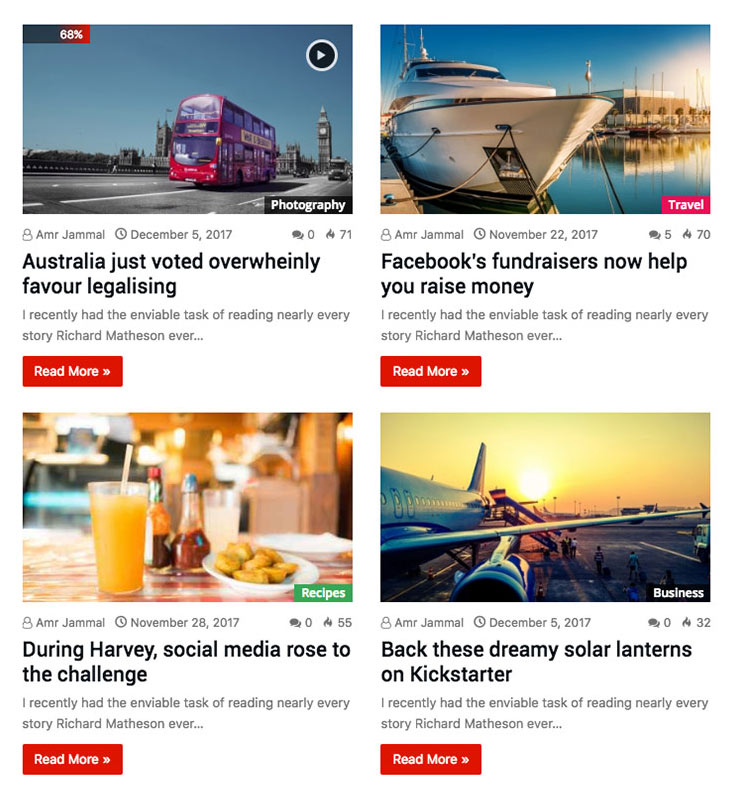
Block #12 Live Preview
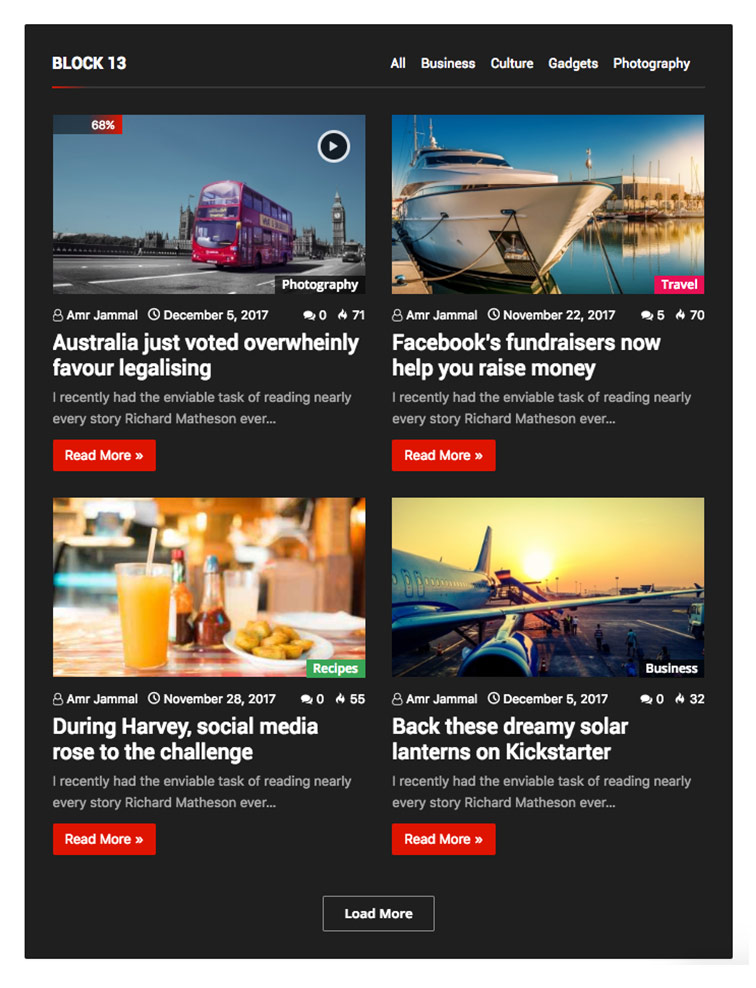
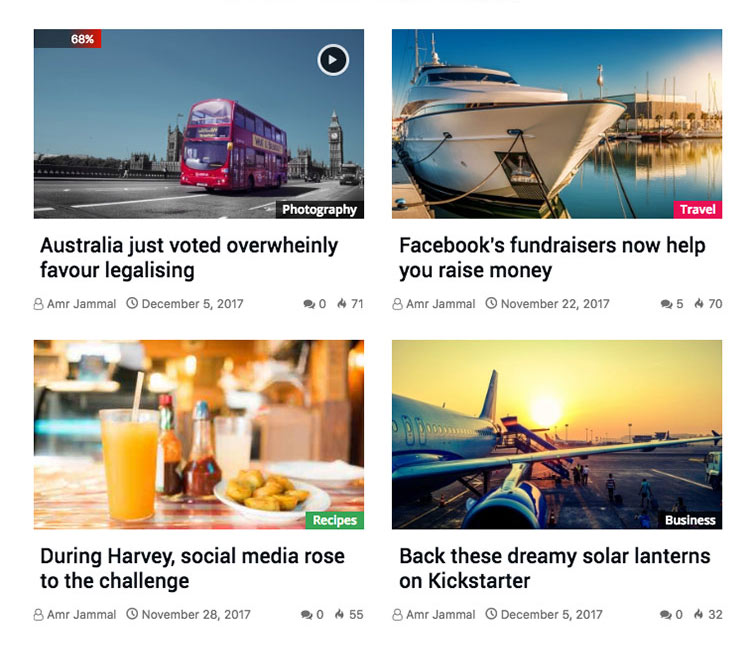
Block #13 Live Preview
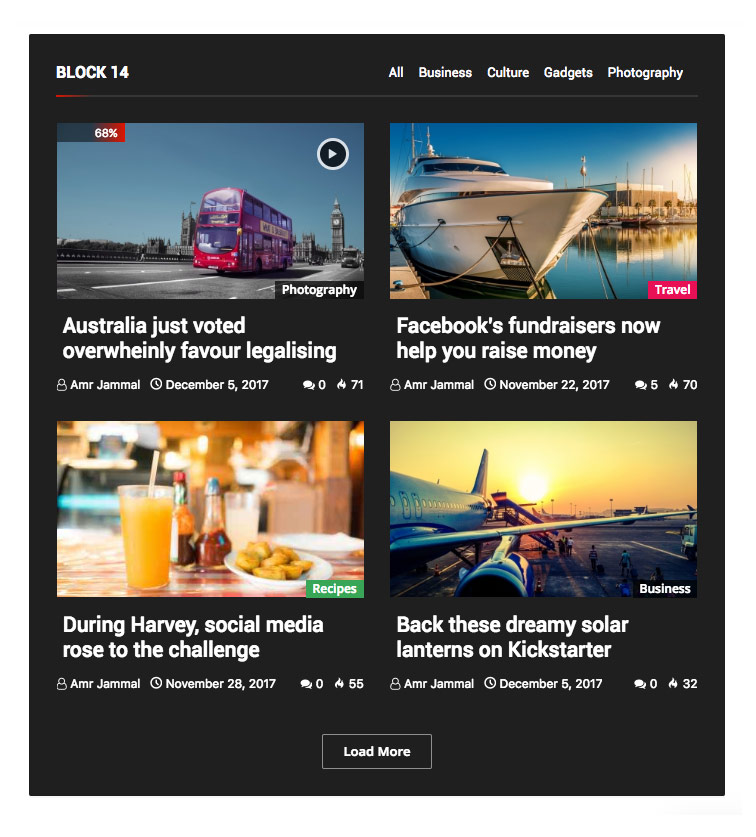
Block #14 Live Preview
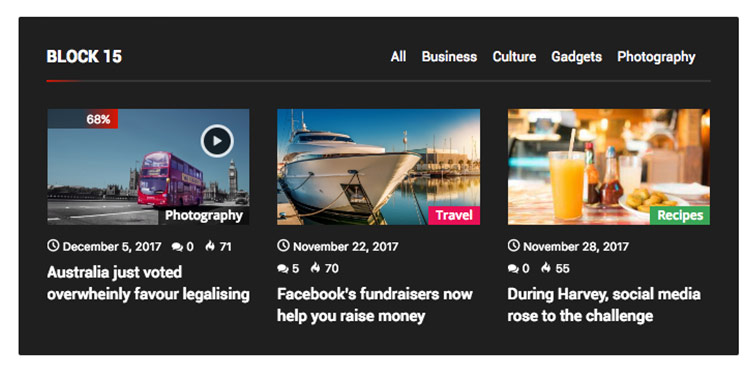
Block #15 Live Preview
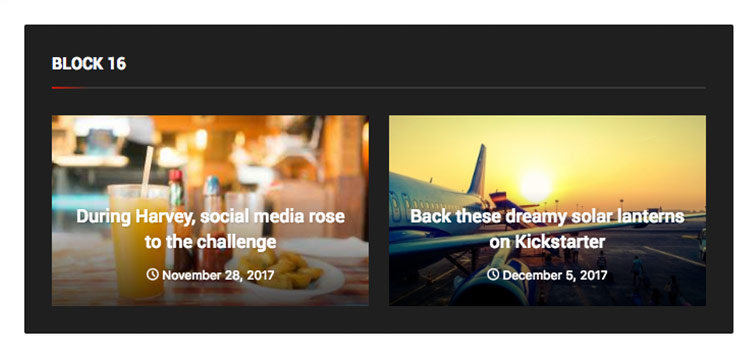
Block #16 Live Preview

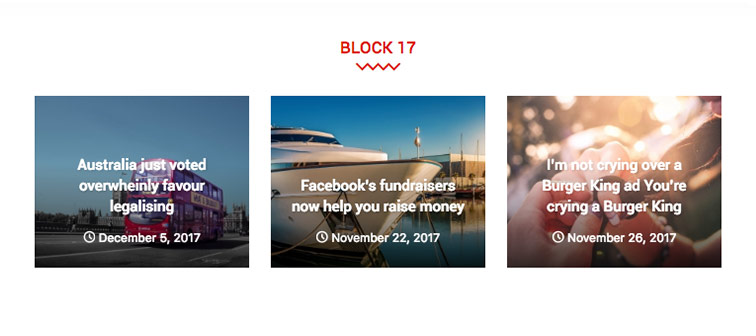
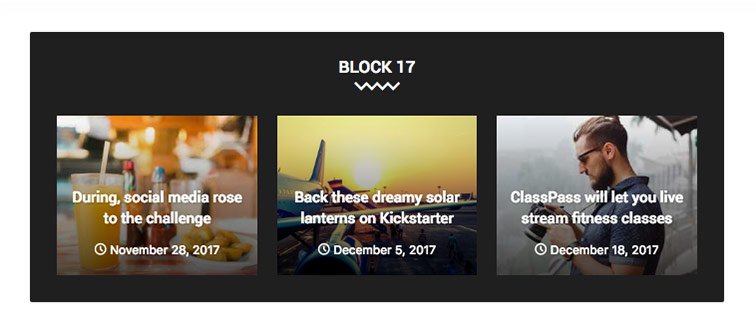
Block #17 Live Preview

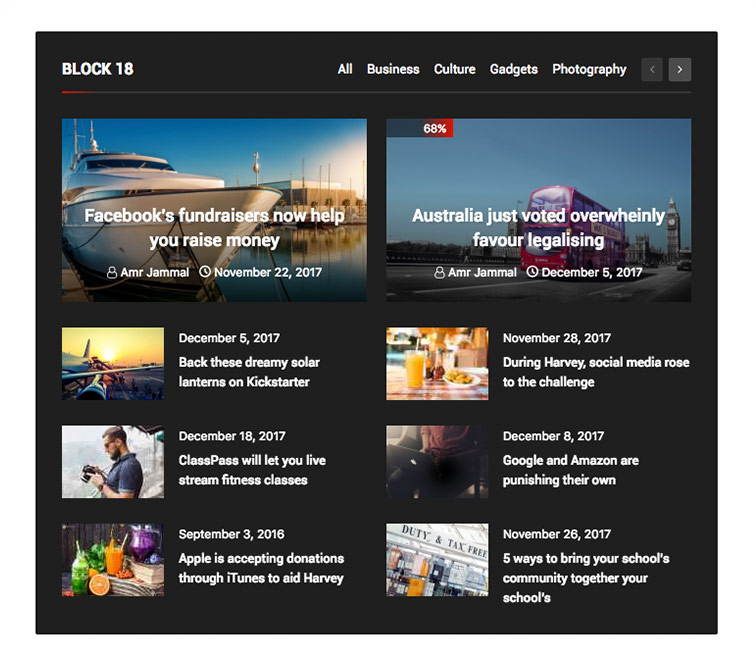
Block #18 Live Preview

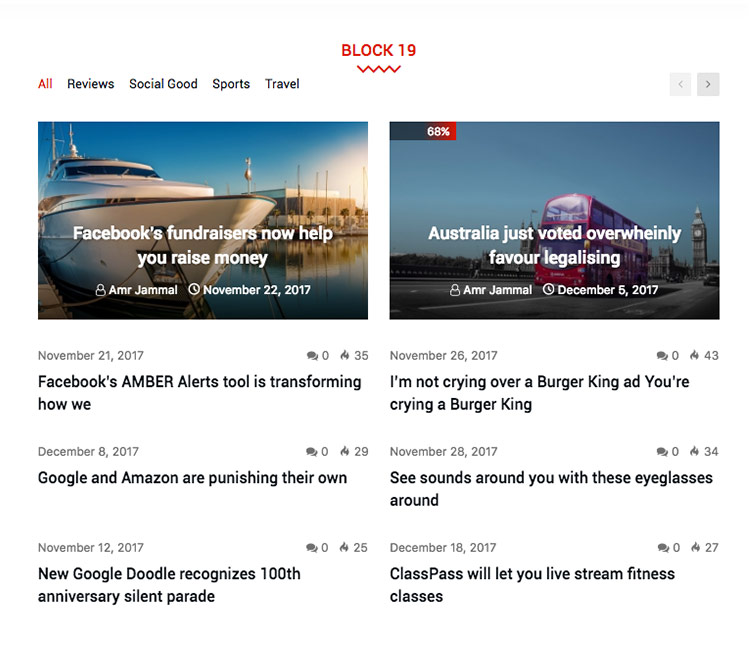
Block #19 Live Preview
Block #20 Live Preview
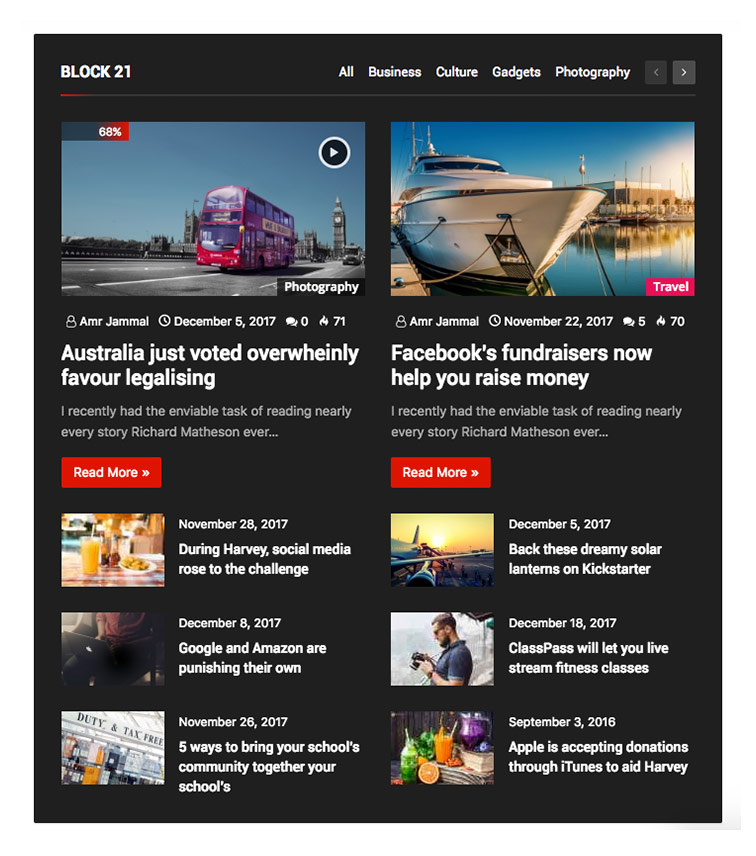
Block #21 Live Preview
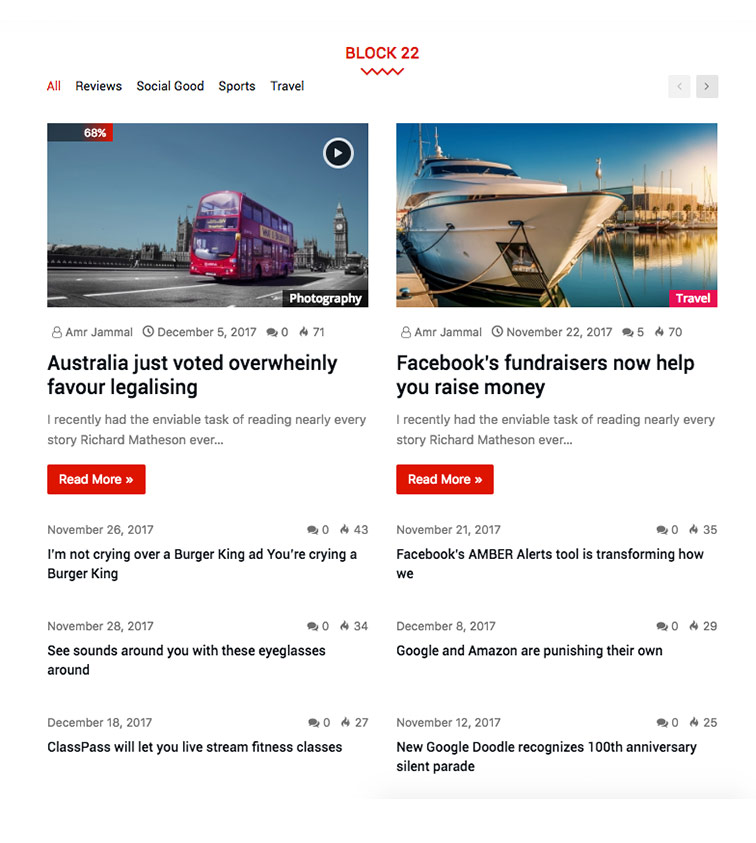
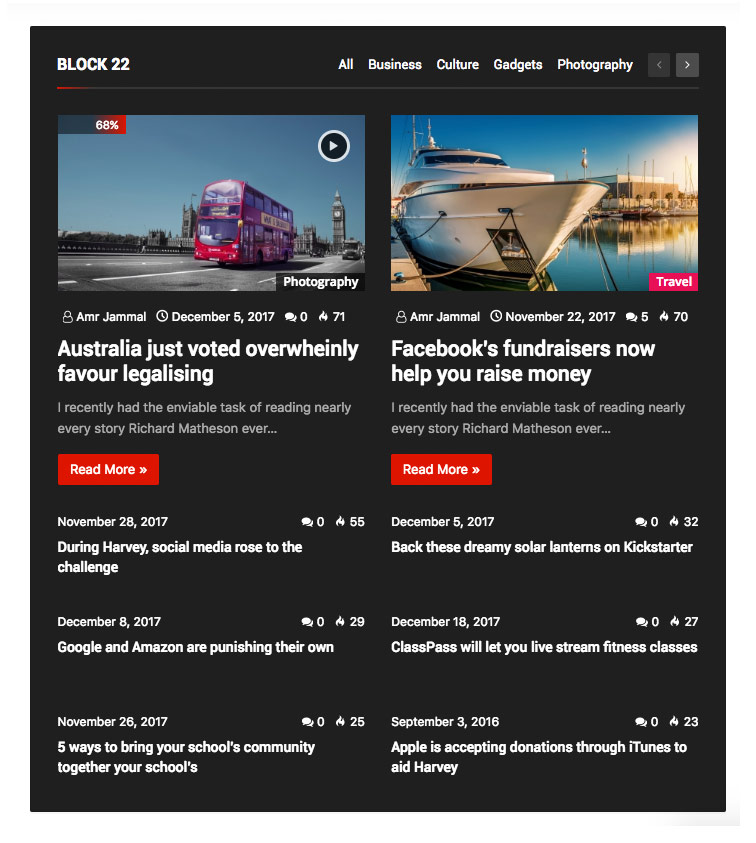
Block #22 Live Preview
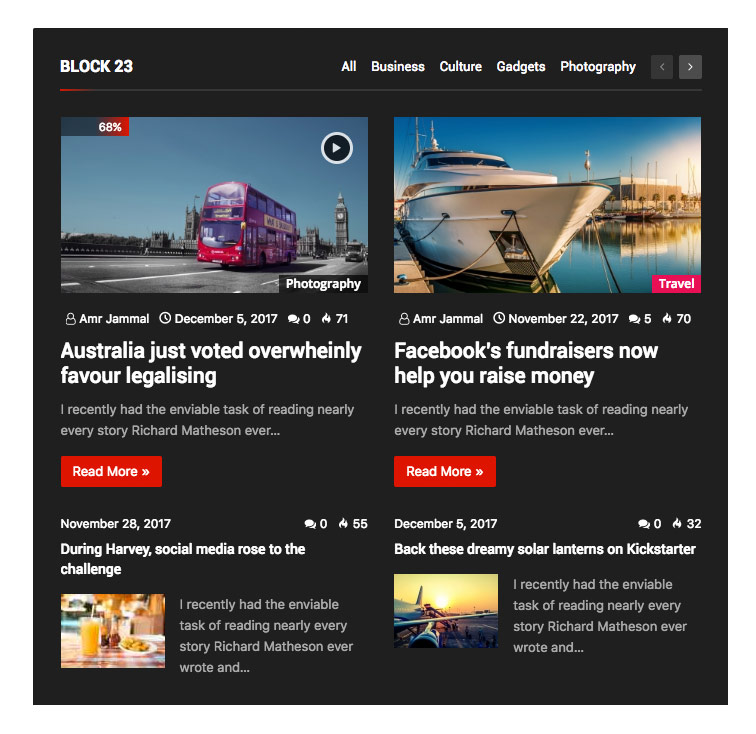
Block #23 Live Preview

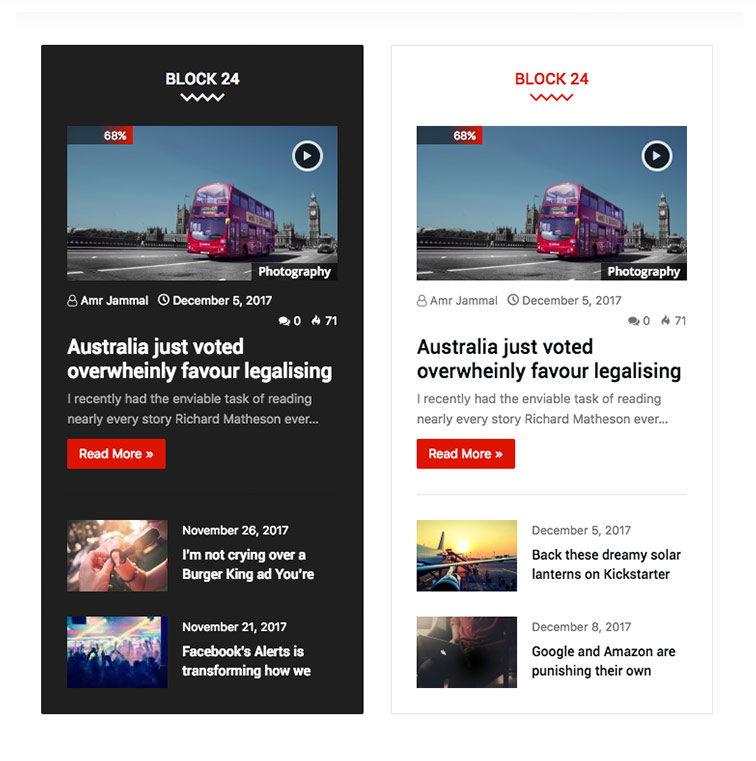
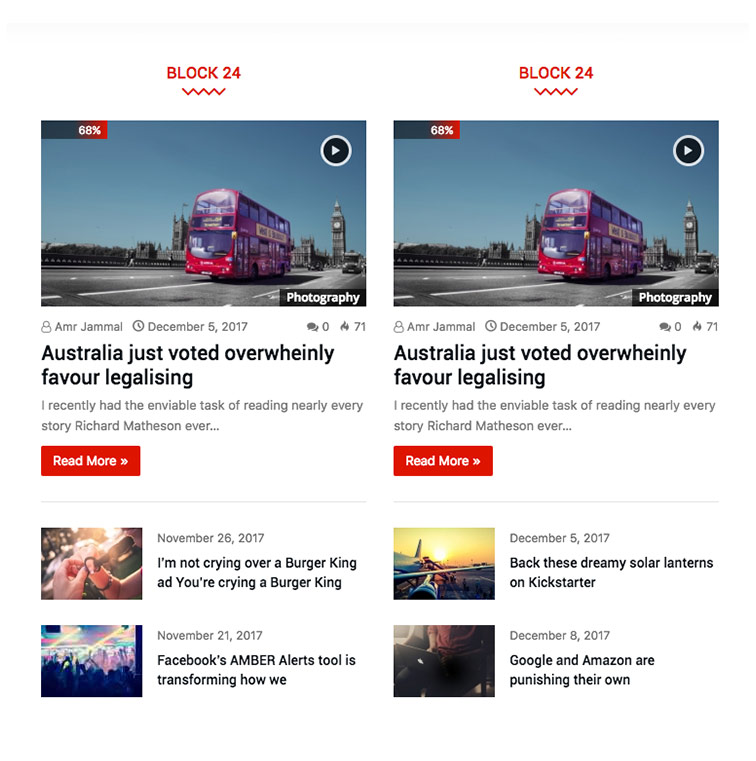
Block #24 Live Preview
Block #25 Live Preview


Block #26 Live Preview

Block #27 Live Preview

Block #28 Live Preview

Block #29 Live Preview

Block #30 Live Preview

Block #31 Live Preview

Block #32 Live Preview
Block #33 Live Preview
Block #34 Live Preview

Block #35 Live Preview

Block #36 Live Preview

Block #37 Live Preview
Block #38 Live Preview

Block #39 Live Preview

Block #40 Live Preview

Block #41 Live Preview
Block #42 Live Preview
Block #43 Live Preview

Block #44 Live Preview

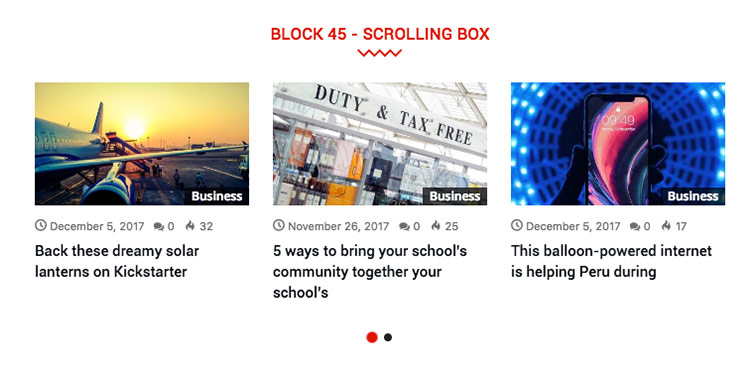
Block #45 Live Preview

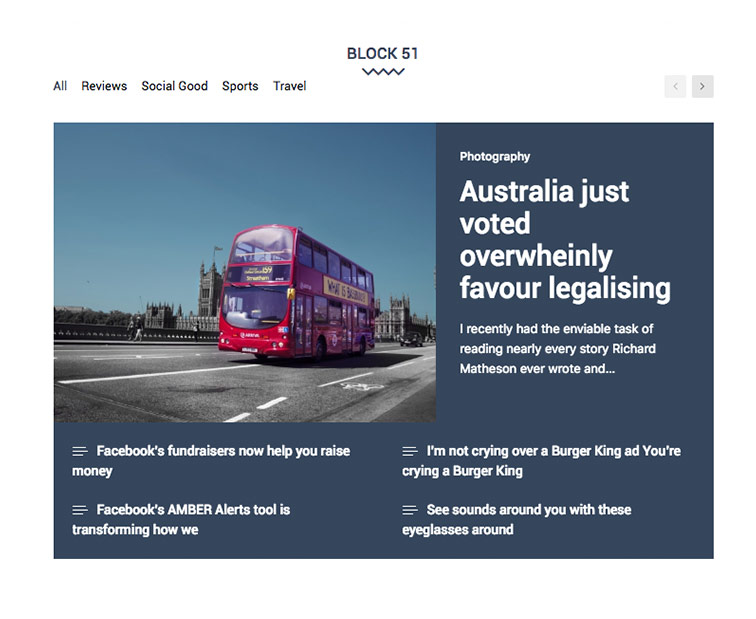
Block #51 Live Preview
Block #52 Live Preview

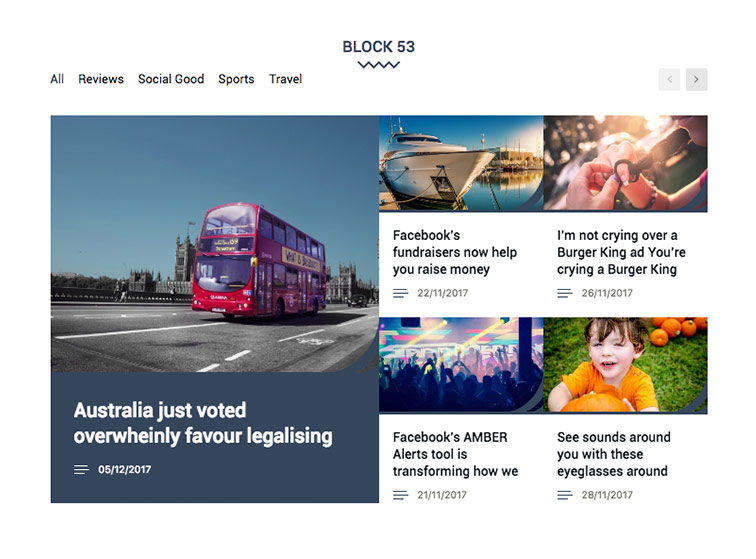
Block #53 Live Preview
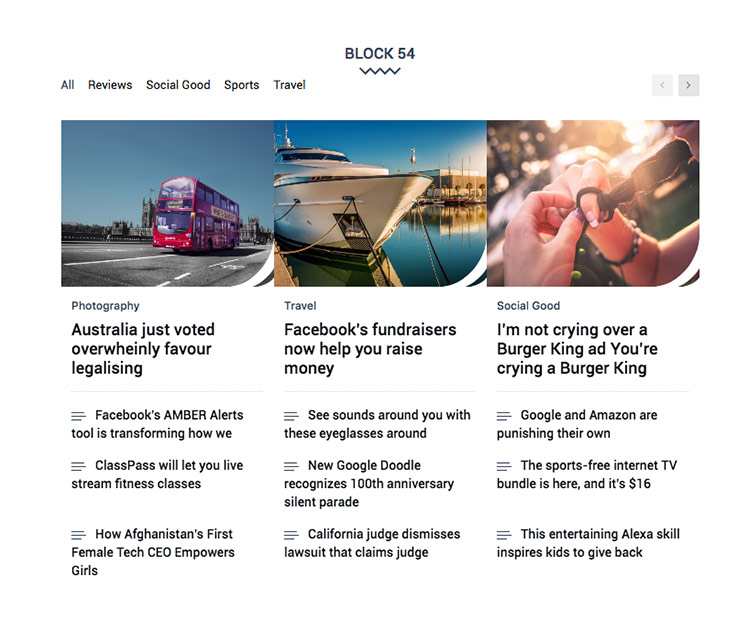
Block #54 Live Preview
Block Slider 1 column Live Preview

Block Slider 2 column Live Preview
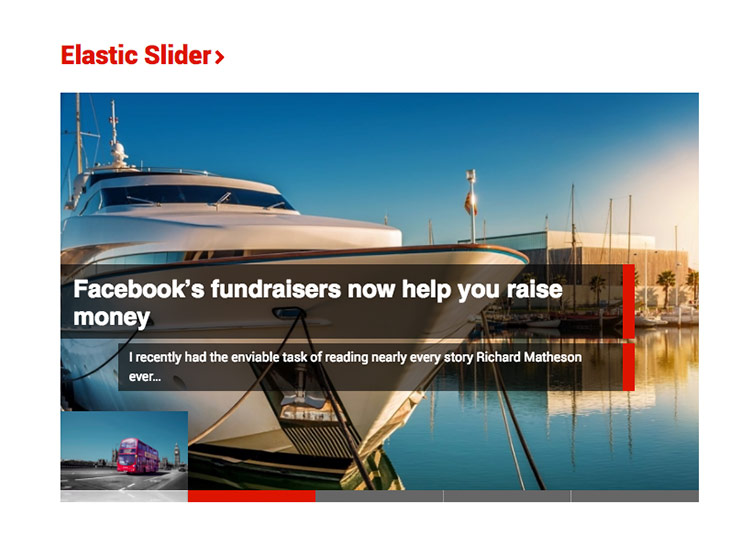
Block Elastic Slider Live Preview
2.10 Sliders Blocks
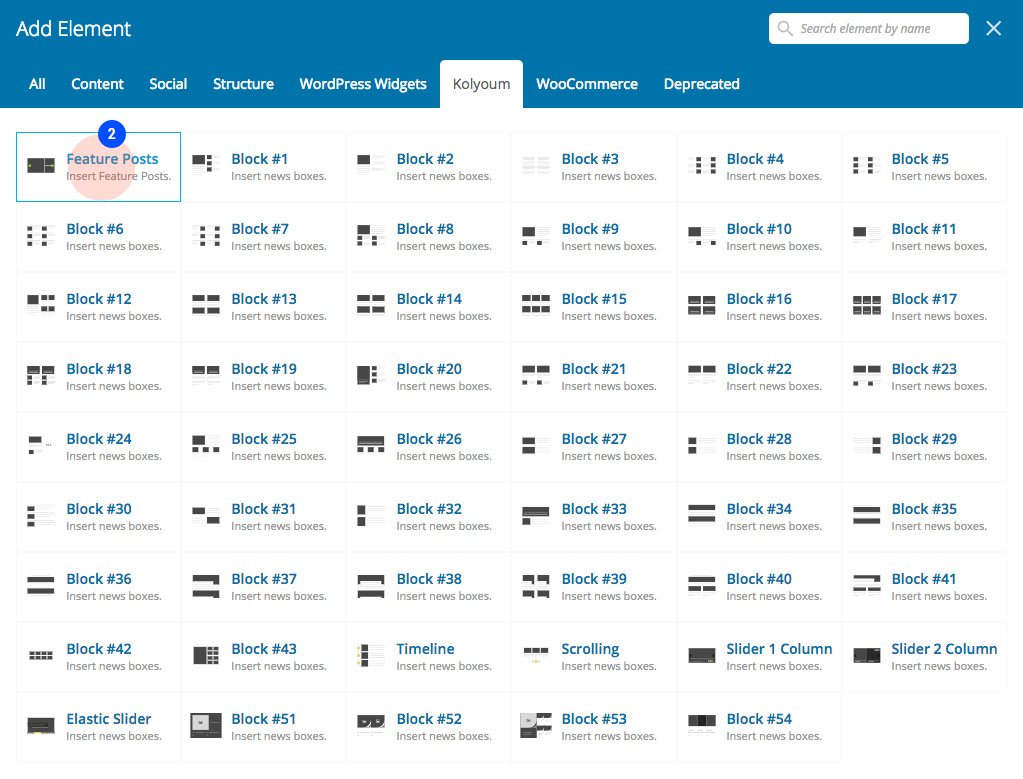
To add Feature Posts Block:
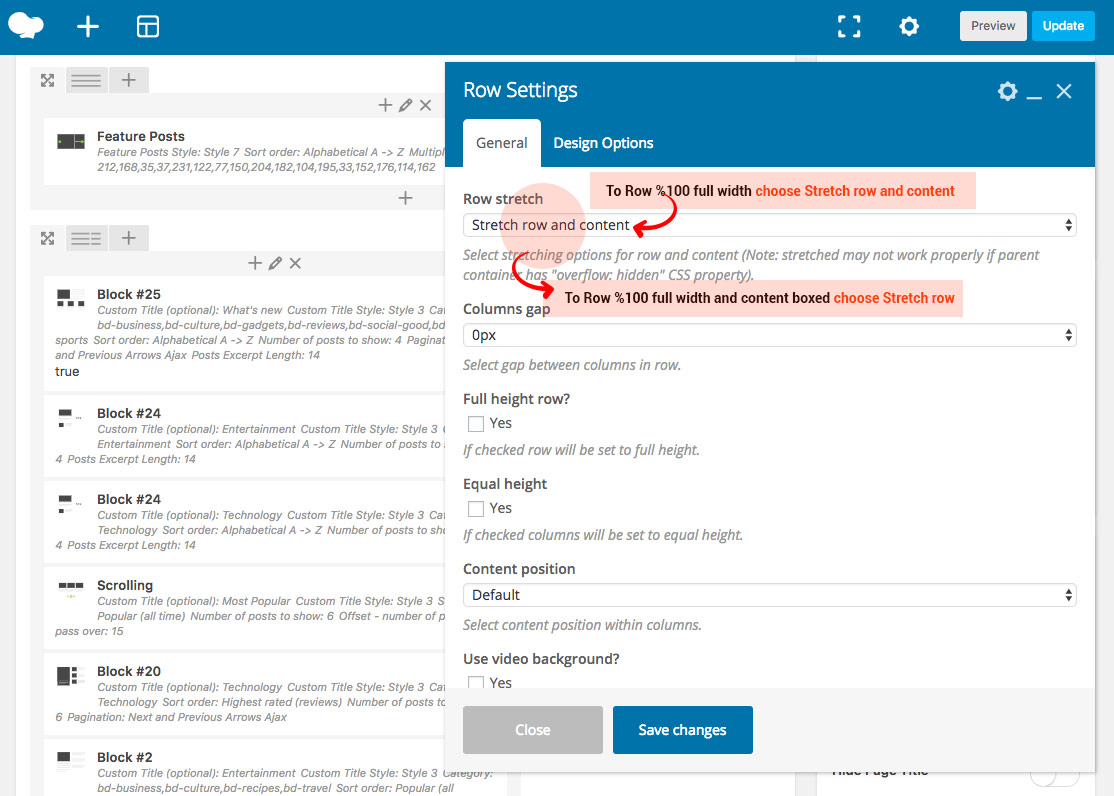
2.3 Add Row Full Width - and choose Row stretch : Stretch row from Row Settings.
- Click the plus + sign
- Select the Feature Posts Block that you want to use from the pop-up window.
- General
- Filter
- Post Meta Info
- Color
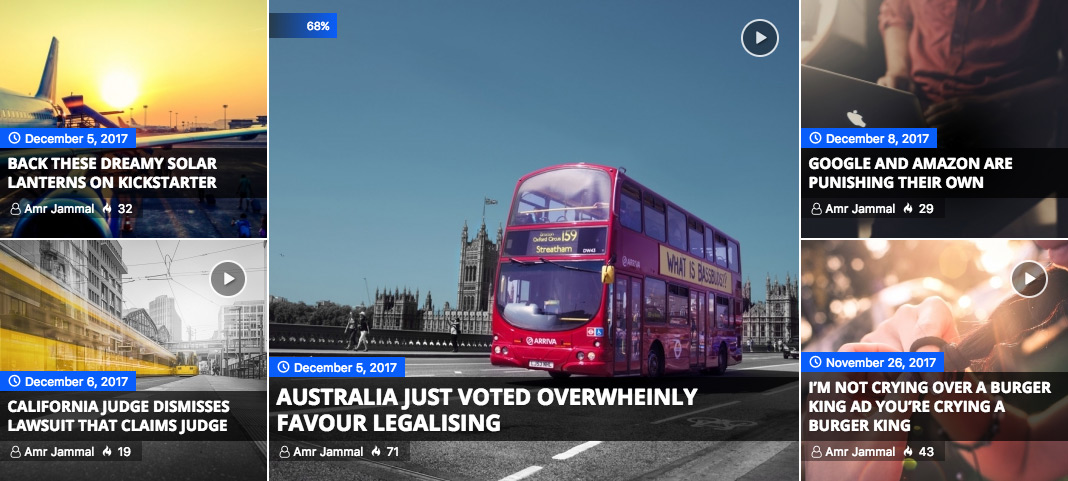
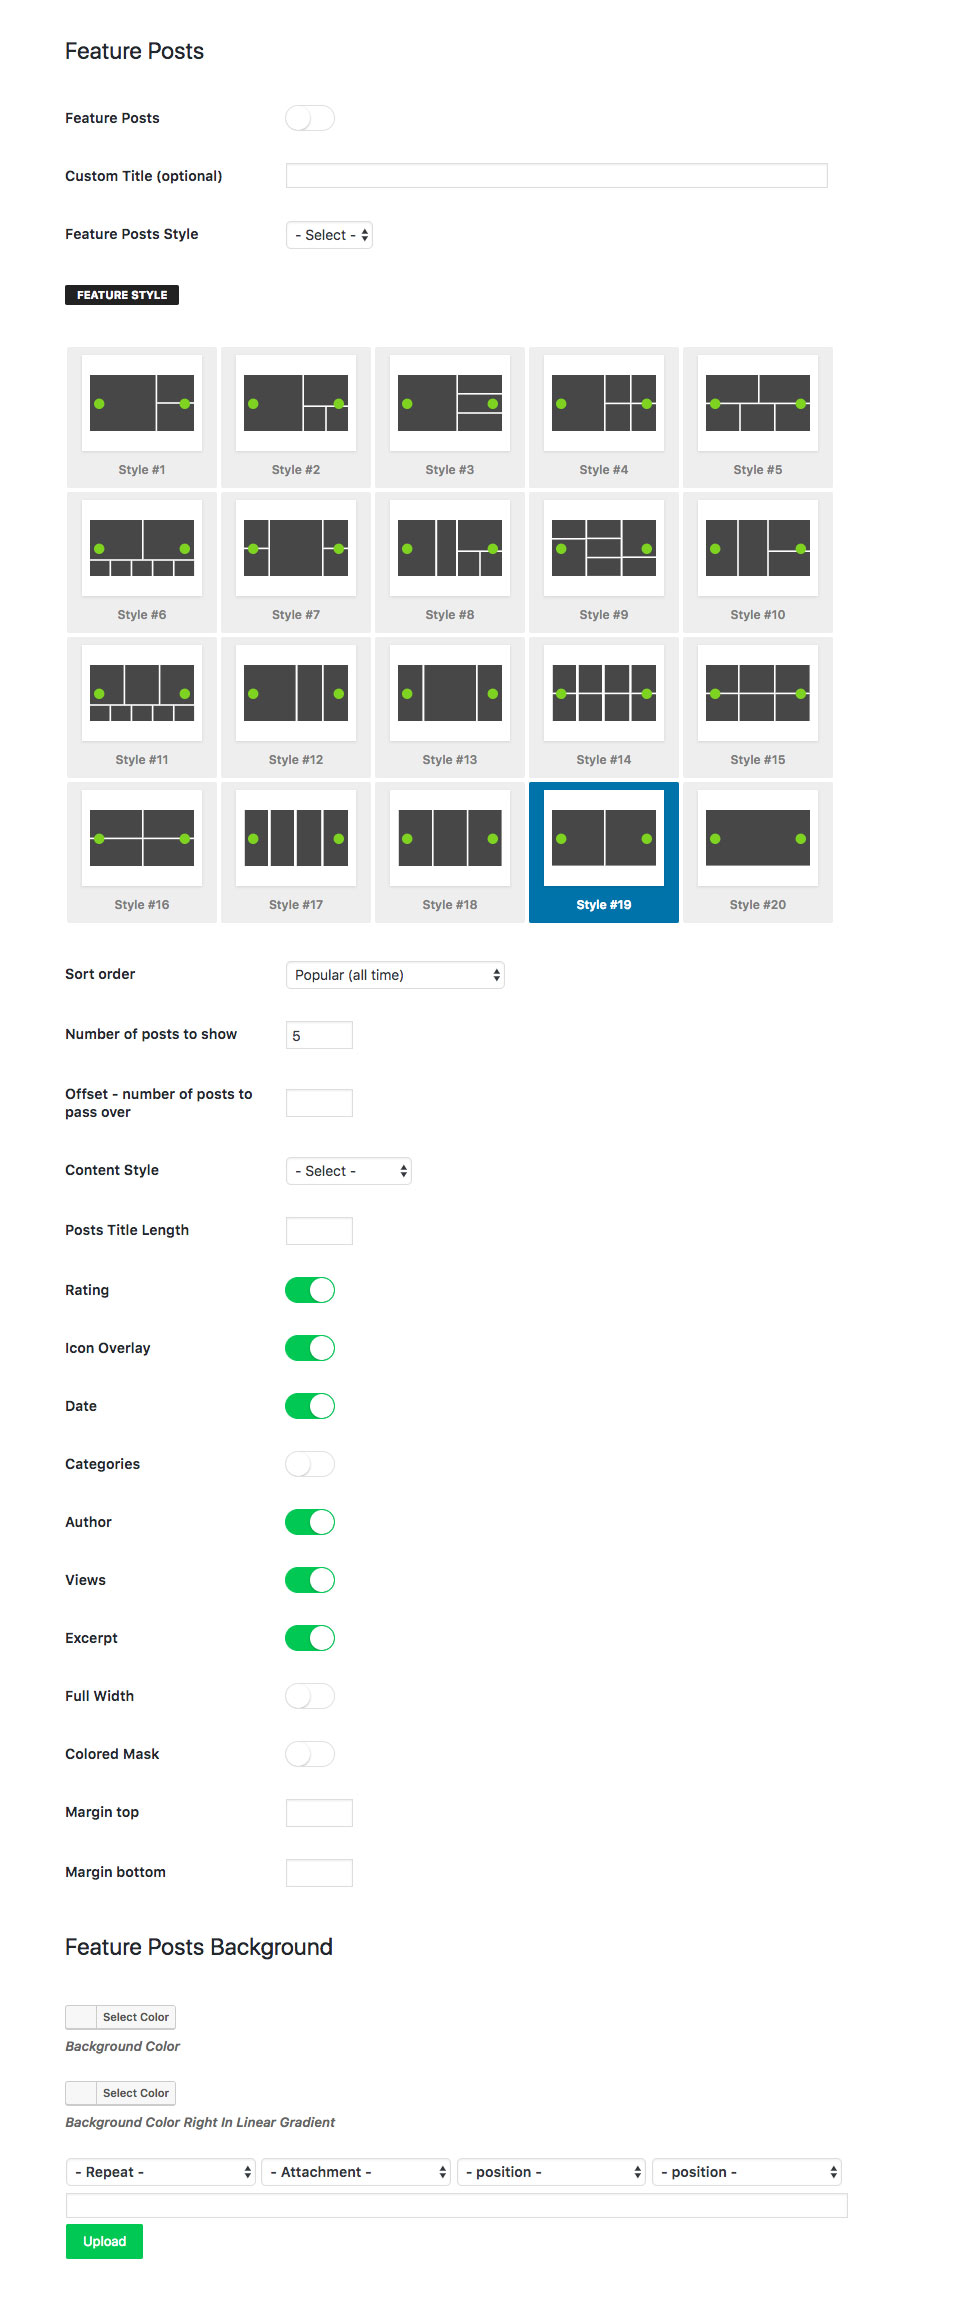
Feature Posts Block Options - Tab General
- Title - the title that will display above of the block, leave it empty to hide it.
- URL - if you want a custom URL to the block title.
- Number of posts to show
- Offset - Number of posts to pass over, it's very useful if you want to display some of the posts from a specifc category in a specific block, and display the other posts with another block.
- Posts Title Length - the number of words or characters, search Jannah options panel for Trim Text by to choose trim by words or characters.
Feature Posts Block Options - Tab Filter
- Categories - Choose the news categories in this block, it's multiple select.
- Tags - display news by tag instead of categories, this option will override the categories options.
- Sort order - sort the news in the block by one of the available eghit values:
- Latest - Recent Posts
- Popular (all time) Popular Posts (all time)
- Alphabetical A -> Z
- Highest rated (reviews)
- Most Commented
- Random Posts
- Random posts Today
- Random posts from last 7 Day
- Multiple Posts filter - Filter multiple posts by ID( ex: 41, 352 ).
Feature Posts Block Options - Tab Post Meta Info
- Show/Hide the post metadata (date, author, the number of views and so on..).
Feature Posts Block Options - Tab Styling
- Colored Mask

- Full Width 100%

- Content Style - 4 styles + Content default Style
 Content Style 1
 Content Style 2
 Content Style 3
 Content Style 4
2.11 Sliders Previews
Style #1 Live Preview
 Style #1
Style #2 Live Preview
 Style #2
Style #3 Live Preview
 Style #3
Style #4 Live Preview
 Style #4
Style #5 Live Preview
 Style #5
Style #6 Live Preview
 Style #6
Style #7 Row Full Width With Background Live Preview
 Style #7
Style #8 Live Preview
 Style #8
Style #9 With Colored Mask Live Preview
 Style #9
Style #10 Live Preview
 Style #10
Style #11 Live Preview
 Style #11
Style #12 Live Preview
 Style #12
Style #13 Live Preview
 Style #13
Style #14 Live Preview
 Style #14
Style #15 Live Preview
 Style #15
Style #16 Live Preview
 Style #16
Style #17 Live Preview
 Style #17
Style #18 Live Preview
 Style #18
Style #19 Live Preview
 Style #19
Style #20 Live Preview
 Style #20
2.12 Manage Row Widgets
- Click Add element
- Click Add Row
- Choose Column with sidebar
- Click the plus + sign
- Click Add Widgetised Sidebar
- Select widget area to display from sidebar option
- To Enable Sticky Sidebar Edit The Column.
- Add class name theia_sticky in Extra class name Input.
- Go to Dashboard => Appearance => Widgets.
- Select your widget - and you're done.
 1. Click Add element
 2. Click Add Row
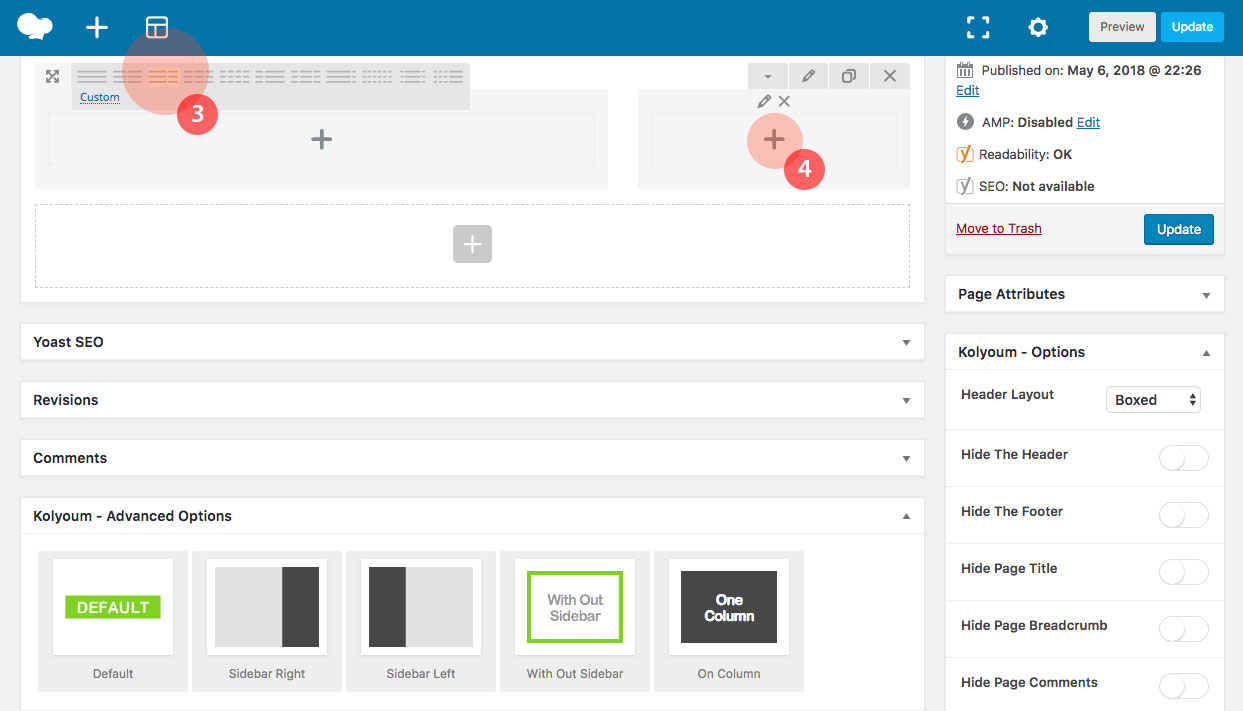 3. Choose Column with sidebar - 4. Click the plus + sign
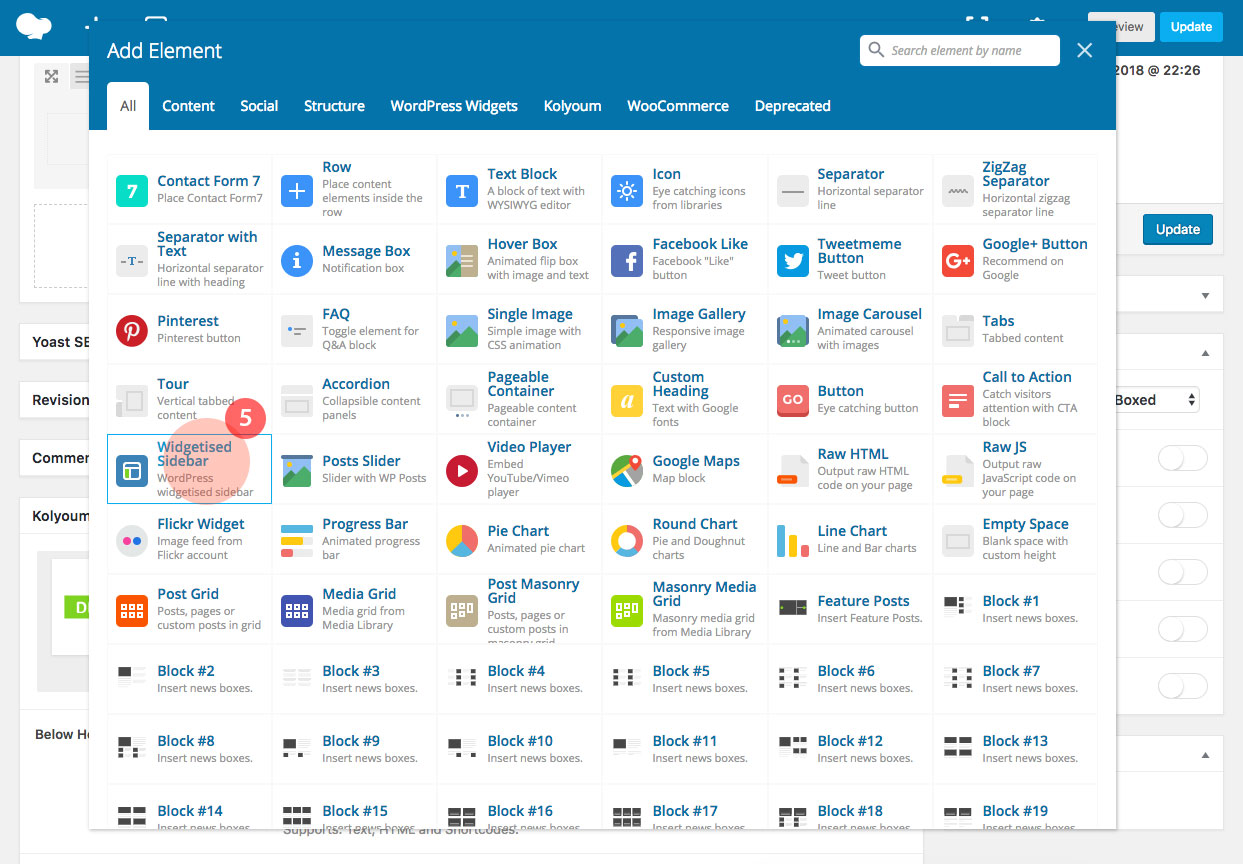 5. Click Add Widgetised Sidebar
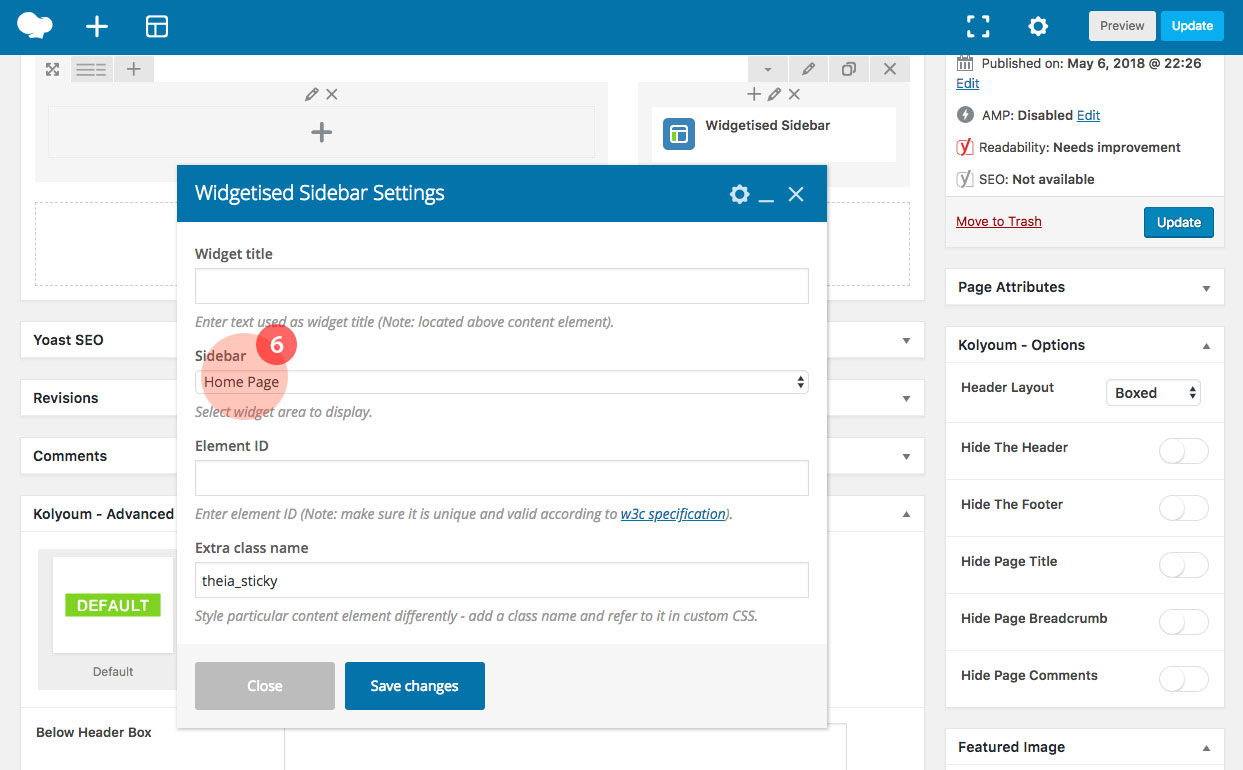 6. Select widget area to display from sidebar option
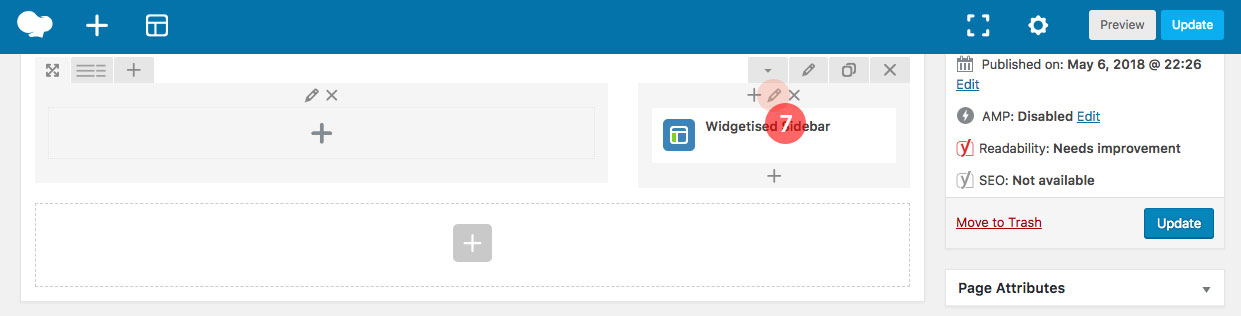 7. To Enable Sticky Sidebar Edit The Column.
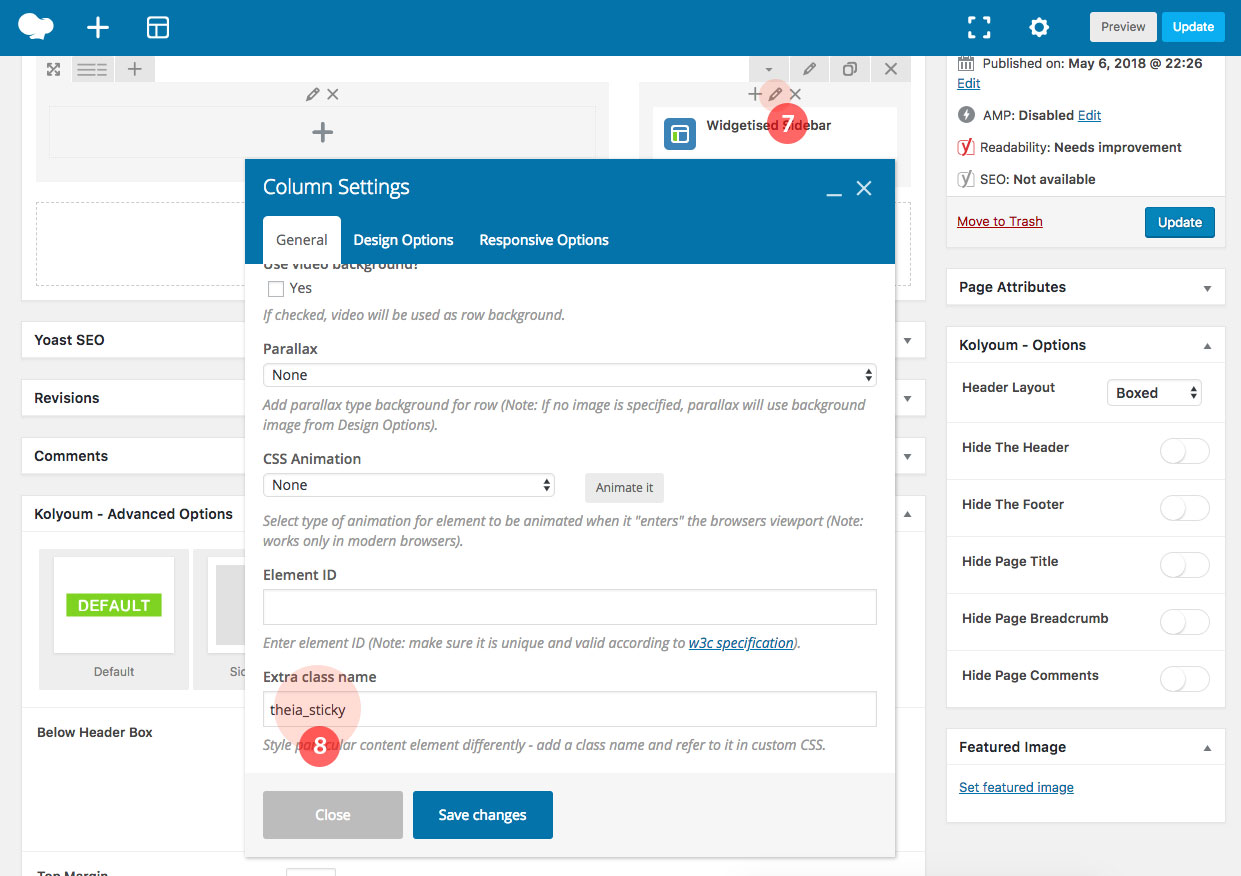 8. Add class name theia_sticky in Extra class name Input.
 9.Go to Dashboard => Appearance => Widgets - 10. Select your widget - and you're done.
2. Installing demos
Importing pre-built Demo Sites is the easiest way theme. it will allow you to quickly edit everything instead of creating content from scratch.
20+ Demos to Choose From Creating Demos for WordPress a news, newspaper, magazine, blog, auto, sports, publishing or review site.
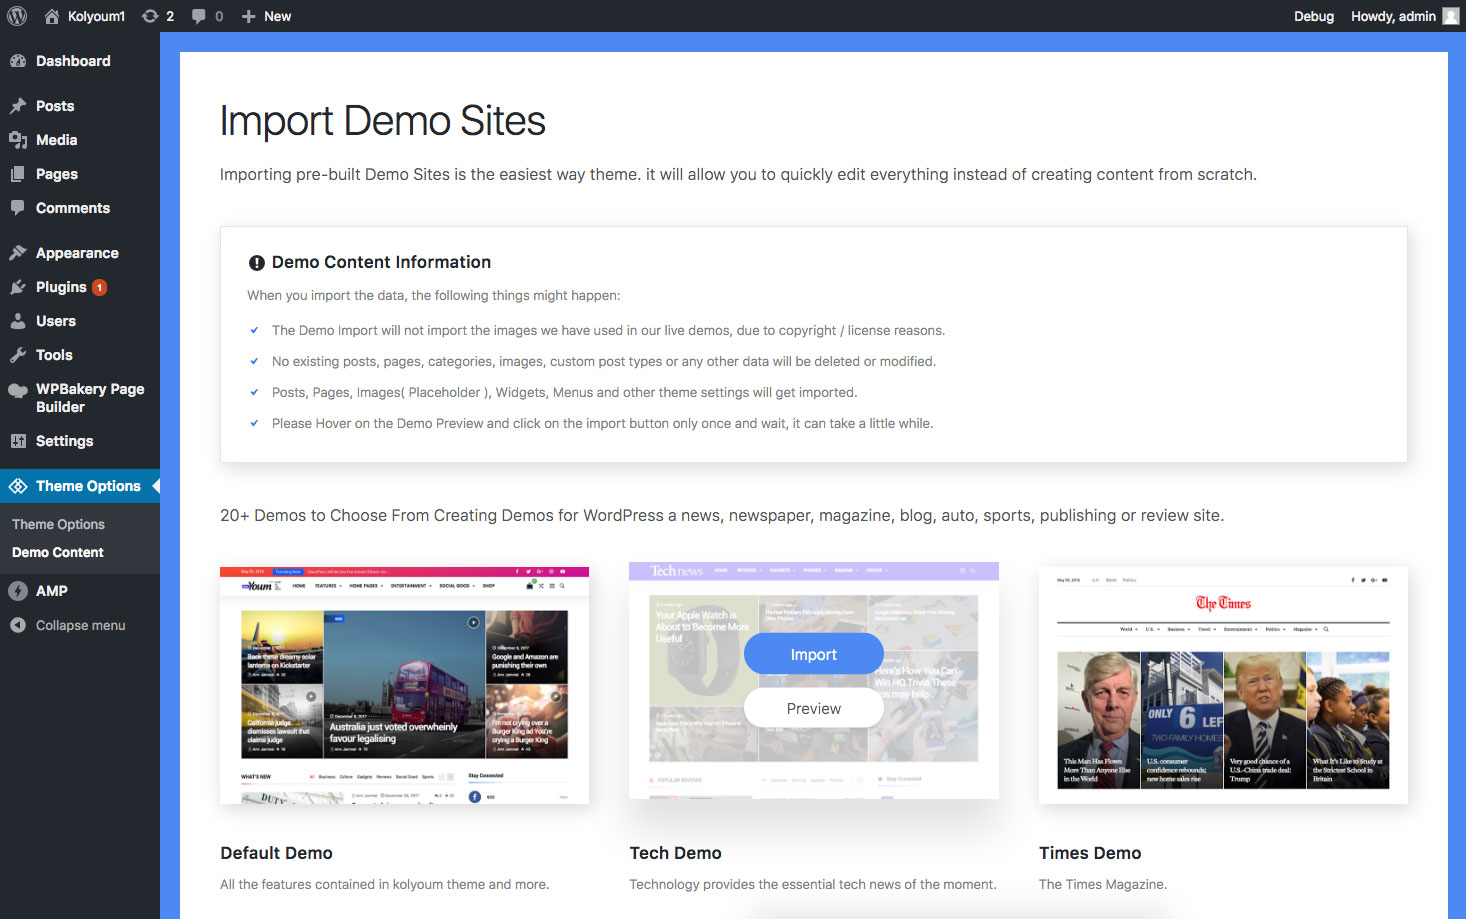
How to install new demo?
- Go to Dashboard => Theme Options => Demo Content
- Please Hover on the demo preview you like to import and click on the import button only once and wait, it can take a little while.
- Wait seconds till the success message will appear.
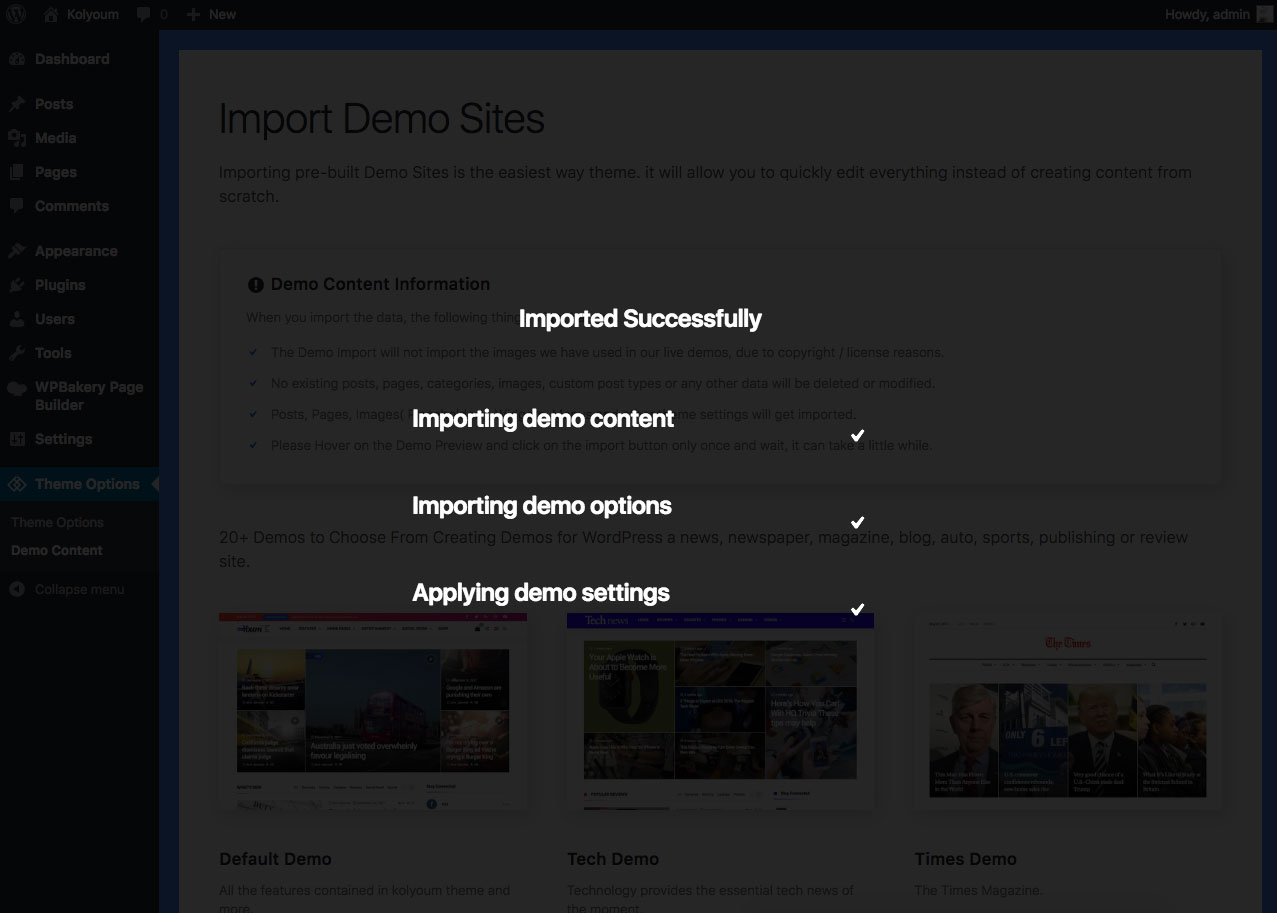 Success message
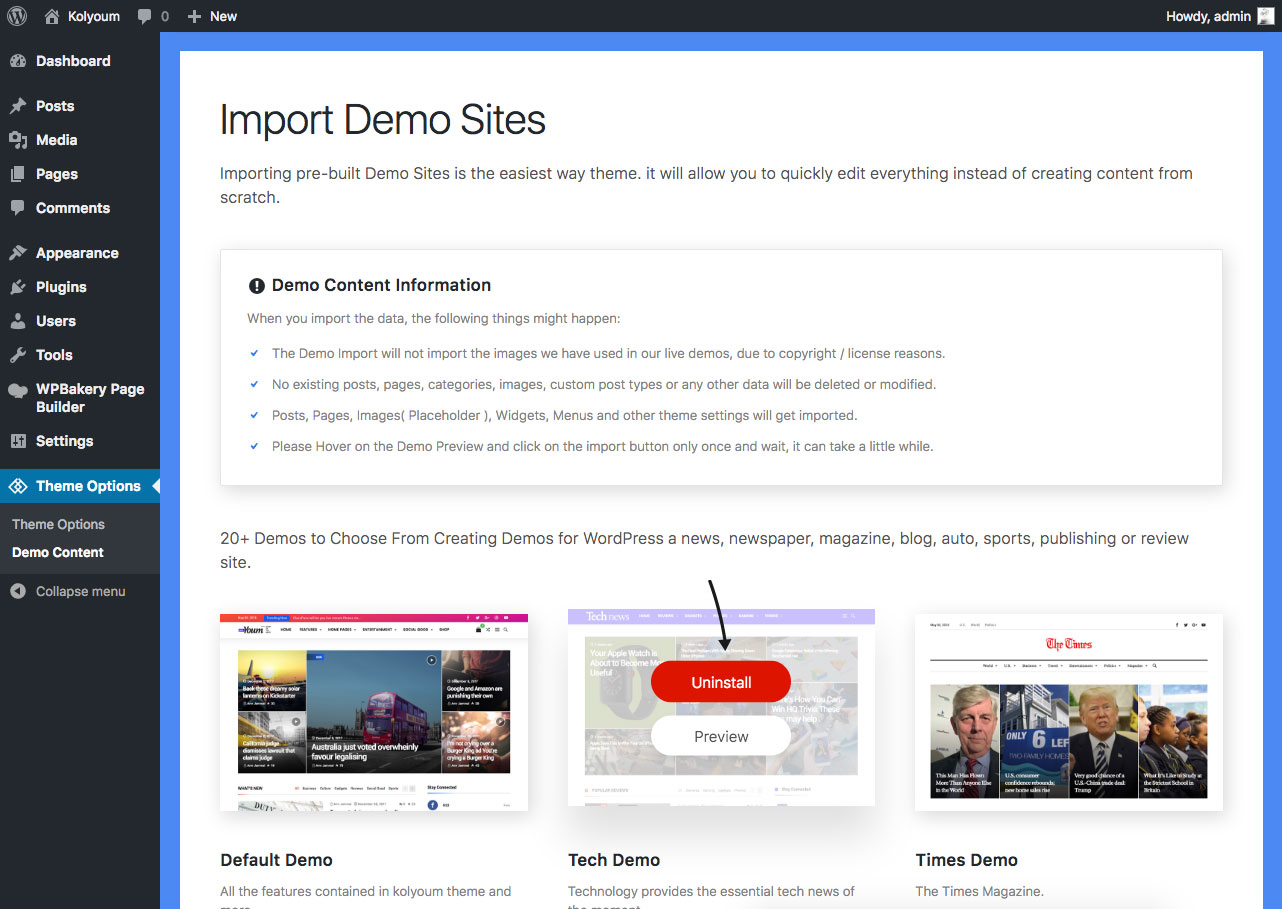
How to uninstall a demo?
Please Hover on the demo install preview and click on the Uninstall button only once and wait.
4. Header
You can unlimited headers.
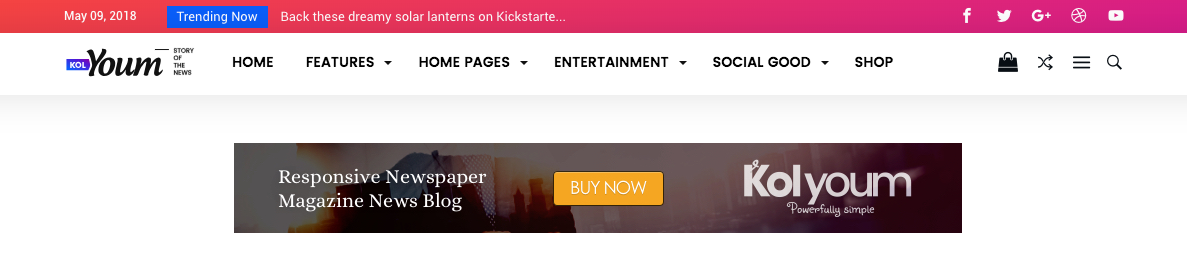
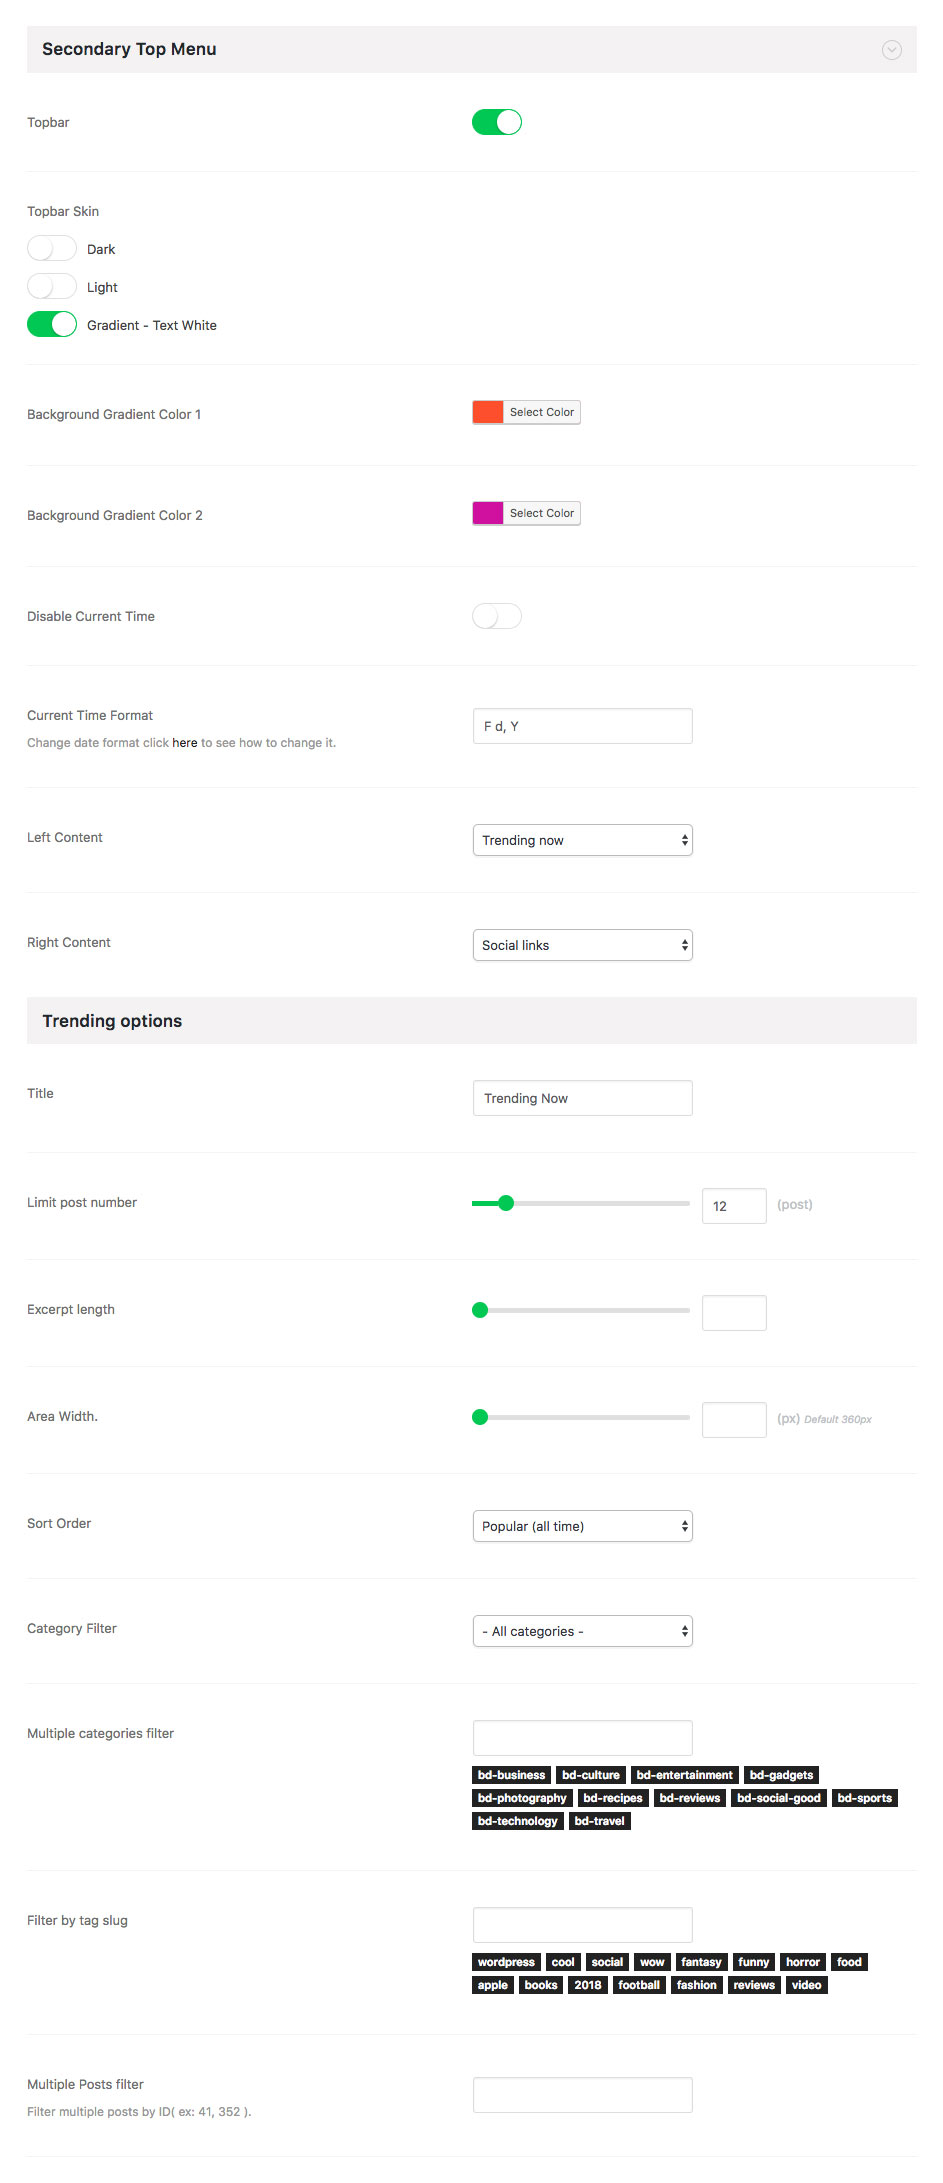
Header Layout 1 - Default Consist of two bars, gradient background top bar . and Logo & Main nav bar.
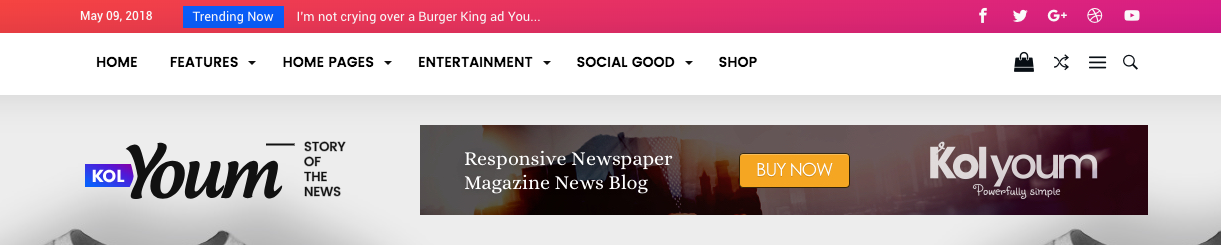
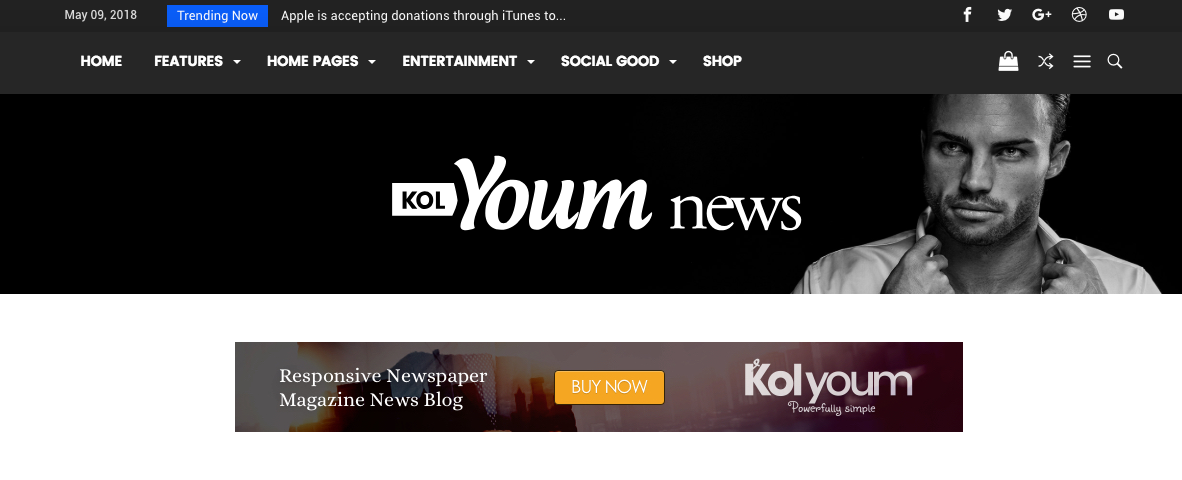
Header Layout 2 - Consist of three bars, gradient background top bar, Logo & Banner bar and Main nav bar.

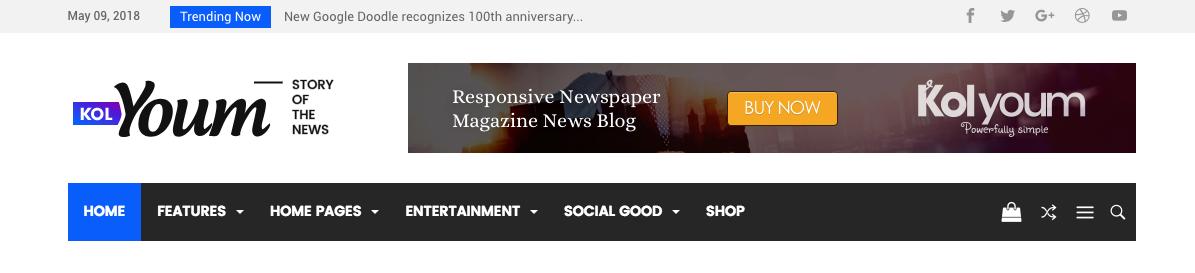
Header Layout 3 - Consist of three bars, gradient background top bar, Main nav bar and Logo & Banner bar.
Header Layout 4 - Consist of three bars. Top bar, Main nav bar and Logo Center bar.
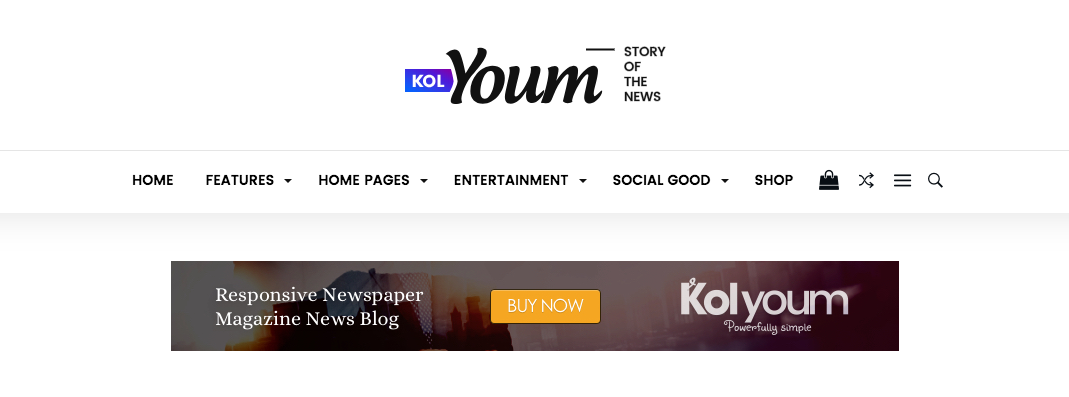
Header Layout 5 Centered - Consist of two bars. Logo Center bar and Main nav bar.
Header Layout 6 - Consist of three bars. Top bar, Logo & Banner bar and Boxed dark Main nav bar.
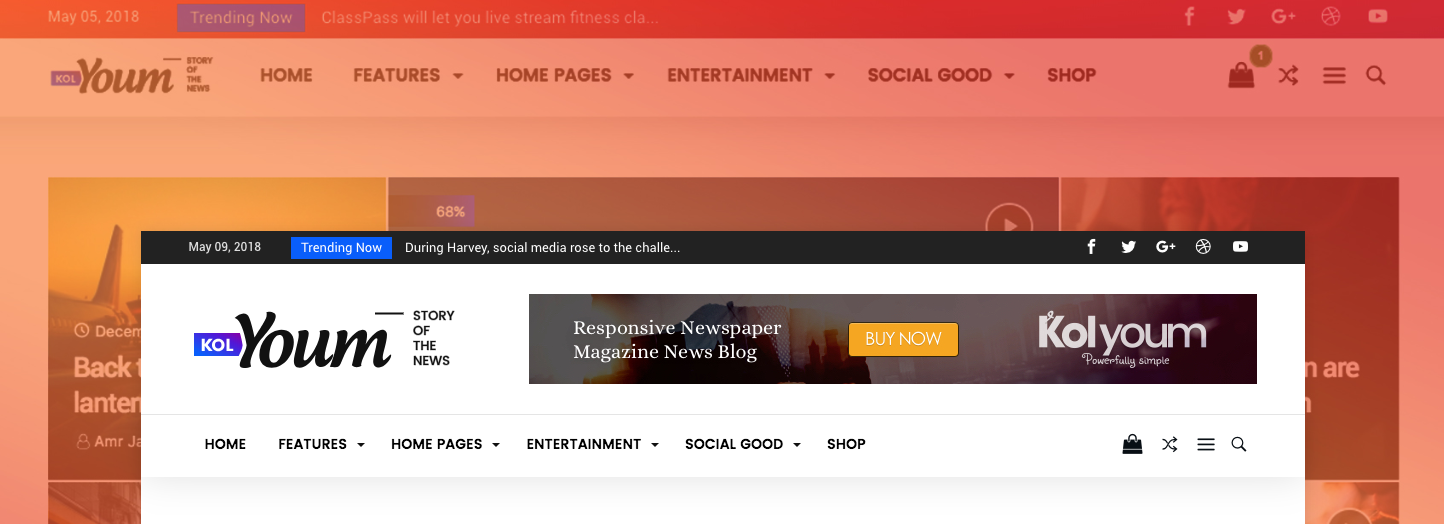
Header Layout 7 - Consist of three bars. Top bar, Logo & Banner bar and Main nav bar with site layout boxed & Banner Full Page Takeover
Header Layout 8 - Consist of three bars. Top Bar Dark Background, Logo & Banner Bar Dark Background and Main Nav Gradient Background.

Header Layout 9 Boxed - Consist of three bars. Top Bar, Logo & Banner Bar and Main Nav.

Header Layout 10 Full Width 100% - Consist of two bars. Logo & Main Nav Custom Background Color Bar, Subnav Bar.

4.2 Logo and Favicon
How to Upload a Default Logo :
- Navigate to WP Dashboard > Theme Options > Logo
- Set the What kind of logo? option to Custom Image.
- Locate the Upload Logo option and click the Upload button to upload your logo image file.
- You can upload an optional default retina logo for retina ready devices using the Logo Image (Retina Version @2x) option.
- If you uploaded the logo images to the Media Library the theme will fill the standard logo image width and height automatically, if you want to use an external logo image you need to set the standard logo width and height manually.
- Set a custom top and bottom margin for the logo or leave these options empty to use the theme defaults.
- Click Save Changes
For best results, use this logo size: Logo Upload: 272 x 90px - Retina Logo Upload: 544 x 180px
How to Upload a Favicon :
- Navigate to WP Dashboard > Theme Options > Logo
- Navigate to Favicon Icons option to Custom Favicon.
- Locate the Custom Favicon option and click the Upload button to upload your favicon file.
- Click Save Changes
How to Set a Custom Logo for a Category. :
- Navigate to WP Dashboard > Posts > Categories
- Choose the Category you want to set a Custom Logo for it.
- Set the What kind of logo? option to Custom Image Logo.
- Locate the Upload Logo option and click the Upload button to upload your logo image file.
- You can upload an optional default retina logo for retina ready devices using the Logo Image (Retina Version @2x) option.
- If you uploaded the logo images to the Media Library the theme will fill the standard logo image width and height automatically, if you want to use an external logo image you need to set the standard logo width and height manually.
- Click Update
For best results, use this logo size: Logo Upload: 272 x 90px - Retina Logo Upload: 544 x 180px
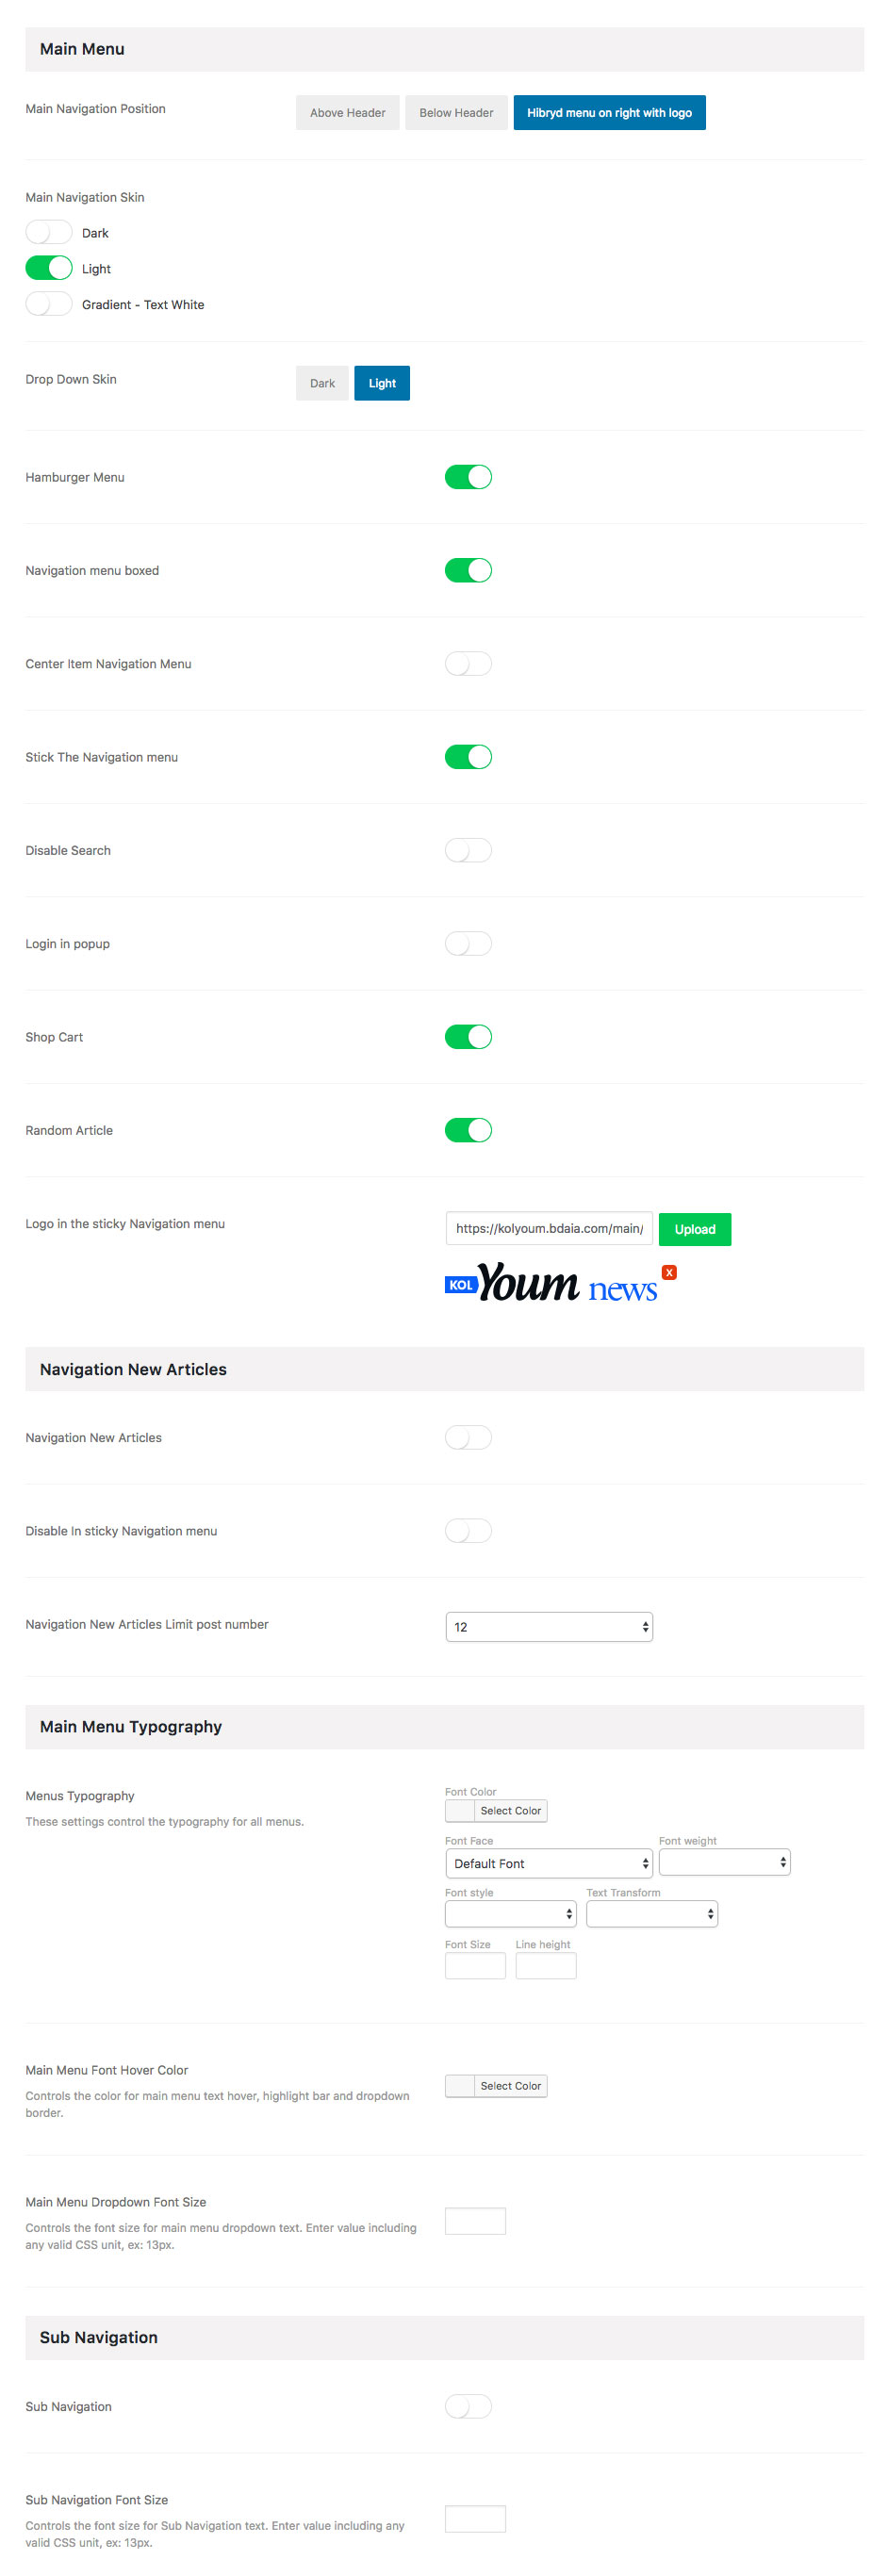
4.3 Main Menu
It is rather important to set your theme menu(s) in the WordPress Dashboard. To do this, locate the Menu options by selecting the Appearance tab from the dashboard sidebar and then Menus.
Once you’re viewing the Menus, create a new menu and save it. After you’ve saved the menu, you can add it to a menu via the Menu Settings, below the Menu Structure area. Add your pages and links to the menu you just created in the Menu Structure area.
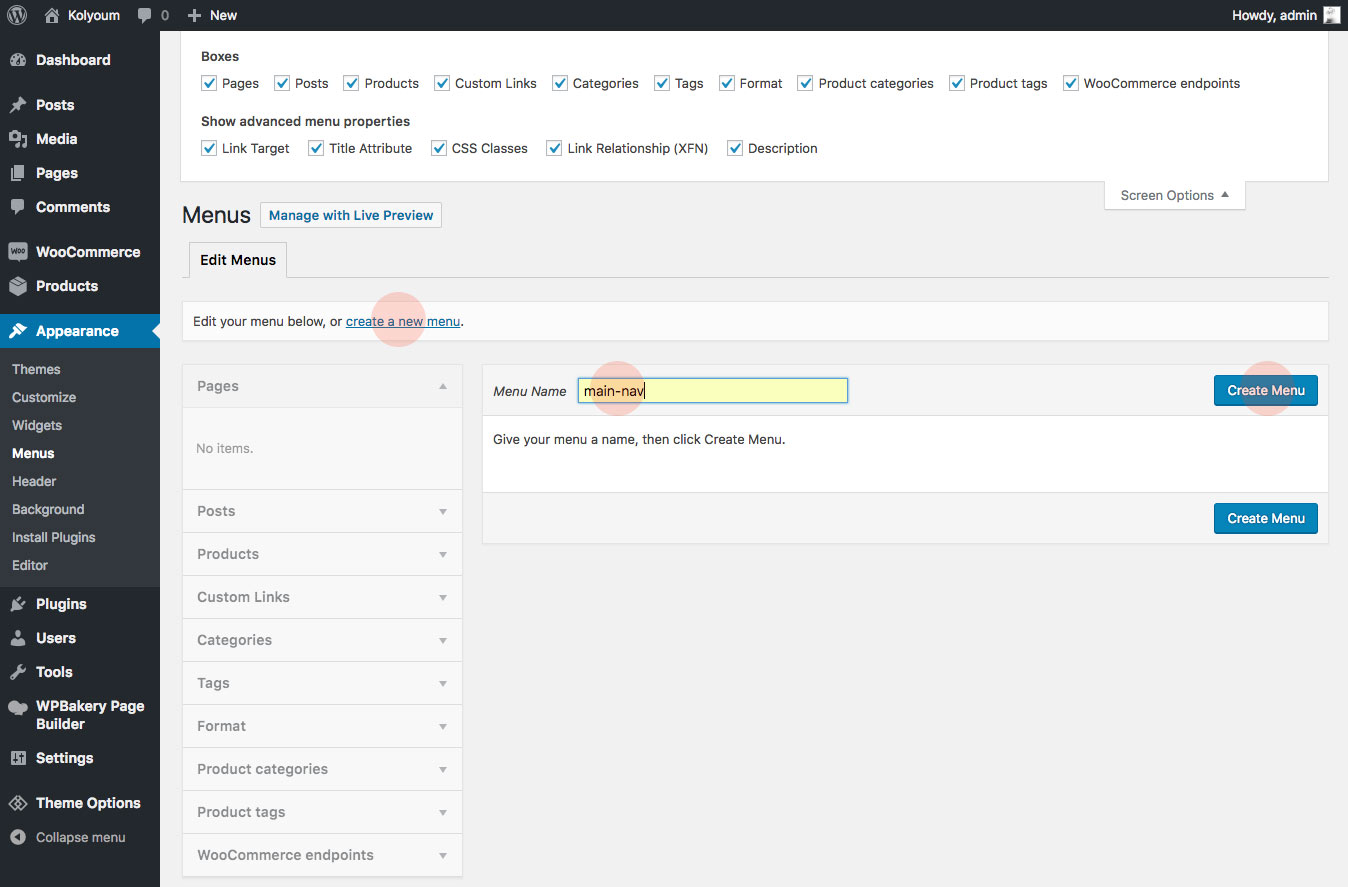
To create a new Menu:
- Navigate to WP Dashboard > Appearance > Menus section of your admin sidebar
- Click the Create A New Menu link to make a new menu. Enter the name then click the Create Menu button
- To add a menu item, select one of your created pages on the left-hand side and click the Add to Menu button. You can also add all kinds of different posts from the left side.
- To add a custom menu item, enter a custom name and link into the Custom Links box.
- Manage your menus by using the drag and drop functionality. To create a drop-down menu, simply drag a menu item below and slightly to the right of another menu item, and it will lock into place and create a dropdown section.
- After setting up your menu, scroll down to the bottom of the page to assign the menu to one of the 4 locations in the Theme Locations box.
- Once it's all done, make sure you click the Save button.


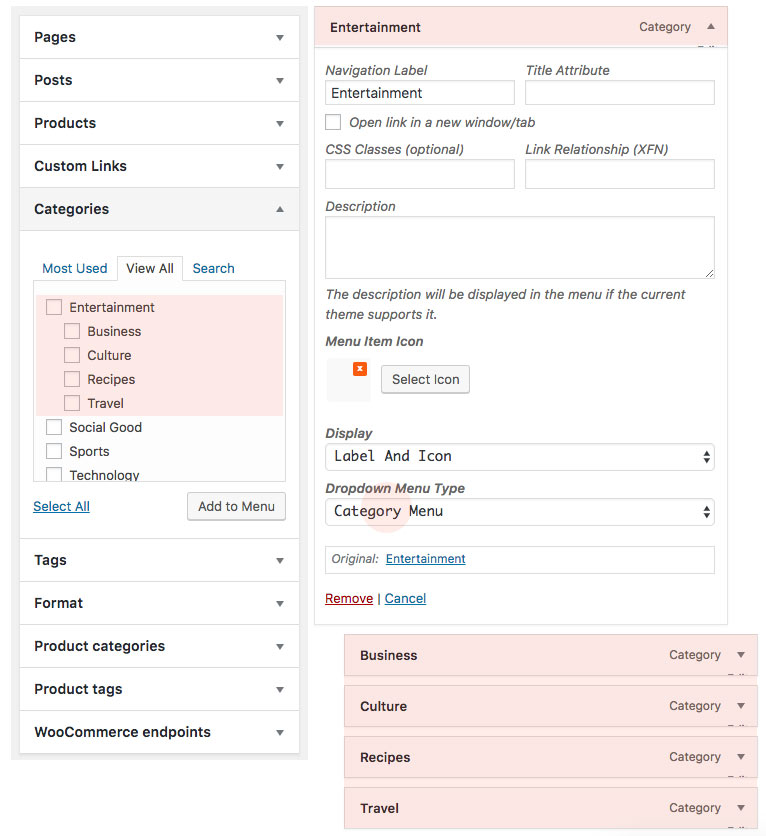
4.4 Mega Menu
Mega Menu with Vertical Sub-Categories Filter.
Note: Only the Navigation Menu supports this Feature.
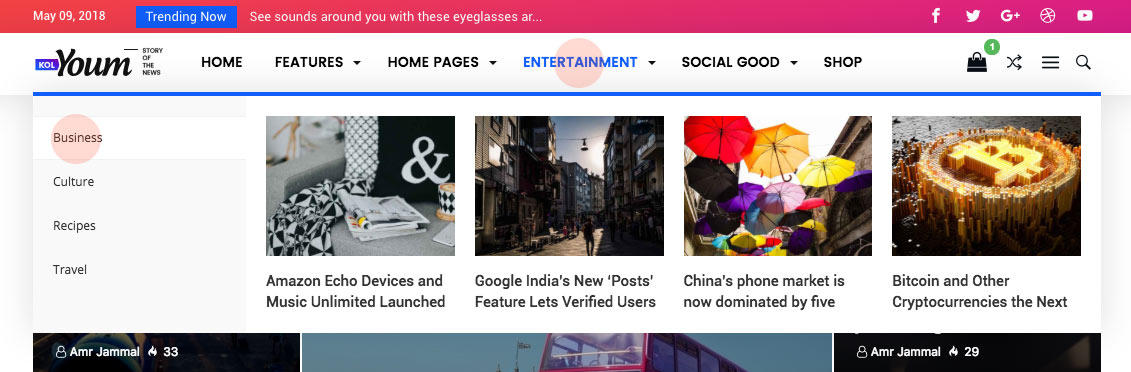
- Navigate to WP Dashboard > Appearance > Menus section of your admin sidebar
- Add a Category from the left Categories panel You have to use a parent category if you want to have the sub-categories filter.
- From the menu item's settings Dropdown Menu Type from the Enable The Mega Menu? select category menu.
4.5 How to Add an icon to menu
Note: Only the Navigation Menu supports this Feature.
- Navigate to WP Dashboard > Appearance > Menus section of your admin sidebar
- Select the item you want to add an icon to and click on the select icon and choose icon from pop-up window and save.
- Click on the Menu Icon Option and choose the icon you want.
- if you want to add only an icon in the menu (without text) choose Just Icon from display option.
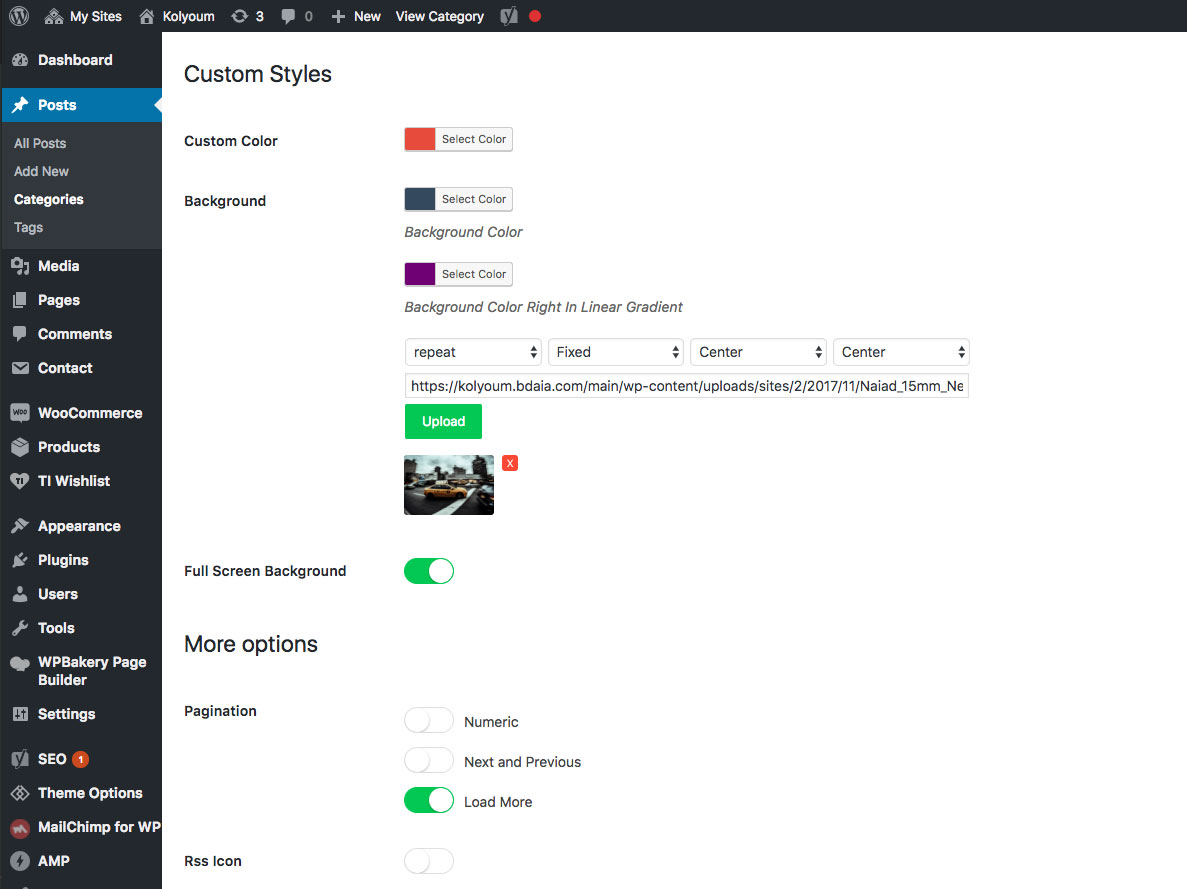
5. Category Options
You can customize your categories individually, from the Posts menu > Categories > Edit the category you want.
- Logo - You can specify a custom logo to each category, the same settings as the main site logo settings at the theme options.
- Sidebar Position
- Styling - You can control the Primary Page Color, page background.
- Pagination Style :
- Numeric
- Next and Previous
- Load More Ajax
- Disable Rss Icon
- Disable Read more button
- Disable Post Meta
- Disable Posts Excerpt
- Posts Excerpt Length
- Choose Category Layout
- Choose Category Posts Layout
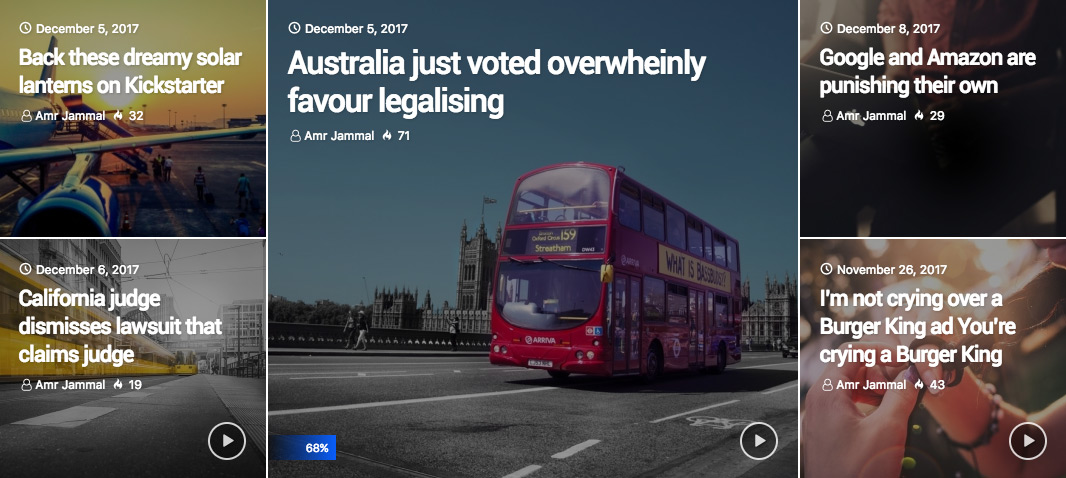
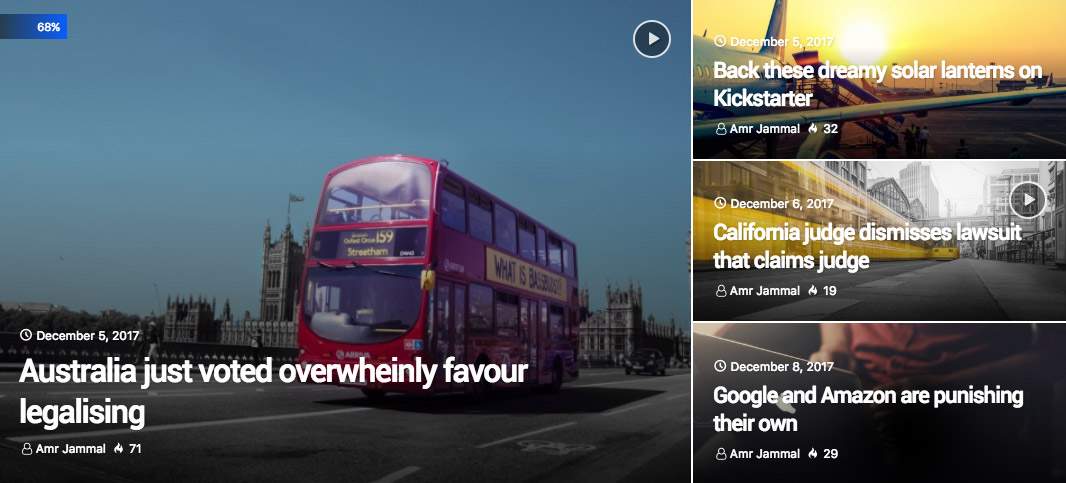
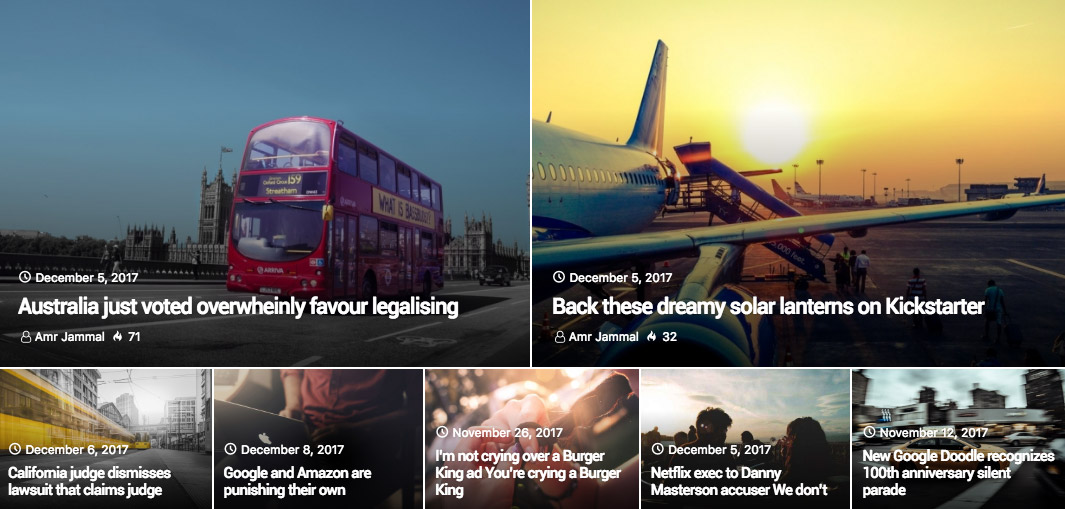
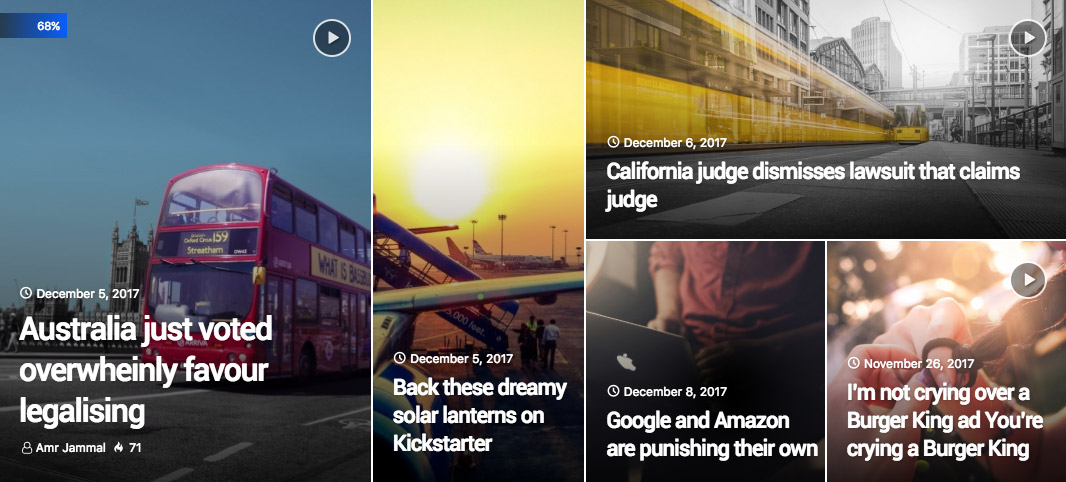
5.1 Top Posts Grid +20 Grid
Category Top Posts Grid( Sliders ) - Choose one from the available +20 layouts. You can customize your categories individually, from the Posts menu > Categories > Edit the category you want.
Style #1
Style #2
Style #3
Style #4
Style #5
Style #6
Style #7 Row Full Width With Background
Style #8
Style #9 With Colored Mask
Style #10
Style #11
Style #12
Style #13
Style #14
Style #15
Style #16
Style #17
Style #18
Style #19
Style #20
5.2 Category Layout
Category Layout - Choose one from the available +20 layouts. You can customize your categories individually, from the Posts menu > Categories > Edit the category you want.
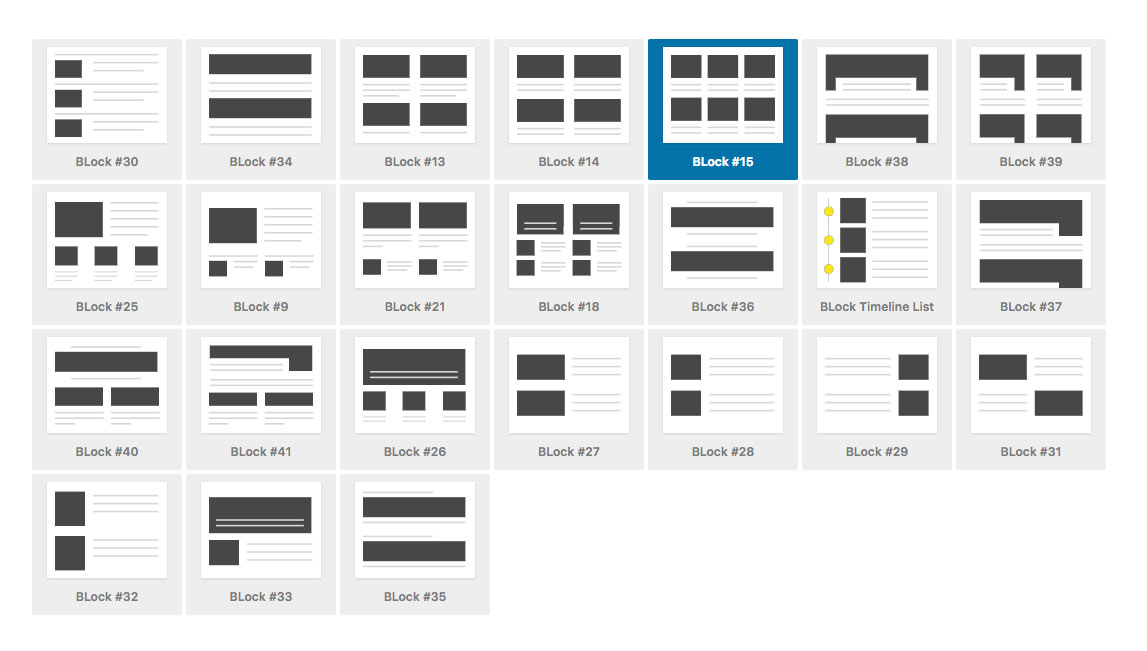
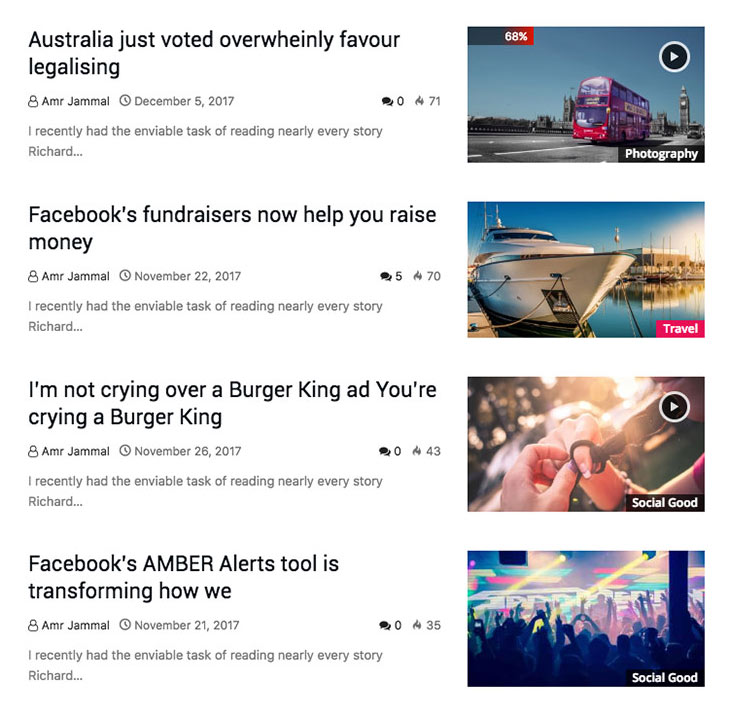
Block #13
Block #14
Block #15
Block #18
Block #21
Block #26
Block #27
Block #28
Block #29
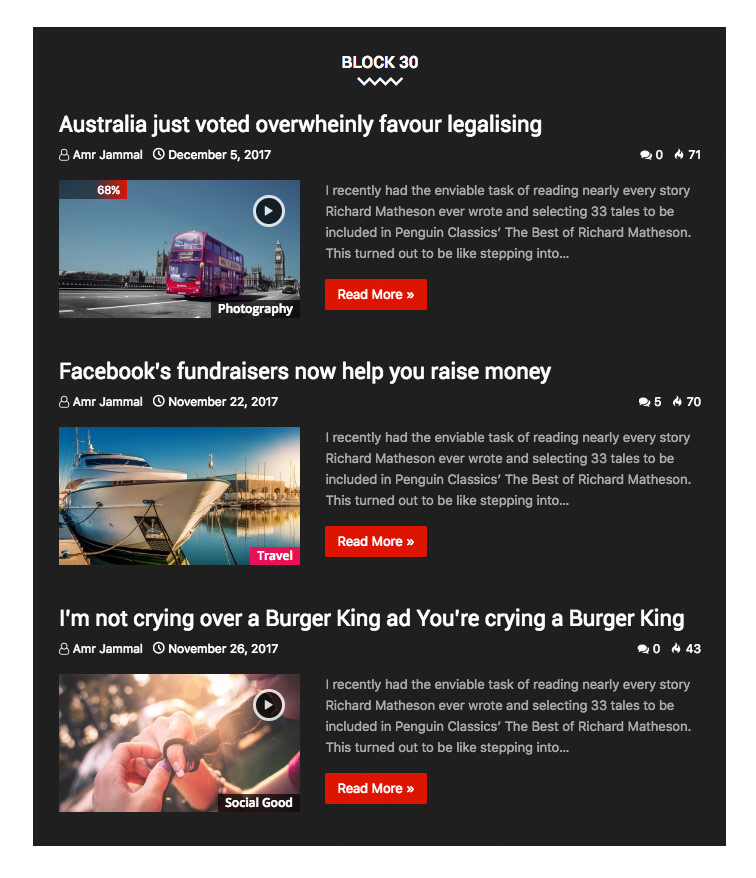
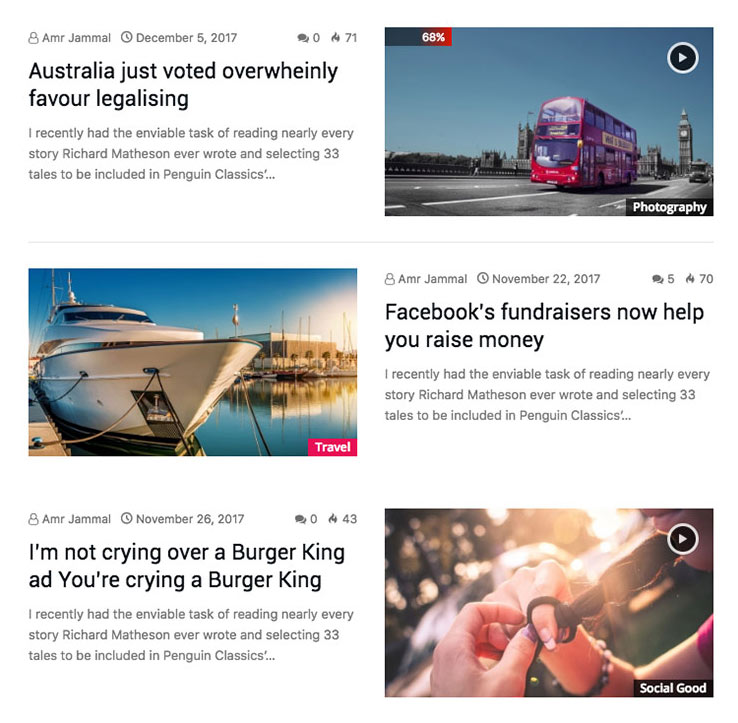
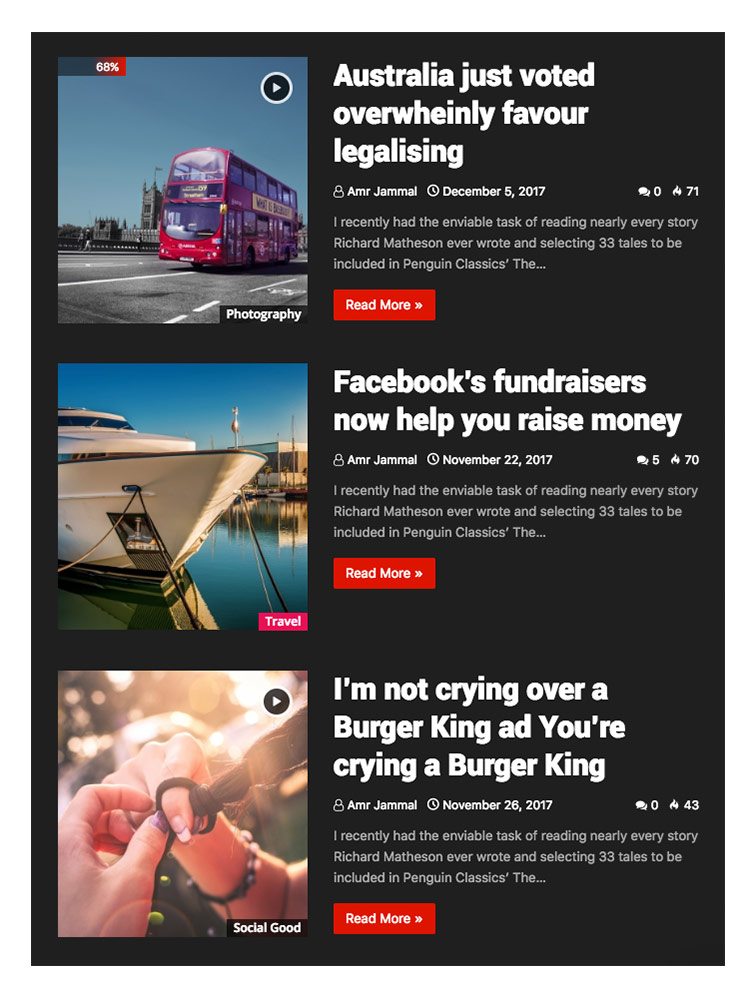
Block #30
Block #31
Block #32
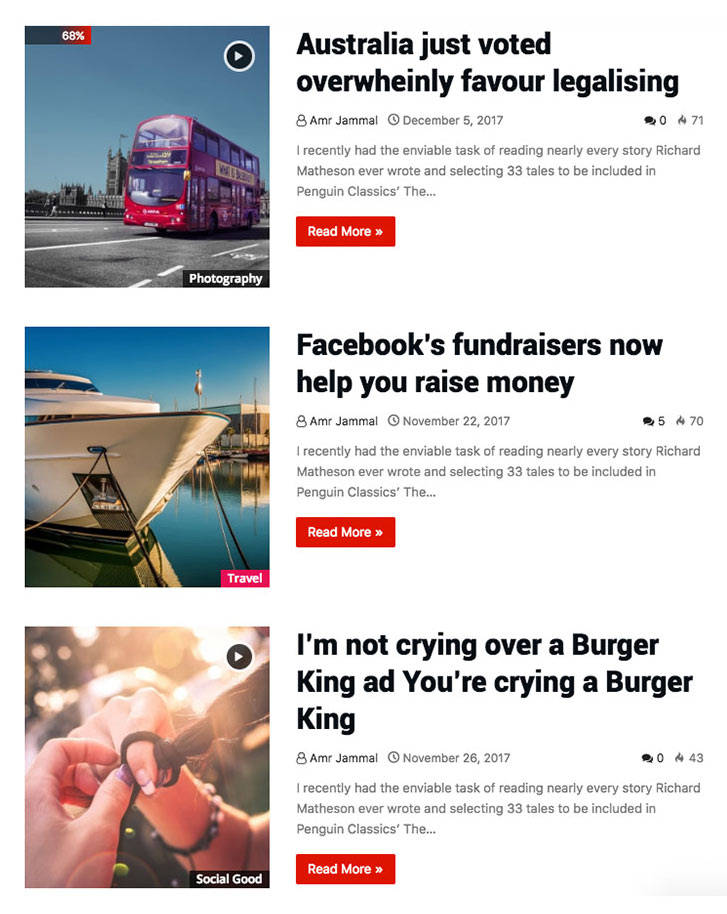
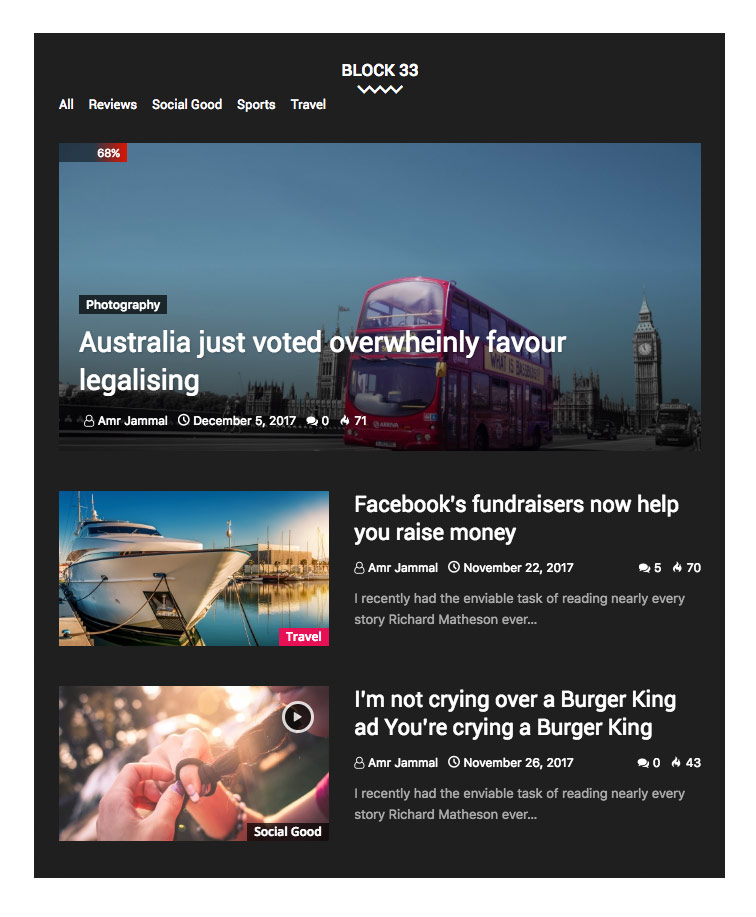
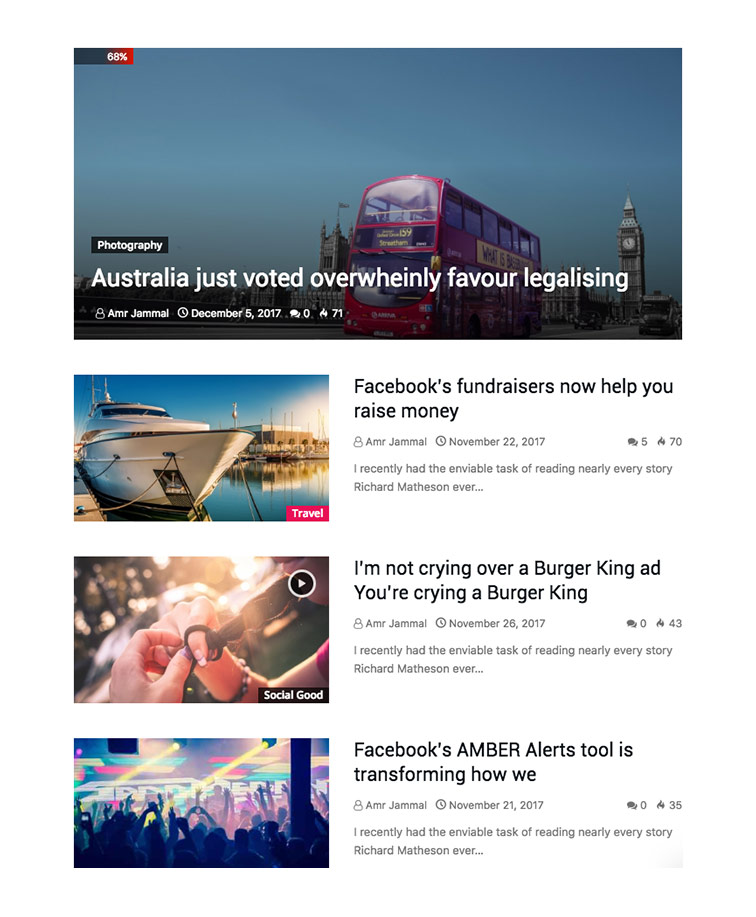
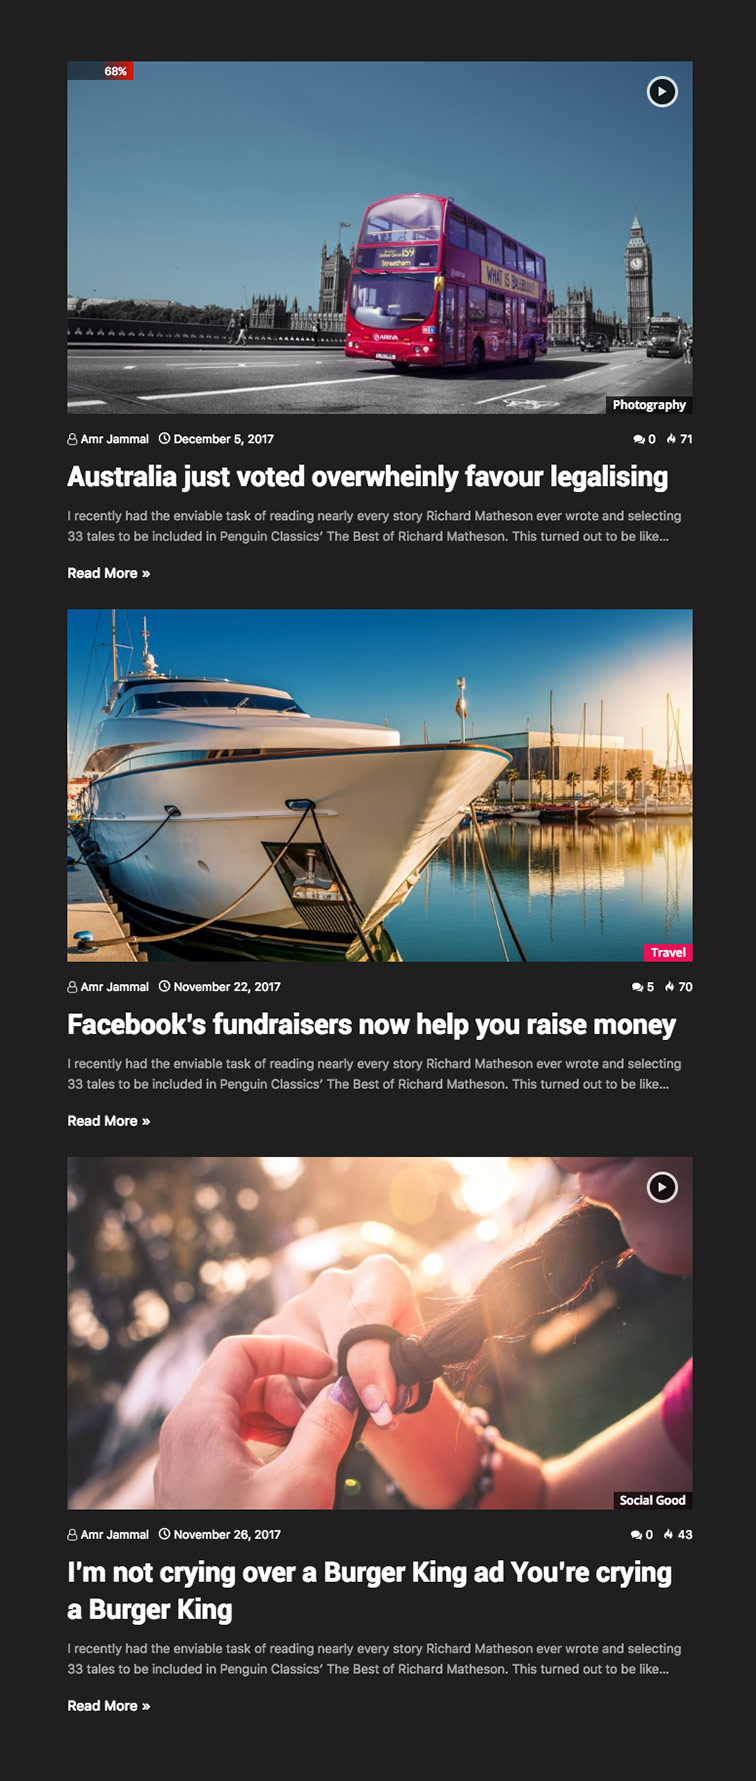
Block #33
Block #34
Block #35
Block #36
Block #37
Block #39
Block #40
Block #41
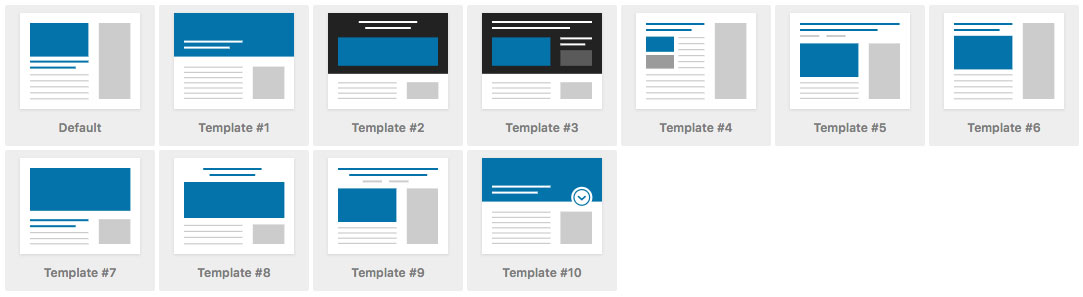
5.3 Category Posts Layout
Category Posts Layout - Choose one from the available 10 layouts. You can customize your categories individually, from the Posts menu > Categories > Edit the category you want.
6. Translations
All of our Themes are able to be translated into any language. The process of translating the theme is a user responsibility. The following instructions are given as guidance.
- Open wp-config.php and replace this:
define ('WPLANG', '');with this (subsitute the language string (bg_BG) with your own!):define ('WPLANG', 'bg_BG'); - Download and install POEDIT
- Connect to your site -> open your theme/languages directory
- Download the default.po file and open it with POEDIT.
- Translate file and save it as bg_BG (the file name must match with the string you inserted into wp-config.php)
- Two files will be generated after save. bg_BG.po and bg_BG.mo
- Upload the .mo and .po files into wp-content/themes/your-theme/languages folder
Your WordPress installation should be in the language you intend on using the site.
How to activate the RTL Version
You just need to install the theme on RTL wordpress blog and it will adjust automatically .. check this page for more informations .
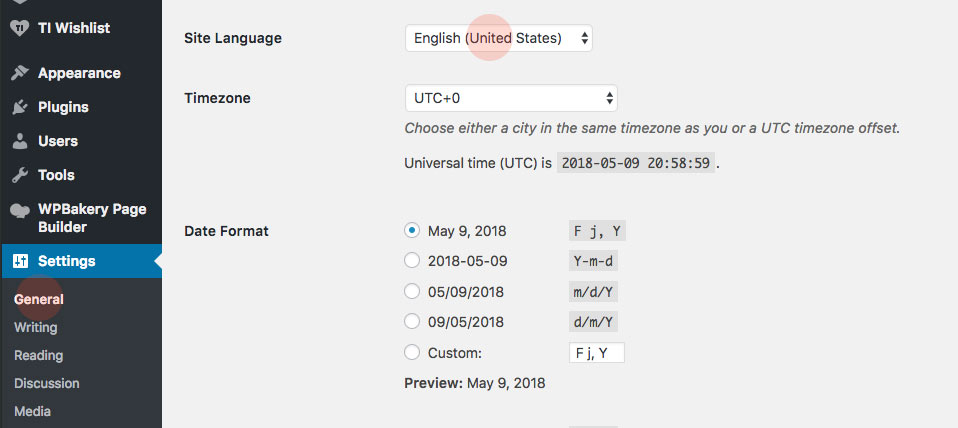
Important info, regarding translation in WordPress 4.1
- Go to (WordPress Dashboard > Settings > General)
- Select your website langauge as shown in this screenshot:
- Connect to your site -> open (wp-content/themes/kolyoum/languages) directory
- Download the default.po file and open it with POEDIT.
- Translate file and save it as bg_BG for example, you must name this file with your language code, check the full list here
- Two files will be generated after save. bg_BG.po and bg_BG.mo
- Upload the .mo and .po files into (wp-content/themes/sahifa/languages) directory
7 WooCommerce
One of great features of kolyoum is that you can make an online shop with it.
Kolyoum is fully compatible with latest version of Woocommerce Plugin. We added required stylings to fit the design, and all required confiq codes to make it seamless with kolyoum. If you dont need Woocommerce simply dont install it and all the features, codes and anything required for woocommerce will not be loaded and interfered. Vice versa, if you need to set up woocommerce just install woocommerce like you do for other plugins and thats all about it. you dont need to do anything else. Check this tutorial for how to configuring WooCommerce settings
How to enhance Pagespeed
Enable the Lazy Load option
Navigate to WP Dashboard > Theme Options > General Options > Lazy Load For Images
Optimize Images
Optimizing your images will helps your WordPress site load faster.
Download and activate WP Smush.it This plugin will optimize every image you upload and you can use the Bulk Smush.it feature to smash all of your uploaded images.
Alternatives to WP Smush.it include EWWW Image Optimizer, CW Image Optimizer, Imsanity andHammy. Many WordPress users prefer using these plugins as they do not rely on an external server to process your images.
Enable gzip compression
All modern browsers support and automatically negotiate gzip compression for all HTTP requests. Enabling gzip compression can reduce the size of the transferred response by up to 90%, which can significantly reduce the amount of time to download the resource, reduce data usage for the client, and improve the time to first render of your pages.
To enable gzip compression add the following lines to your .htaccess file:
# Compress HTML, CSS, JavaScript, Text, XML and fonts
AddOutputFilterByType DEFLATE application/javascript
AddOutputFilterByType DEFLATE application/rss+xml
AddOutputFilterByType DEFLATE application/vnd.ms-fontobject
AddOutputFilterByType DEFLATE application/x-font
AddOutputFilterByType DEFLATE application/x-font-opentype
AddOutputFilterByType DEFLATE application/x-font-otf
AddOutputFilterByType DEFLATE application/x-font-truetype
AddOutputFilterByType DEFLATE application/x-font-ttf
AddOutputFilterByType DEFLATE application/x-javascript
AddOutputFilterByType DEFLATE application/xhtml+xml
AddOutputFilterByType DEFLATE application/xml
AddOutputFilterByType DEFLATE font/opentype
AddOutputFilterByType DEFLATE font/otf
AddOutputFilterByType DEFLATE font/ttf
AddOutputFilterByType DEFLATE image/svg+xml
AddOutputFilterByType DEFLATE image/x-icon
AddOutputFilterByType DEFLATE text/css
AddOutputFilterByType DEFLATE text/html
AddOutputFilterByType DEFLATE text/javascript
AddOutputFilterByType DEFLATE text/plain
AddOutputFilterByType DEFLATE text/xml

# Remove browser bugs (only needed for really old browsers)
BrowserMatch ^Mozilla/4 gzip-only-text/html
BrowserMatch ^Mozilla/4\.0[678] no-gzip
BrowserMatch \bMSIE !no-gzip !gzip-only-text/html
Header append Vary User-Agent
Leverage Browser Caching
When a web browser displays your web page it has to load several things like your logo, your CSS file, and other resources. What browser caching does is “remember” the resources that the browser has already loaded. When a visitor goes to another page on your website your logo or CSS file does not need to be loaded again, because the browser has them “remembered”. The end result is that your pages load much faster.
To enable browser caching, add the following lines to your .htaccess file:
## EXPIRES CACHING ##

ExpiresActive On
ExpiresByType image/jpg "access 1 year"
ExpiresByType image/jpeg "access 1 year"
ExpiresByType image/gif "access 1 year"
ExpiresByType image/png "access 1 year"
ExpiresByType text/css "access 1 month"
ExpiresByType text/html "access 1 month"
ExpiresByType application/pdf "access 1 month"
ExpiresByType text/x-javascript "access 1 month"
ExpiresByType application/x-shockwave-flash "access 1 month"
ExpiresByType image/x-icon "access 1 year"
ExpiresDefault "access 1 month"

## EXPIRES CACHING ##
Minify HTML,CSS and JavaScript
Minification refers to the process of removing unnecessary or redundant data without affecting how the resource is processed by the browser – e.g. code comments and formatting, removing unused code, using shorter variable and function names, and so on
To Enable Minify, use the following plugins:
- WP-HTML-Compression ( For HTML )
- Better WordPress Minify ( For CSS and JS )